

I had been wearing my first Evergreen jacket a bit this fall and loving it, but also wishing I had another one… with possibly a lot less stripes, so when this sage sweatshirt fleece from Harts came into my life, I knew it was going to be great at filling that void.

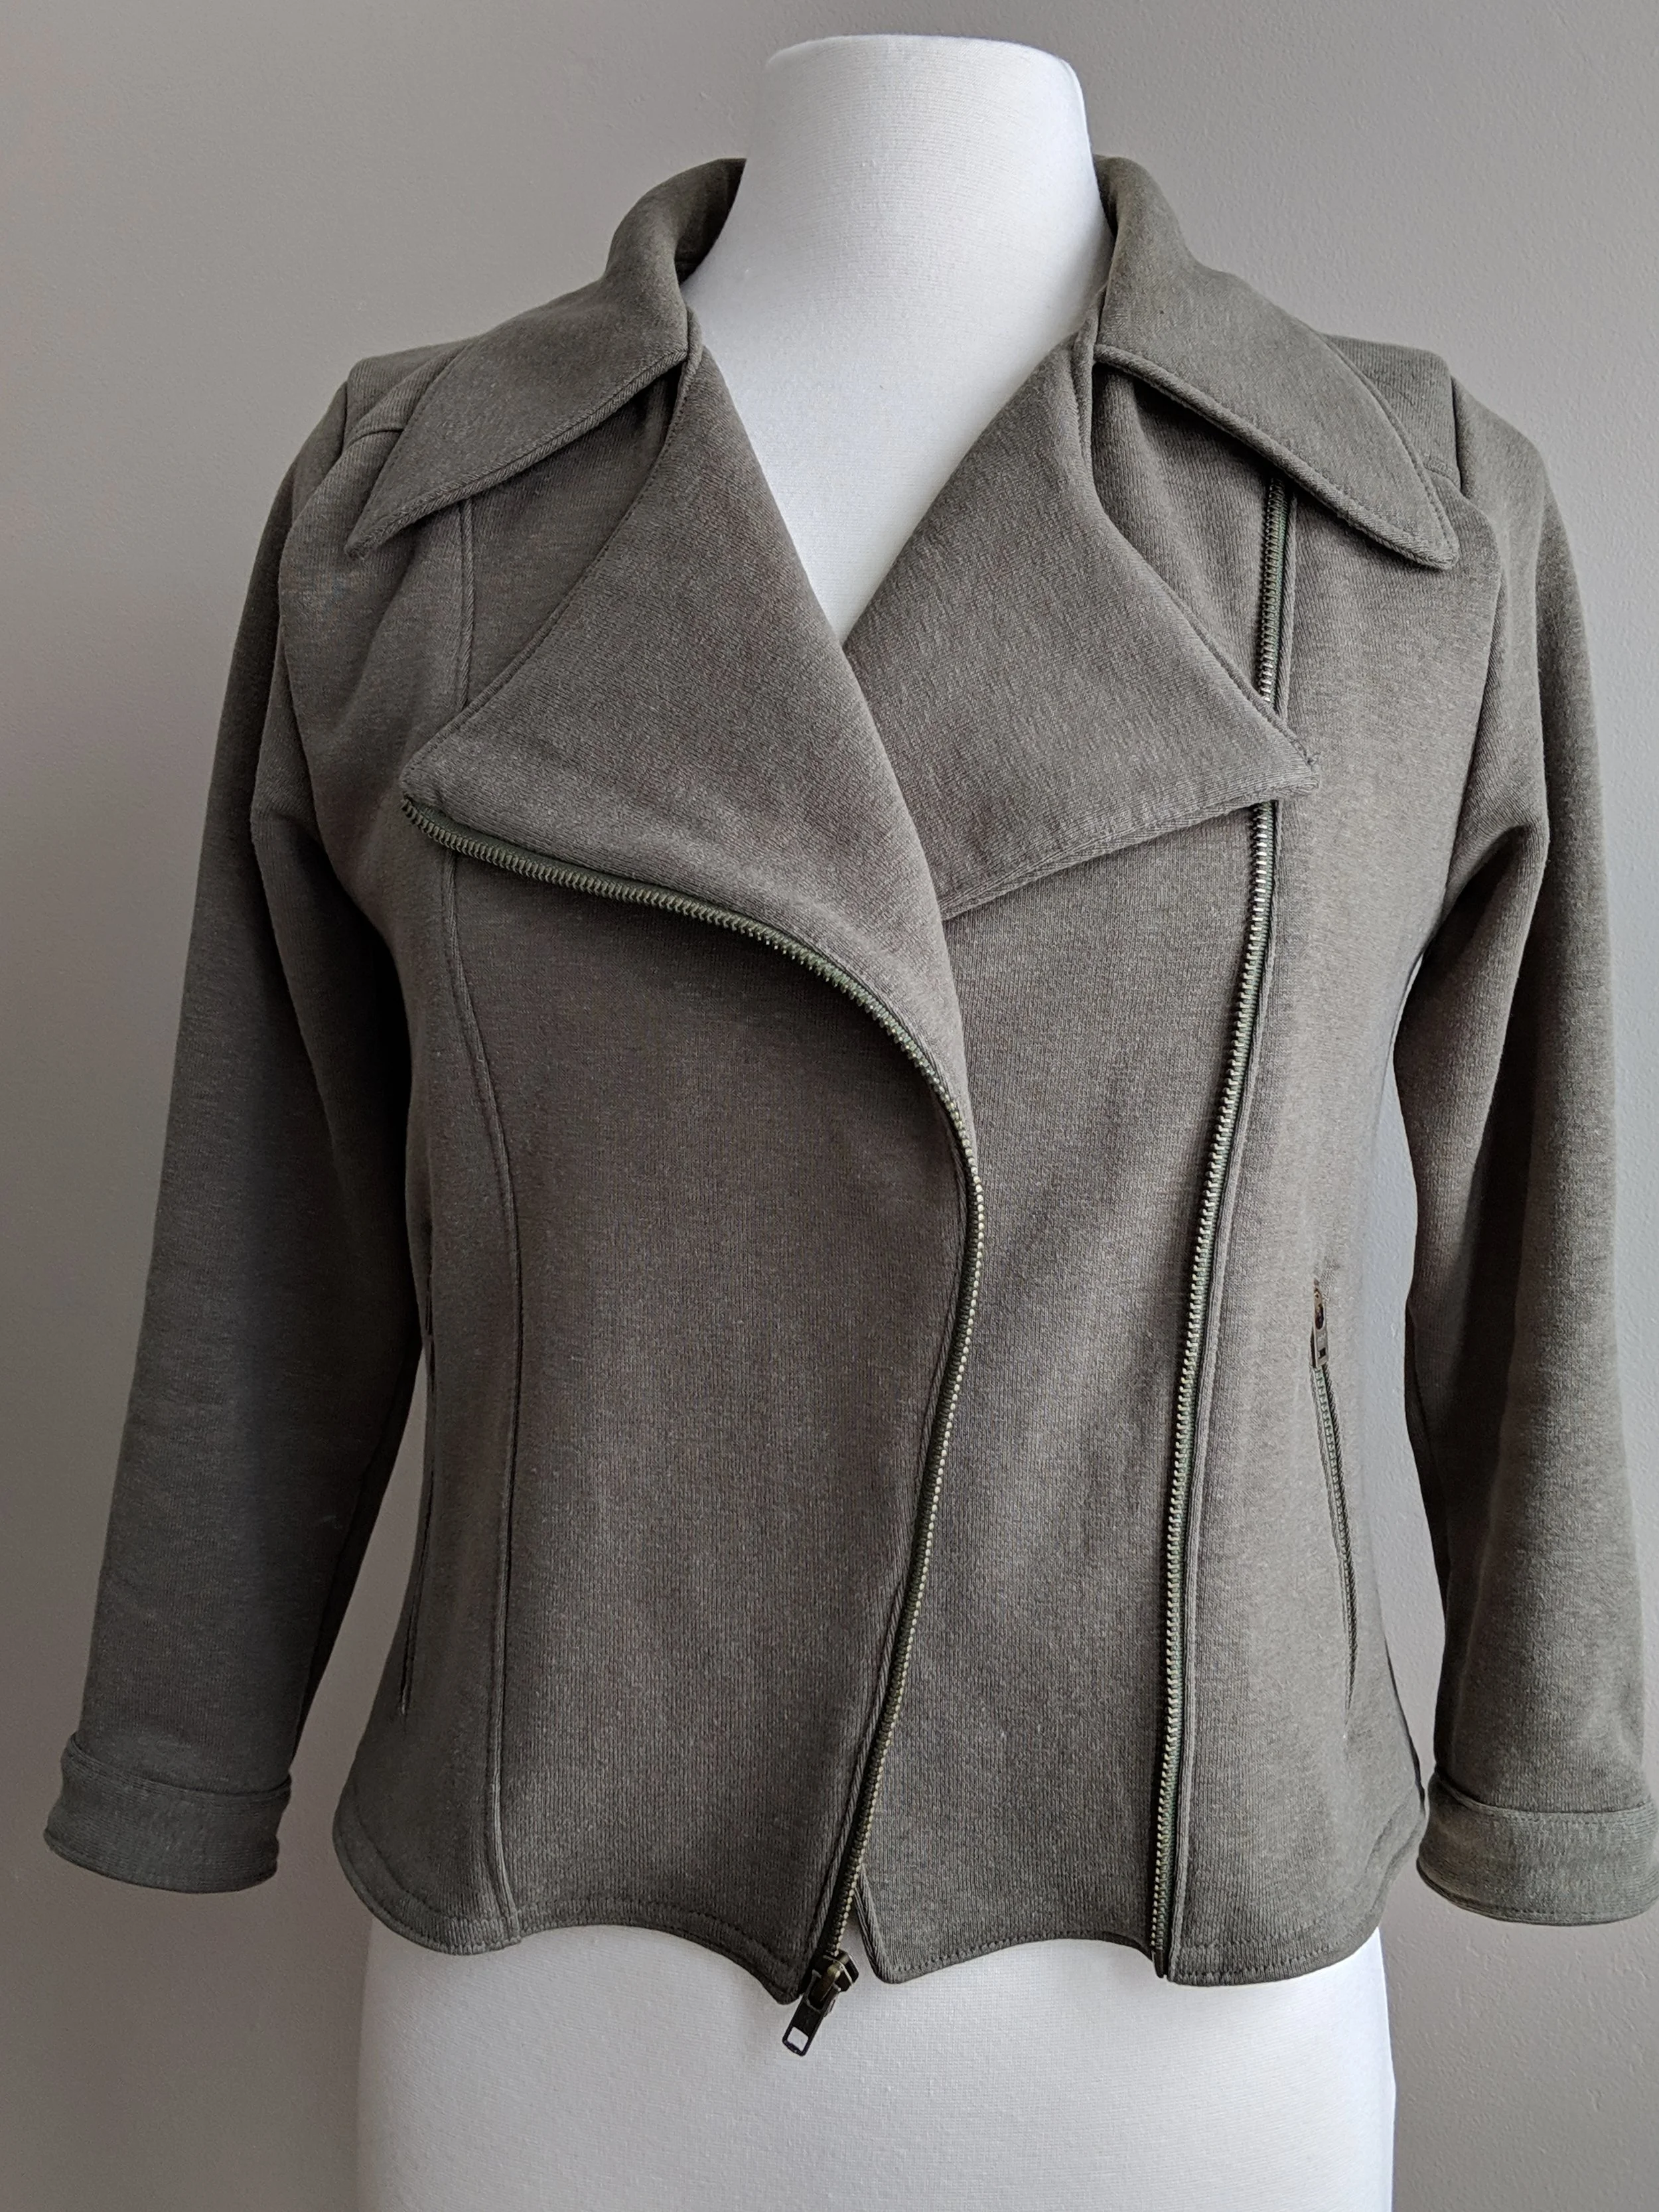
Now, I’m not sure I would call the color of this sweatshirt fleece “sage” myself. It’s more on the army green spectrum to me. But it’s a lovely color and it’s got a soft knit face and fluffy brushed goodness inside. It’s neither too drapey nor too stiff. Basically it’s pretty damn good stuff.

Since I had made an Evergreen jacket before, I did have some changes I wanted to make to this version. Mostly, I knew I wanted a more fitted little jacket. (More on that later.) And I took my time adding some details; some seams have an extra row of top stitching and I decided to quilt the yokes for some tonal texture. And, if you know me, you know I love texture.

I typically use a stitch length of 2.8 for my top stitching and I used a stitching length of 3.0 for the quilted lines. I can’t remember the last time I used a walking foot on knits. I find those clunky things too… well…. clunky.
I pulled these adorable cuties from my stash to use for the pocket bags on the zippered pockets.

The zippers were sourced from Wawak. Evergreen calls for a separating jacket zipper and 2 regular zippers for the pockets. I went with the antique brass finish and army green zipper tape. I’d say they are a good match and look cohesive.

Zippers can be intimidating, but since I learned how to shorten metal zippers last year by simply pulling extra teeth from the top, I’m not scared anymore. Bring on the fancy zippered projects!
The major departure I took from the pattern as written was to opt for a cropped look. I just skipped all the hem band pieces and installed the bottom of the main zipper 3/8” from the bottom of the front pieces. The seam allowance at the bottom left me room to finish the bottom of the jacket with a hem facing I planned to draft.

Now, once I got the main jacket assembled I shared my progress on IG. I wasn’t sure how I wanted to finish the sleeves as far as the style or length.

The popular opinion was to add elongated sleeve cuffs. But I was itching to crop the sleeves. When Adrianna, the pattern designer, weighed in, the fate of the sleeves was sealed. I was going cropped.

So I determined where I wanted the finished sleeves to fall (mid forearm; is that 3/4 length?) and ended up shortening the sleeve from the hem by 2”.
Then I set to making simple button cuffs. My drafted cuff pattern follows- 2” wide by measured sleeve circumference + (seam allowance x 2). (Roughly 2” x 10.5”.) Cut 4 of fabric. Cut 4 of interfacing.

I lazily chose 2” for the cuff height because I love to use this 2” wide tricot on a roll for interfacing whenever I can.
I opened the seam between the front and back sleeve parts about 2 inches and bound the little placket area with a coordinating woven (coincidentally it was scraps from other Hey June this project). Popped on my simple cuffs and added the buttons and holes.

Button sourced from my favorite jeans supplies vendor on Etsy
Gratuitous pic of my button cuff-related gear, so I can say, “these are few of my favorite tooools…”

yes. it’s a kid-sized hammer from Lowe’s
In lieu of a facing I opted to simply serge and hem the bottom of the jacket.


So here’s something fun that happened. I realized just after finishing both cuffs that I had only shortened 1 sleeve. Yup. One sleeve was 2” longer than the other. The left one, if you must know.
Honestly, it wasn’t terribly noticeable unless you measured the sleeves. I tend to push them up a tad anyhow. And again with the honesty, I seriously considered leaving the jacket as is until it bothered me.
At some point the next day, after a stewing in my mistake overnight, I realized I wouldn’t have to completely redo the whole cuff. I could simply undo the stitching at the sleeve edge, shorten the sleeve, and reattach the cuff with top stitching. The buttonhole and button would be spared. Well yes, you’re right. I’d have to redo the little placket again too.
And so I did all that and used my zipper foot to get around the cherished button I had grown so fond of.


And that’s the story.
I love to wear this jacket over sleeveless tops and I know it’s going to be perfect for spring layering.


Cowl neck top pattern, testing sample- Taos Top by Thread Bear
My quilting worked out really nicely on one side. The other side is lovely too, just not its own photo on the blog lovely.


I love seeing them side by side. So similar and yet so different!


Both jackets are the same size. I find that because the striped fabric (ponte) has more stretch, it often feels much more relaxed, like a stylish sweatshirt more than a trendy jacket.
