
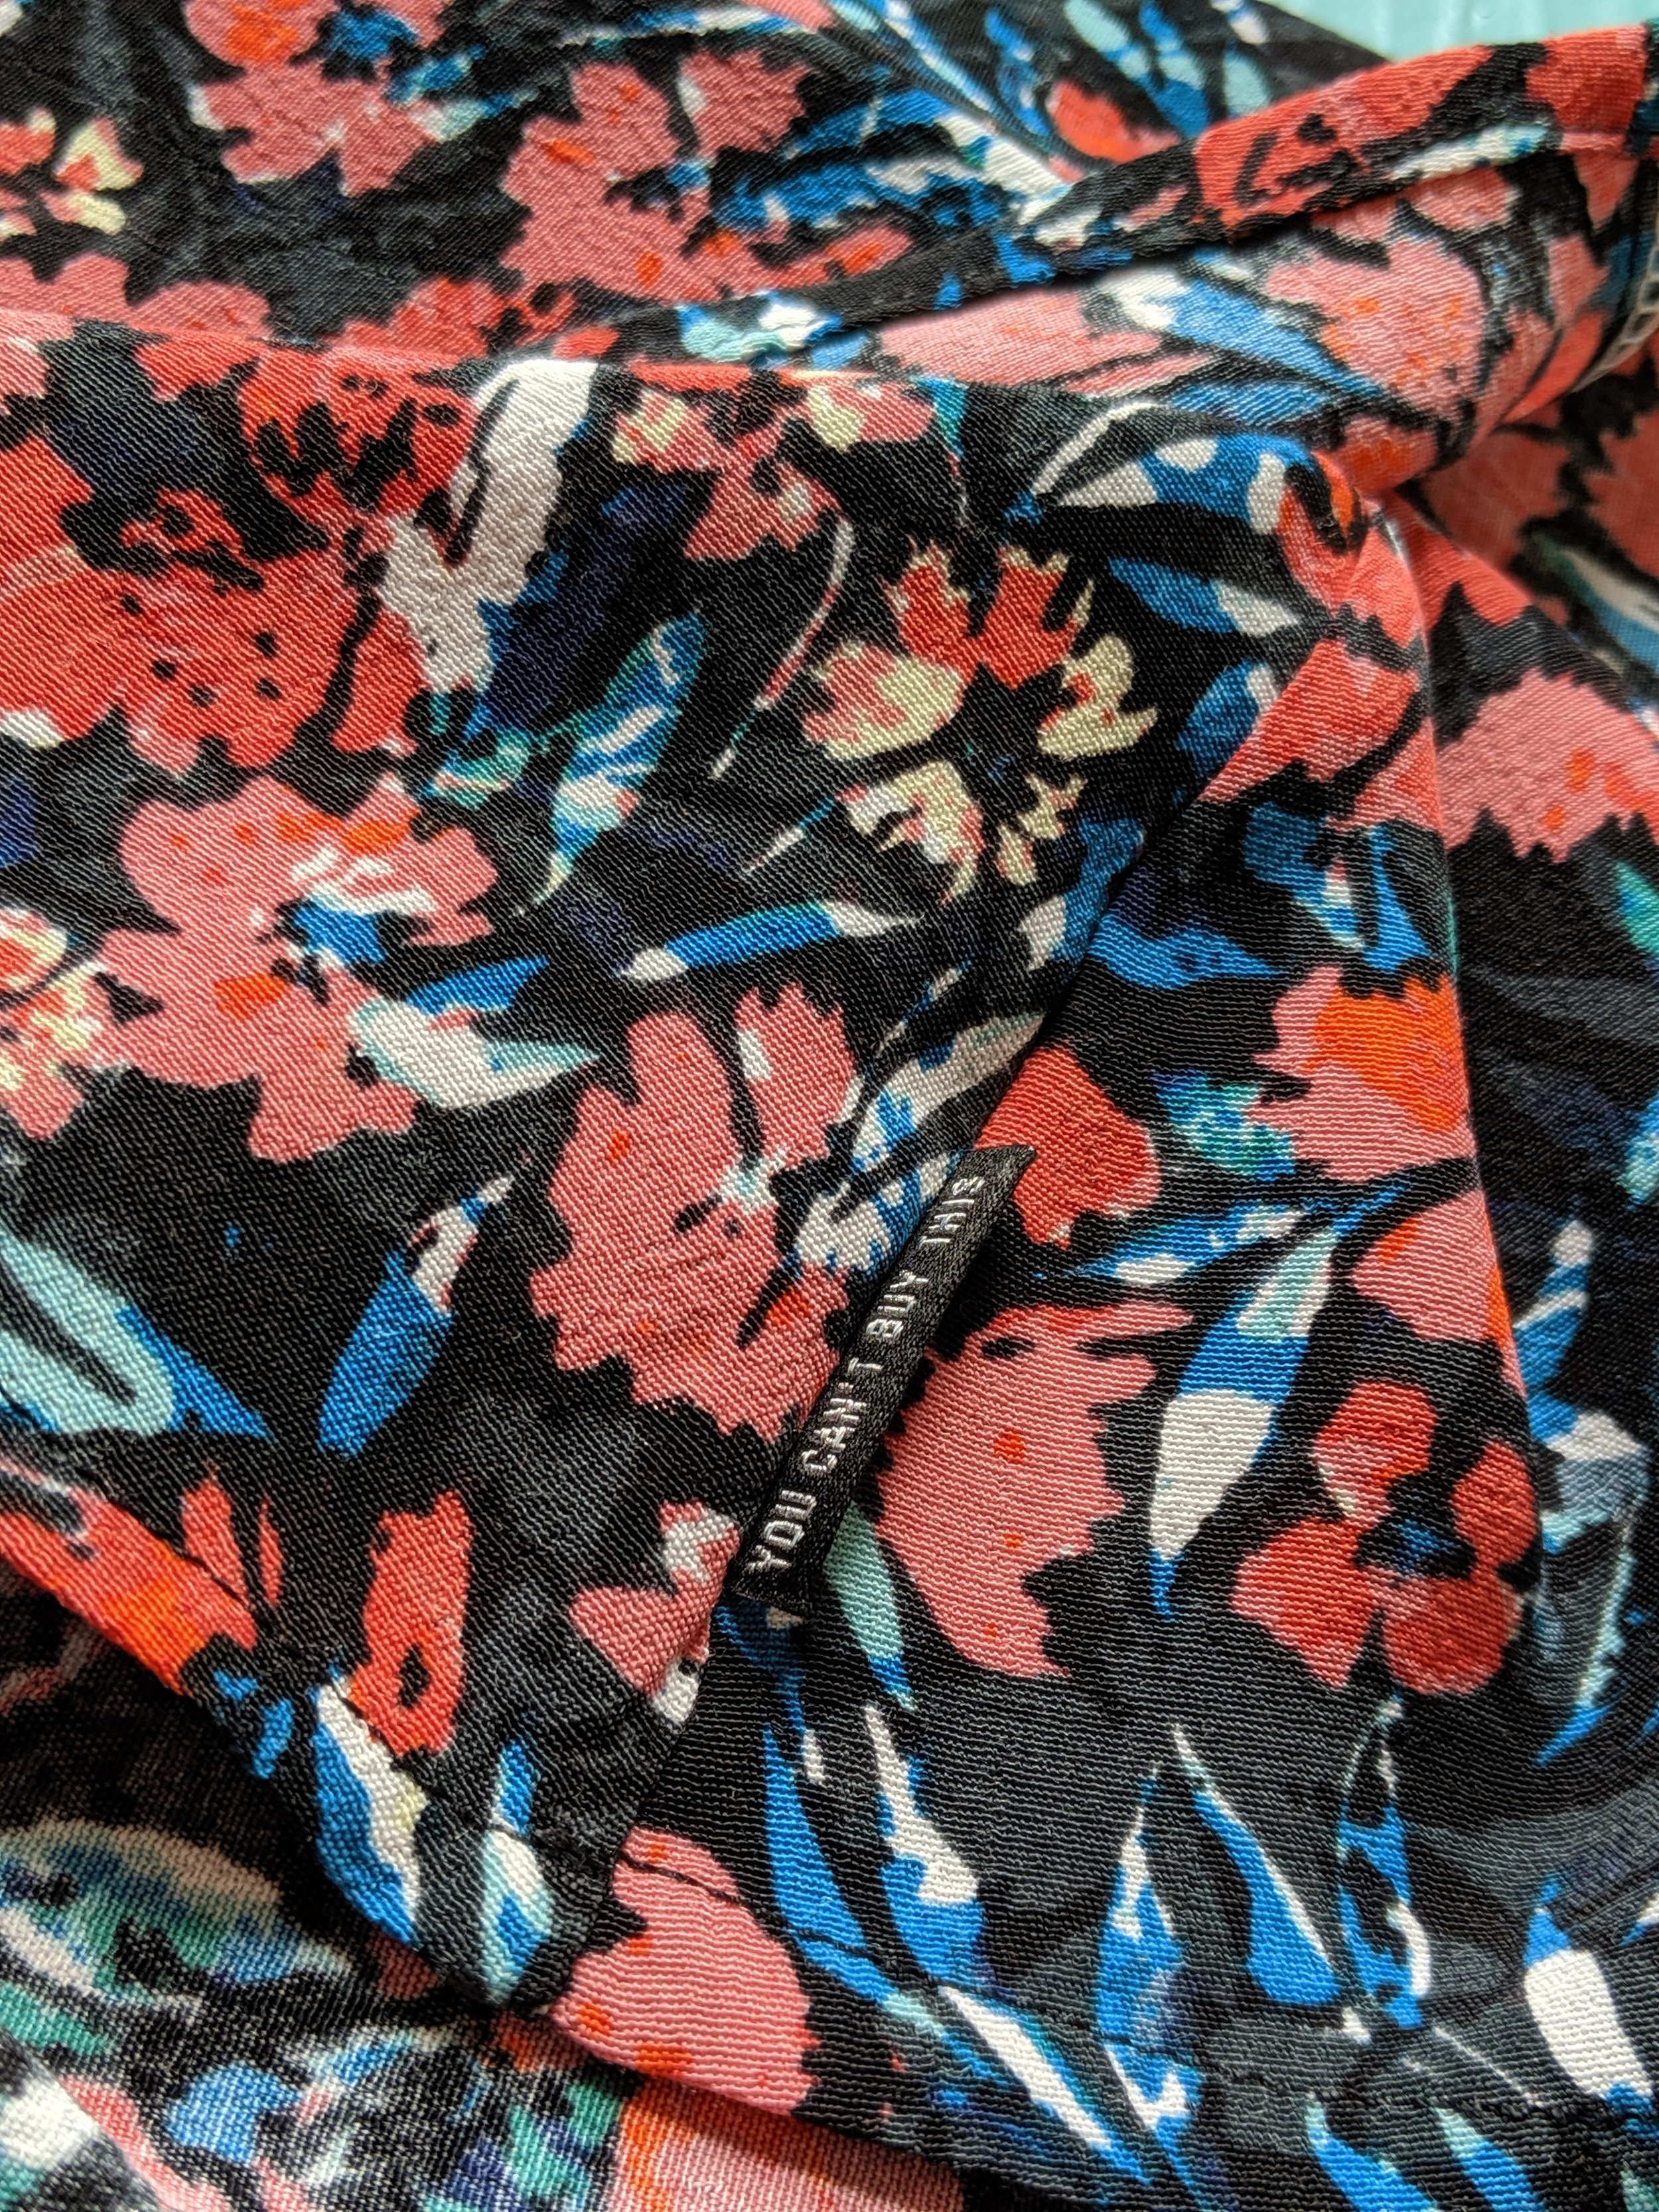
The thing is I quite honestly used to love to hate on the Ogden Cami.
In general because I thought I could never wear it with those itty bitty stappy straps. I’m a human with mammary glands. And they need supporting. (I’m a sewing A cup, but a D cup in bras.)
And I swore I WOULD NEVER buy it.
Fast forward a bit and I’ve made 3 in the last 9 days.
Here’s how that came about:
Having orchestrated a sewing swap with Jen in April, I decided it would be fun to join a swap and bask in the low key glory of not running it.

So I bought the Ogden pattern! (Mark the date. June 9, 2019.) I could have joined the swap and just sewn the Ida clutch. It’s a great free pattern and I’ve made it before, but I was all in.
I had to try the pattern before sewing it for someone else. It’s the responsible thing to do.
So I made a rayon challis muslin using the same fabric as a sample pair of Luna pants a friend had commissioned me to sew for her.
Who even am I?
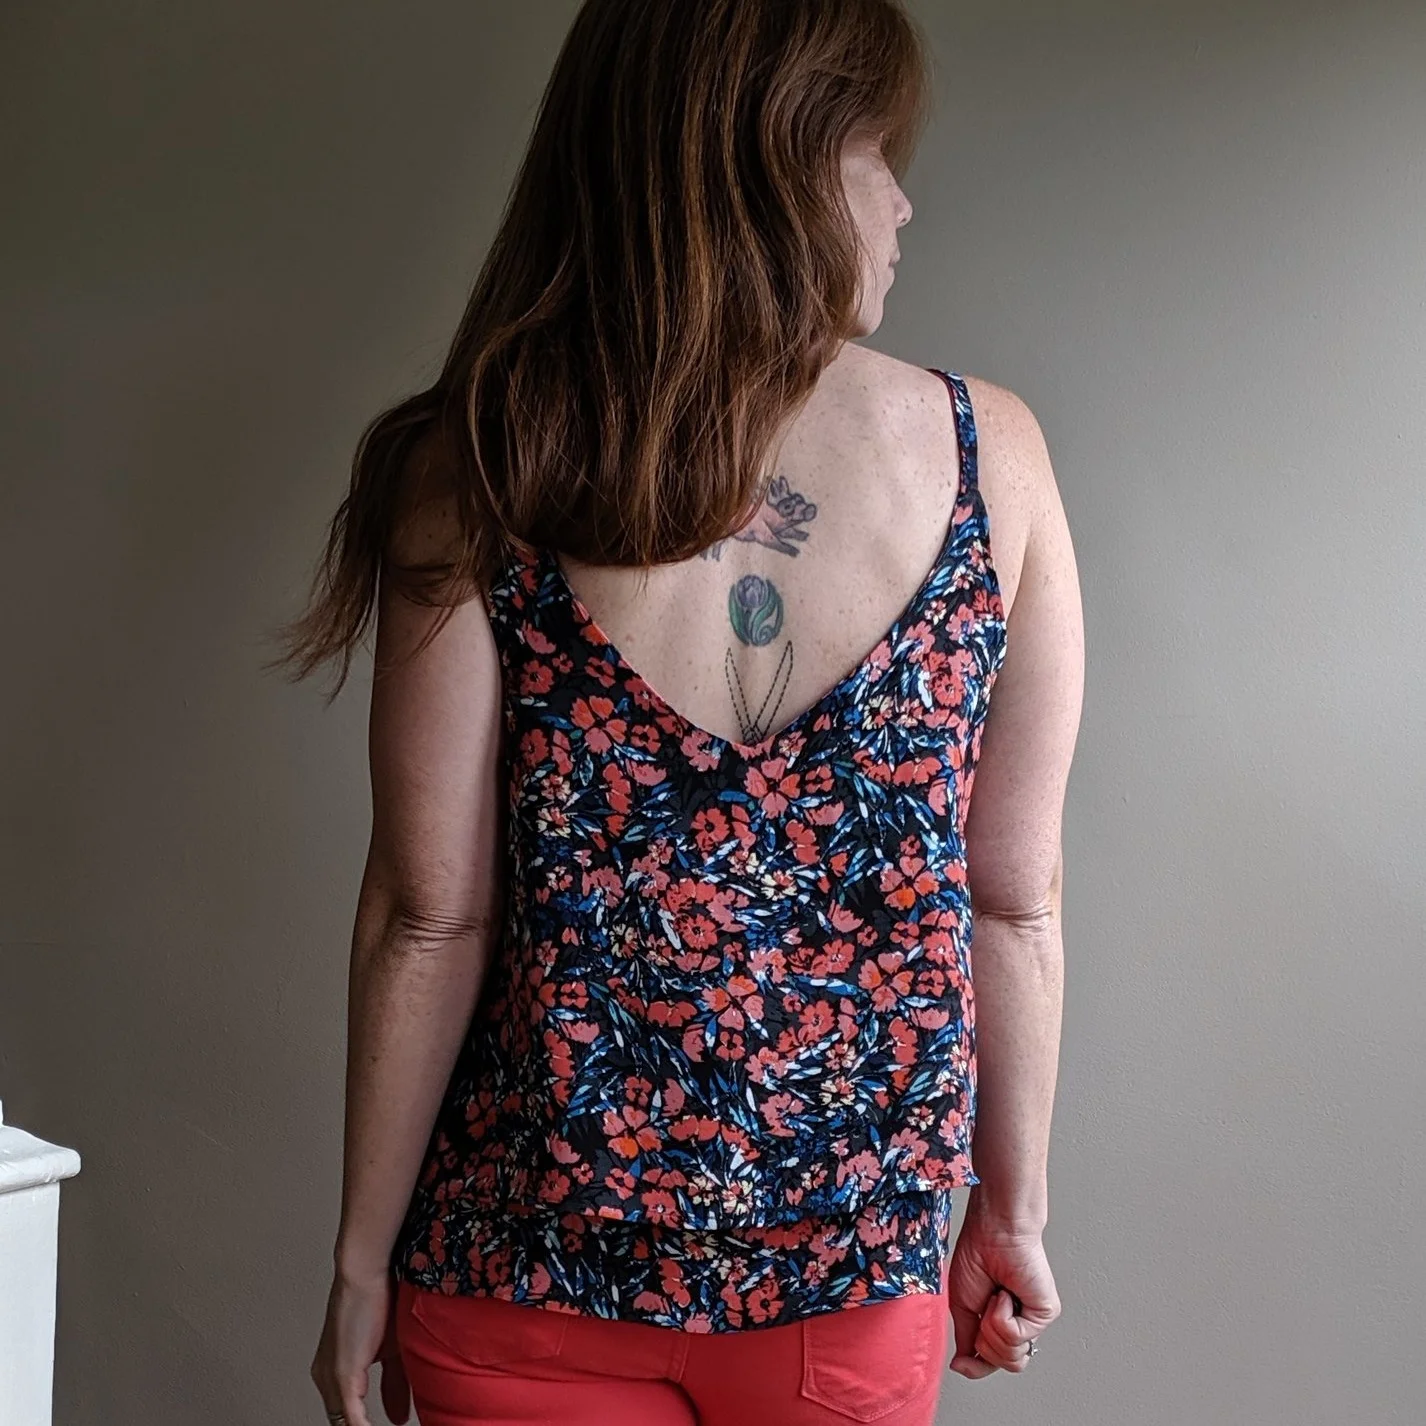
The first thing that struck me was that the straps really aren’t as skinny and long as one might be picturing.

The straps finish at 1/2” wide, covering narrow bra straps well and are about 8” long.
The facings are pretty substantial, an aspect of the pattern I had previously loved to critique. Of course this makes for quick construction, but in airy fabrics, one doesn’t really notice any added bulk from the facings.
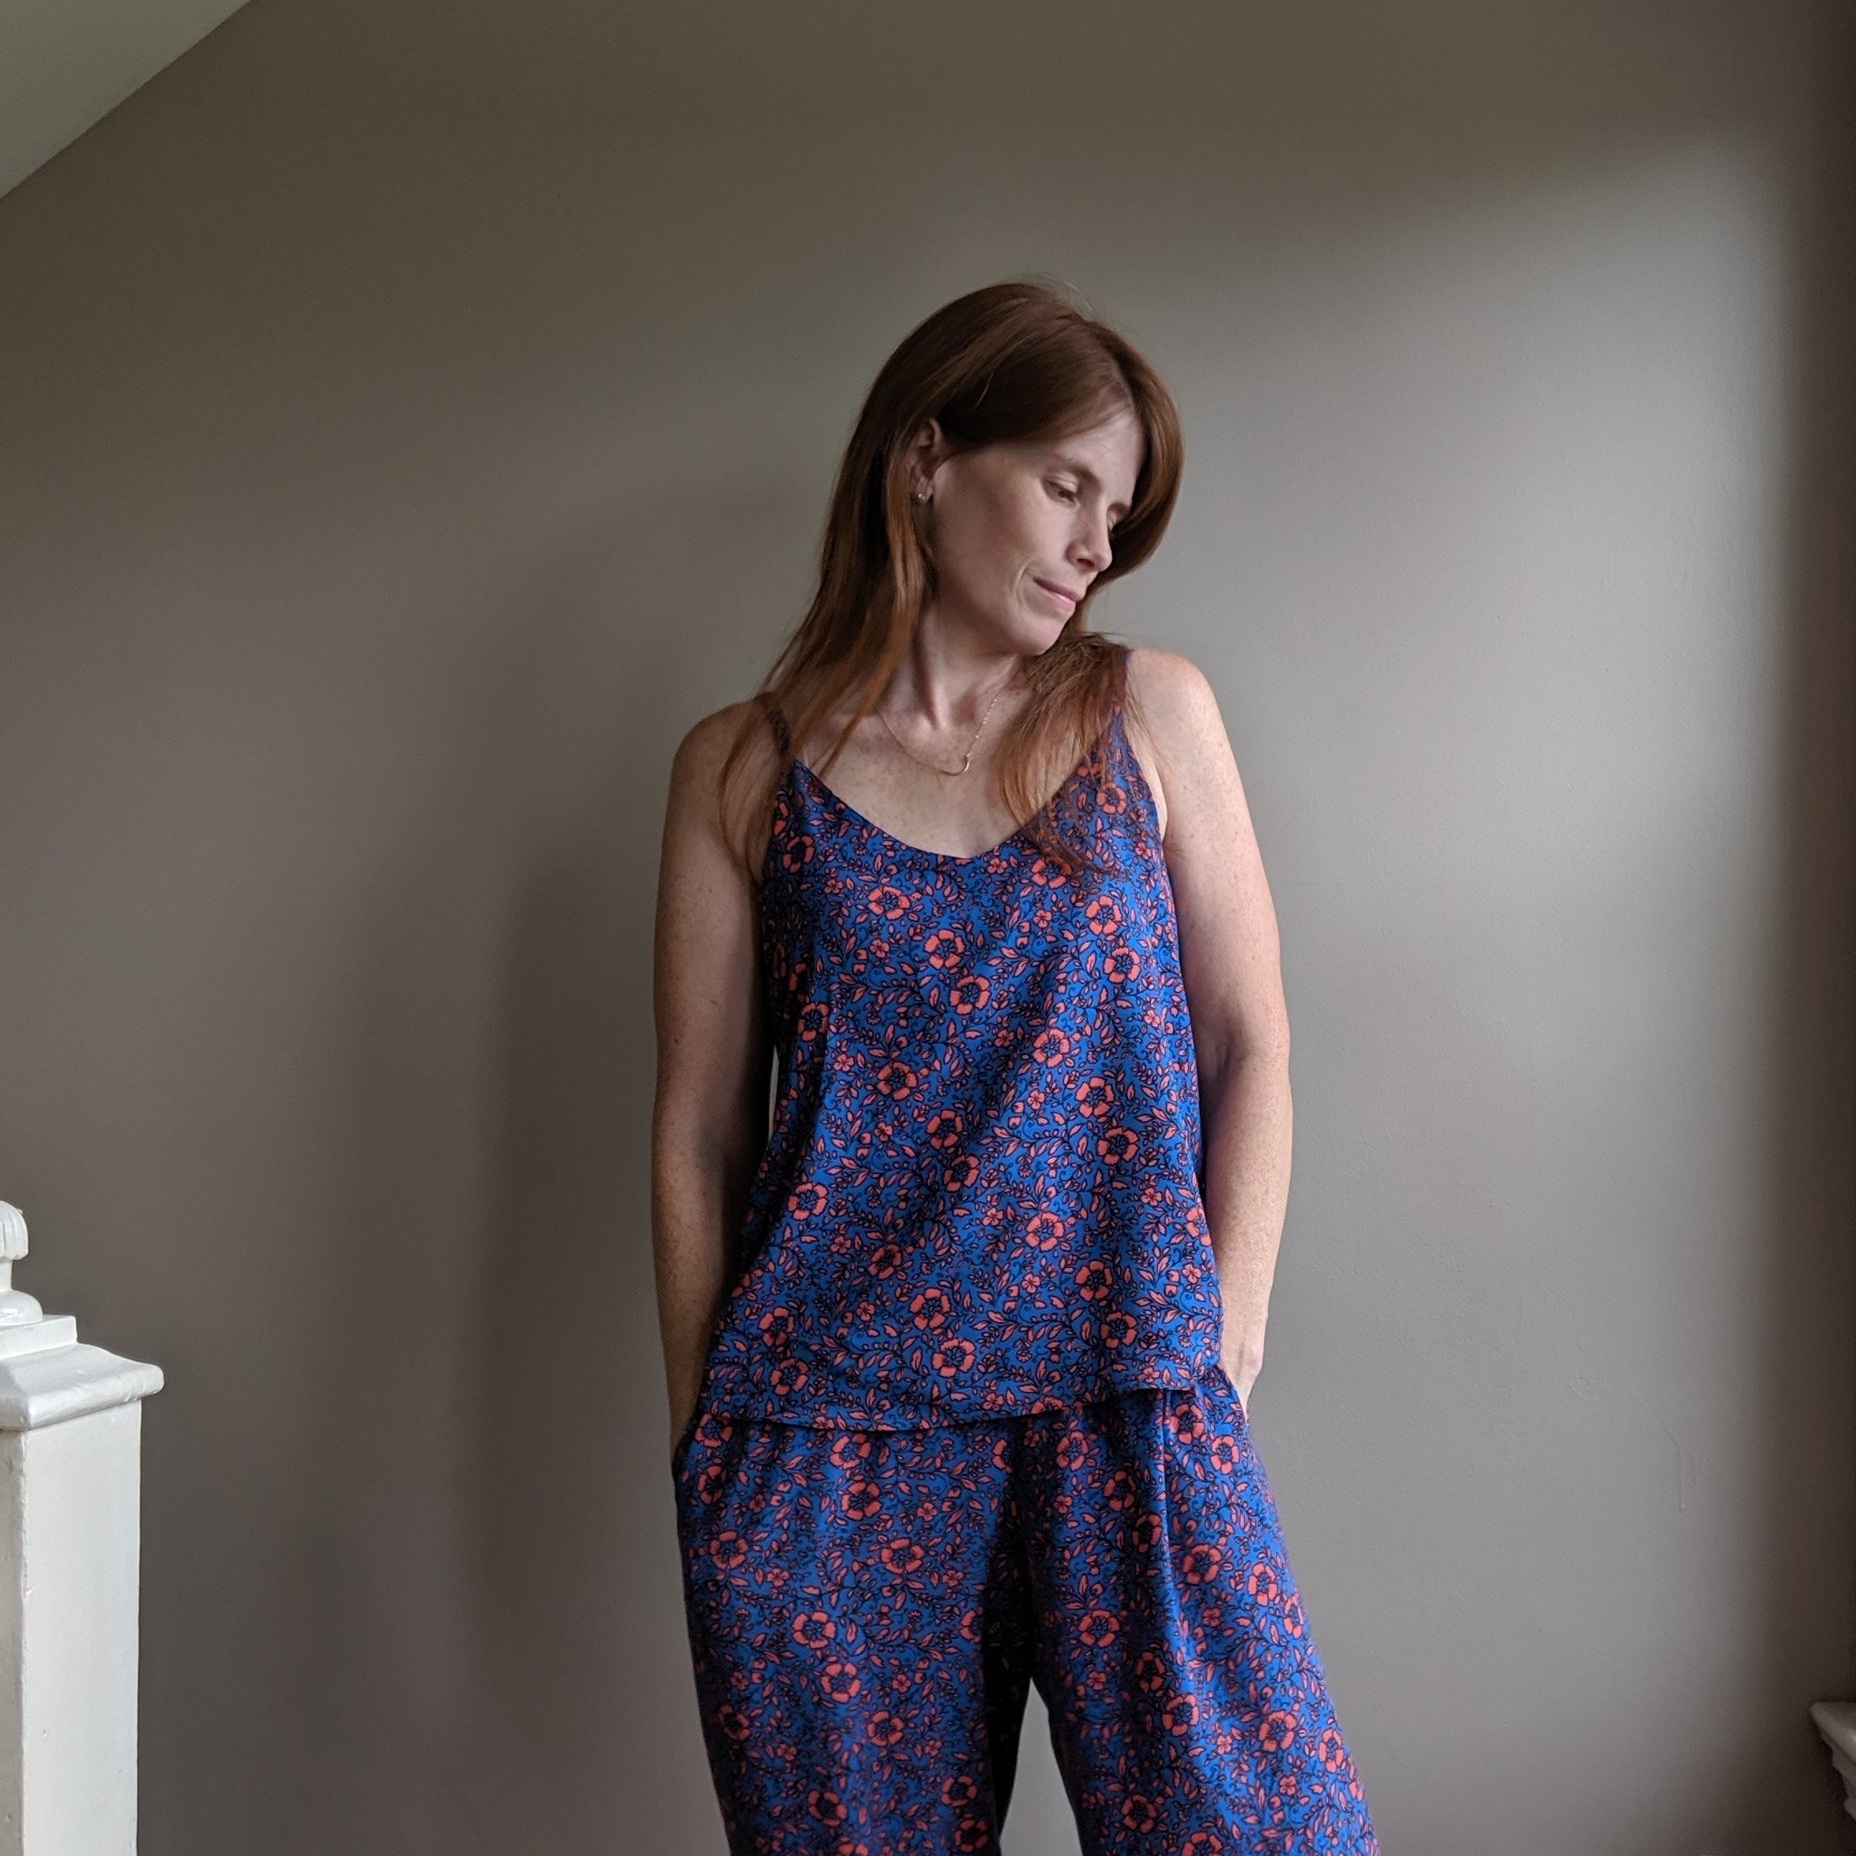
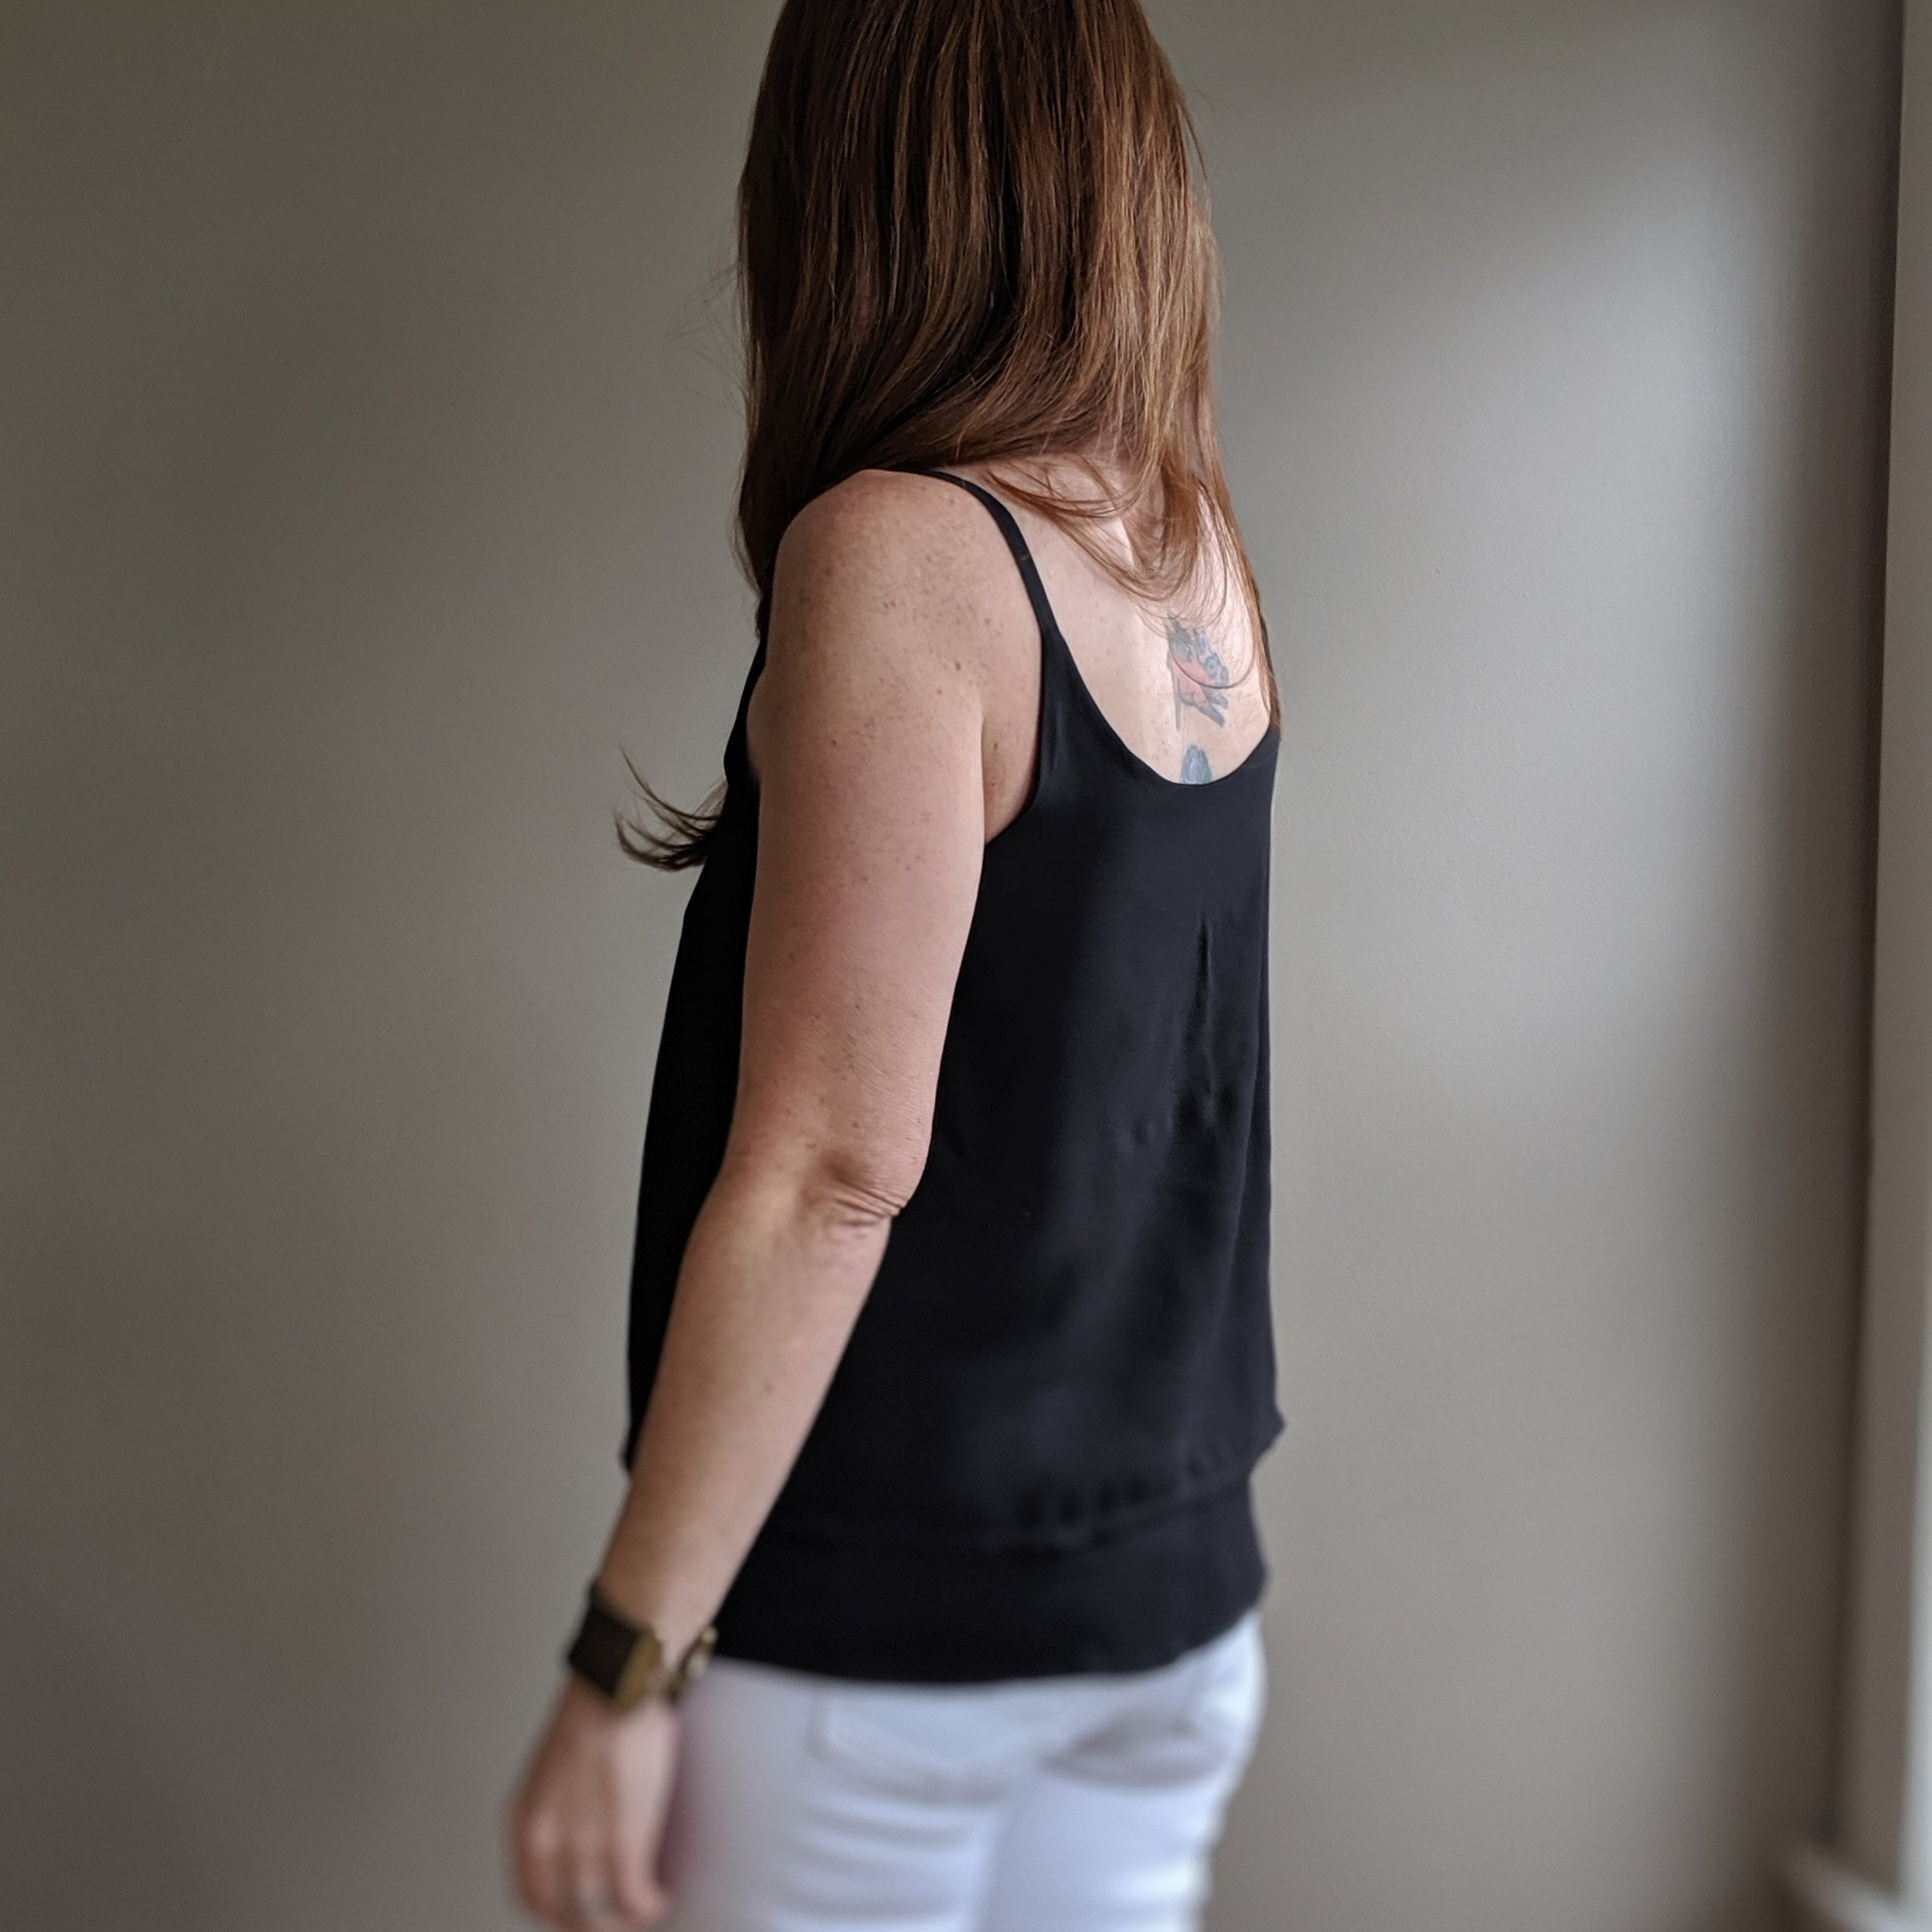
I was also surprised by how low the back dips.

It’s not compatible with this pull-on shelf-bra thing from Target.

just fine with a “regular” bra
Actually, I LOVE HOW MUCH it shows of my back. (I’ve been on the hunt for good patterns to show off that ink back there.) I don’t think I appreciated the cut of the back from the pictures I had seen on Insta. (But also, I wasn’t paying Odgen much attention, because we weren’t friends.)
This June has been particularly mild in Ohio, but I (now) knew Ogden would be a fantastic top for summer. I needed MOAR.
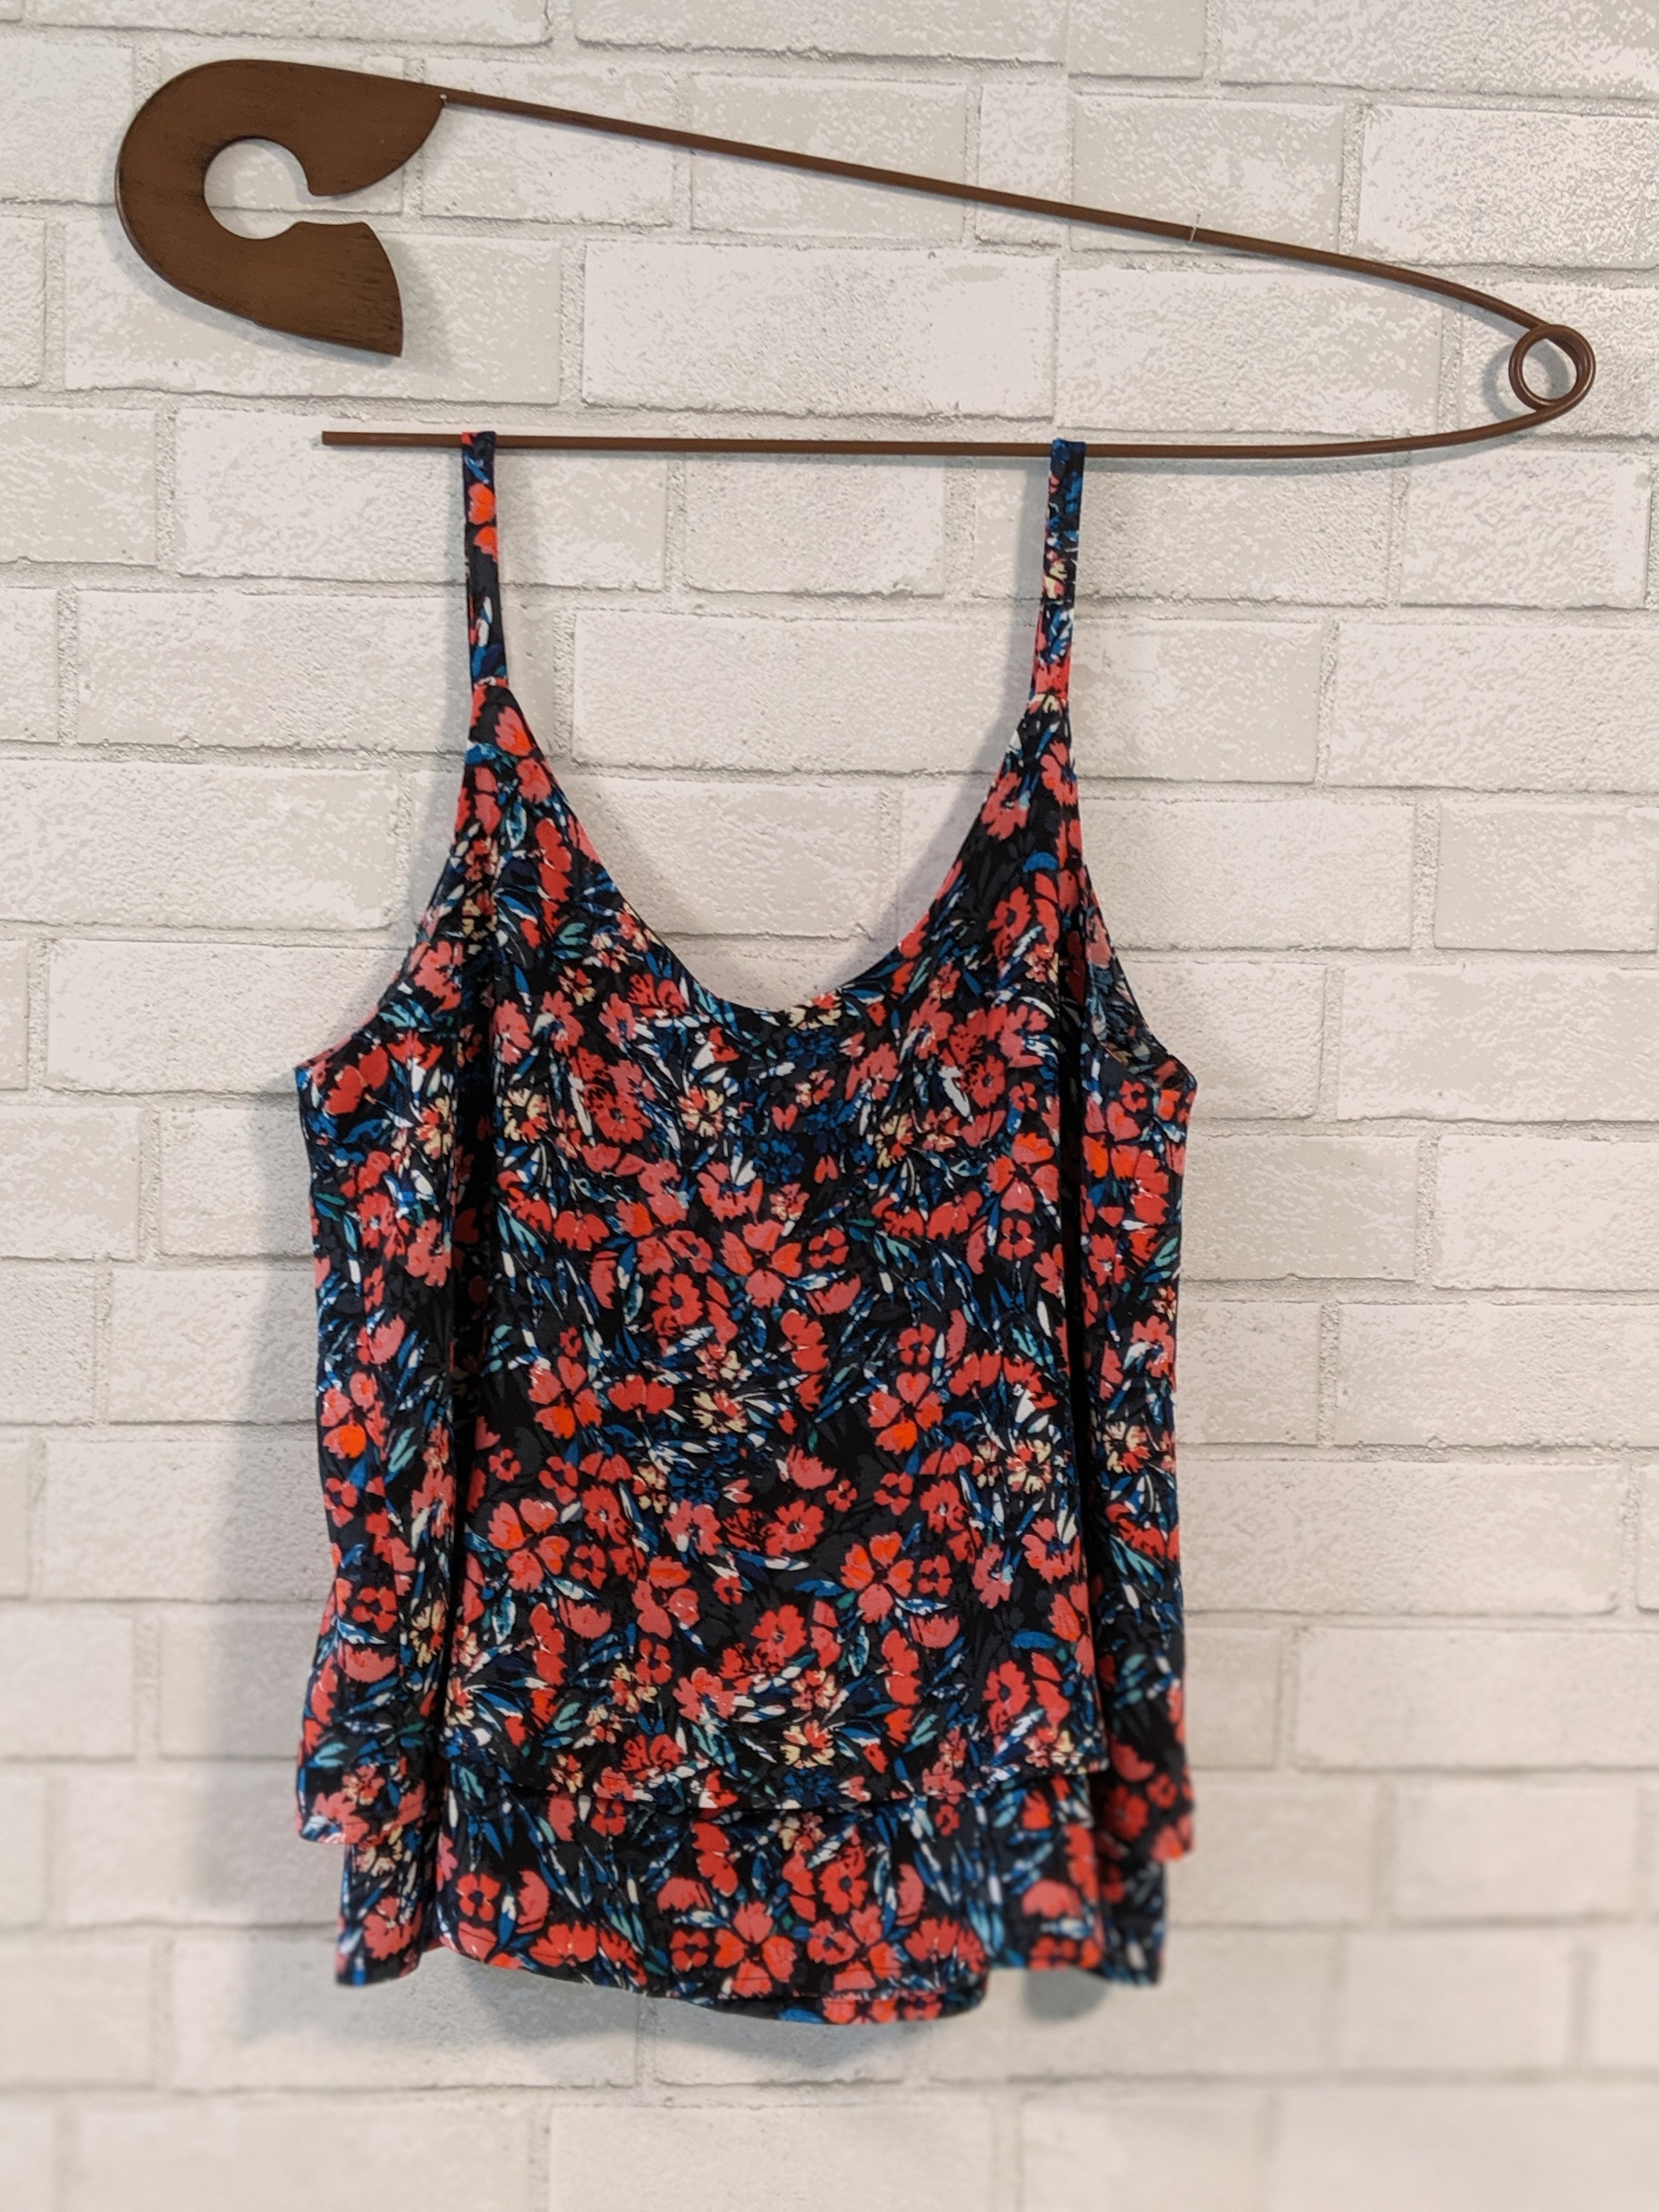
And I didn’t have to look far to find a ready to wear (rtw) cami for inspiration for more Ogdens.

Images from Anthropologie
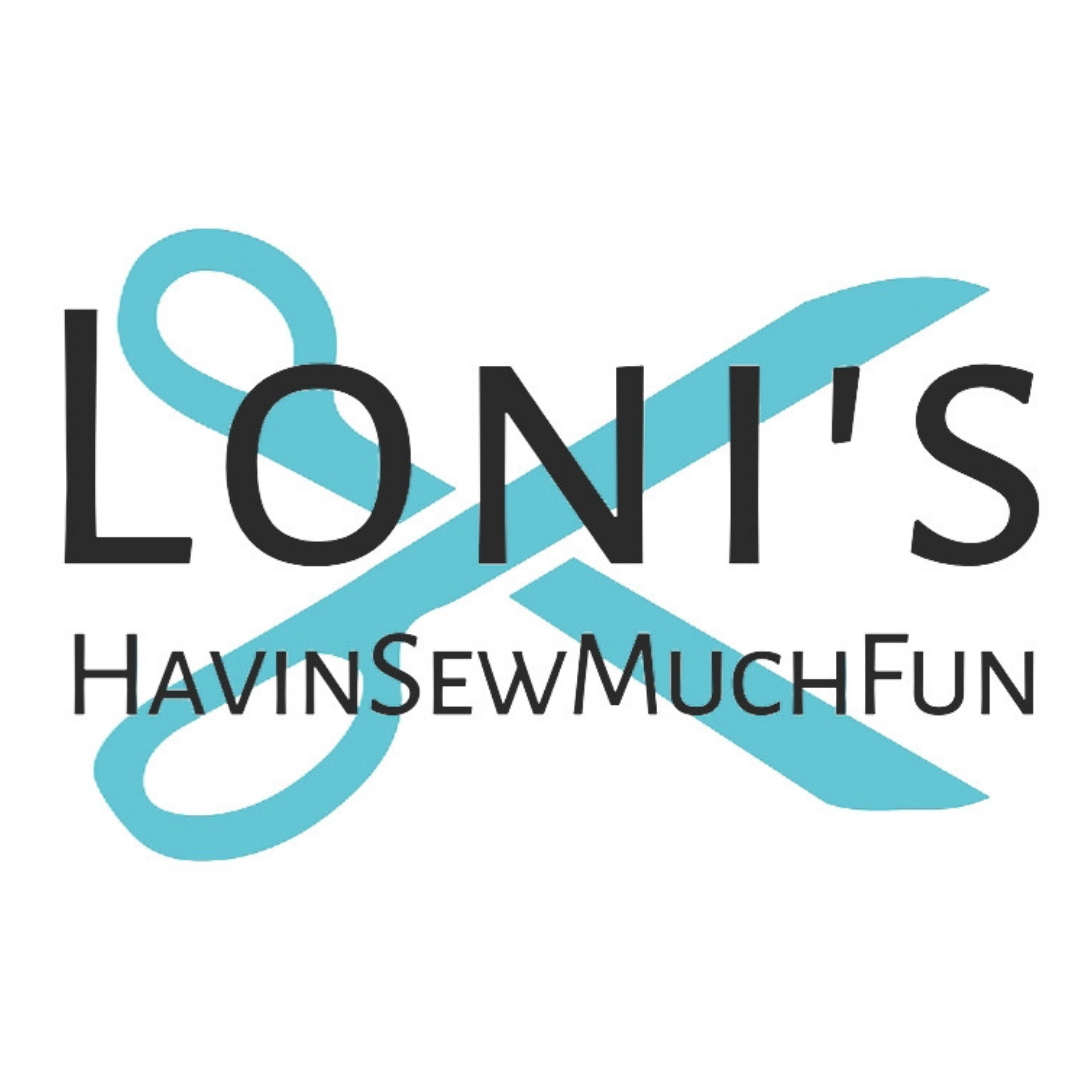
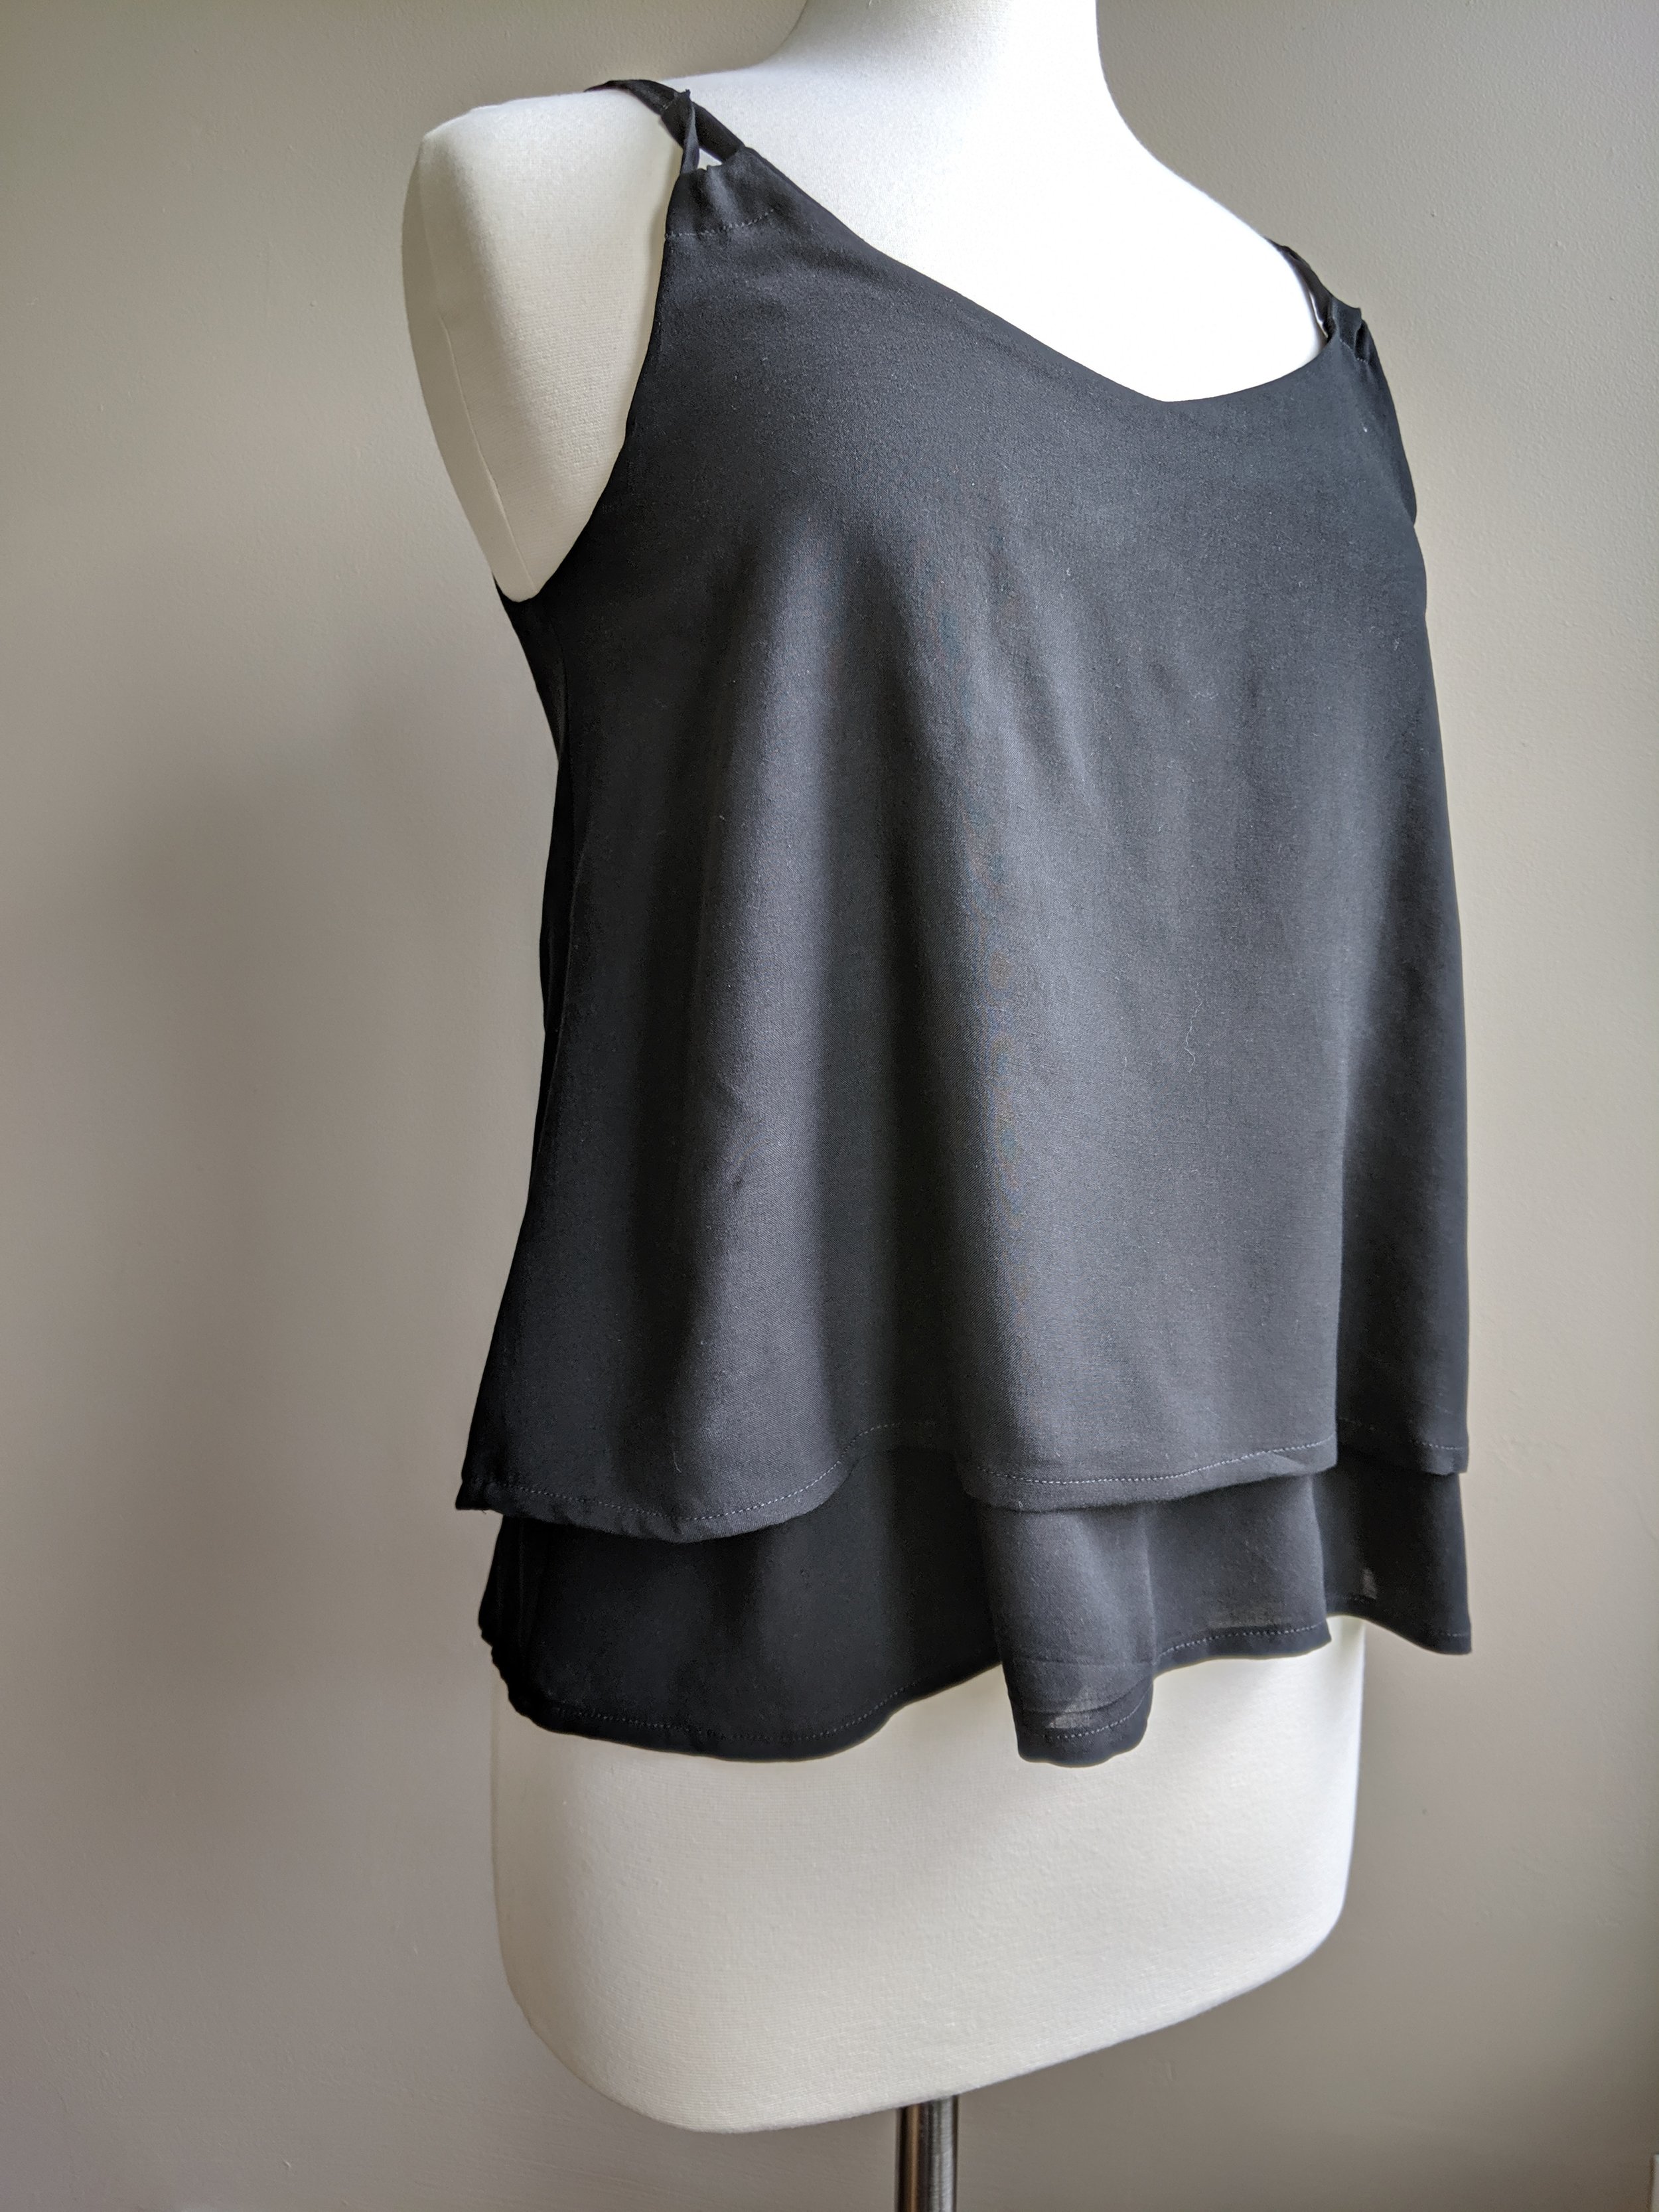
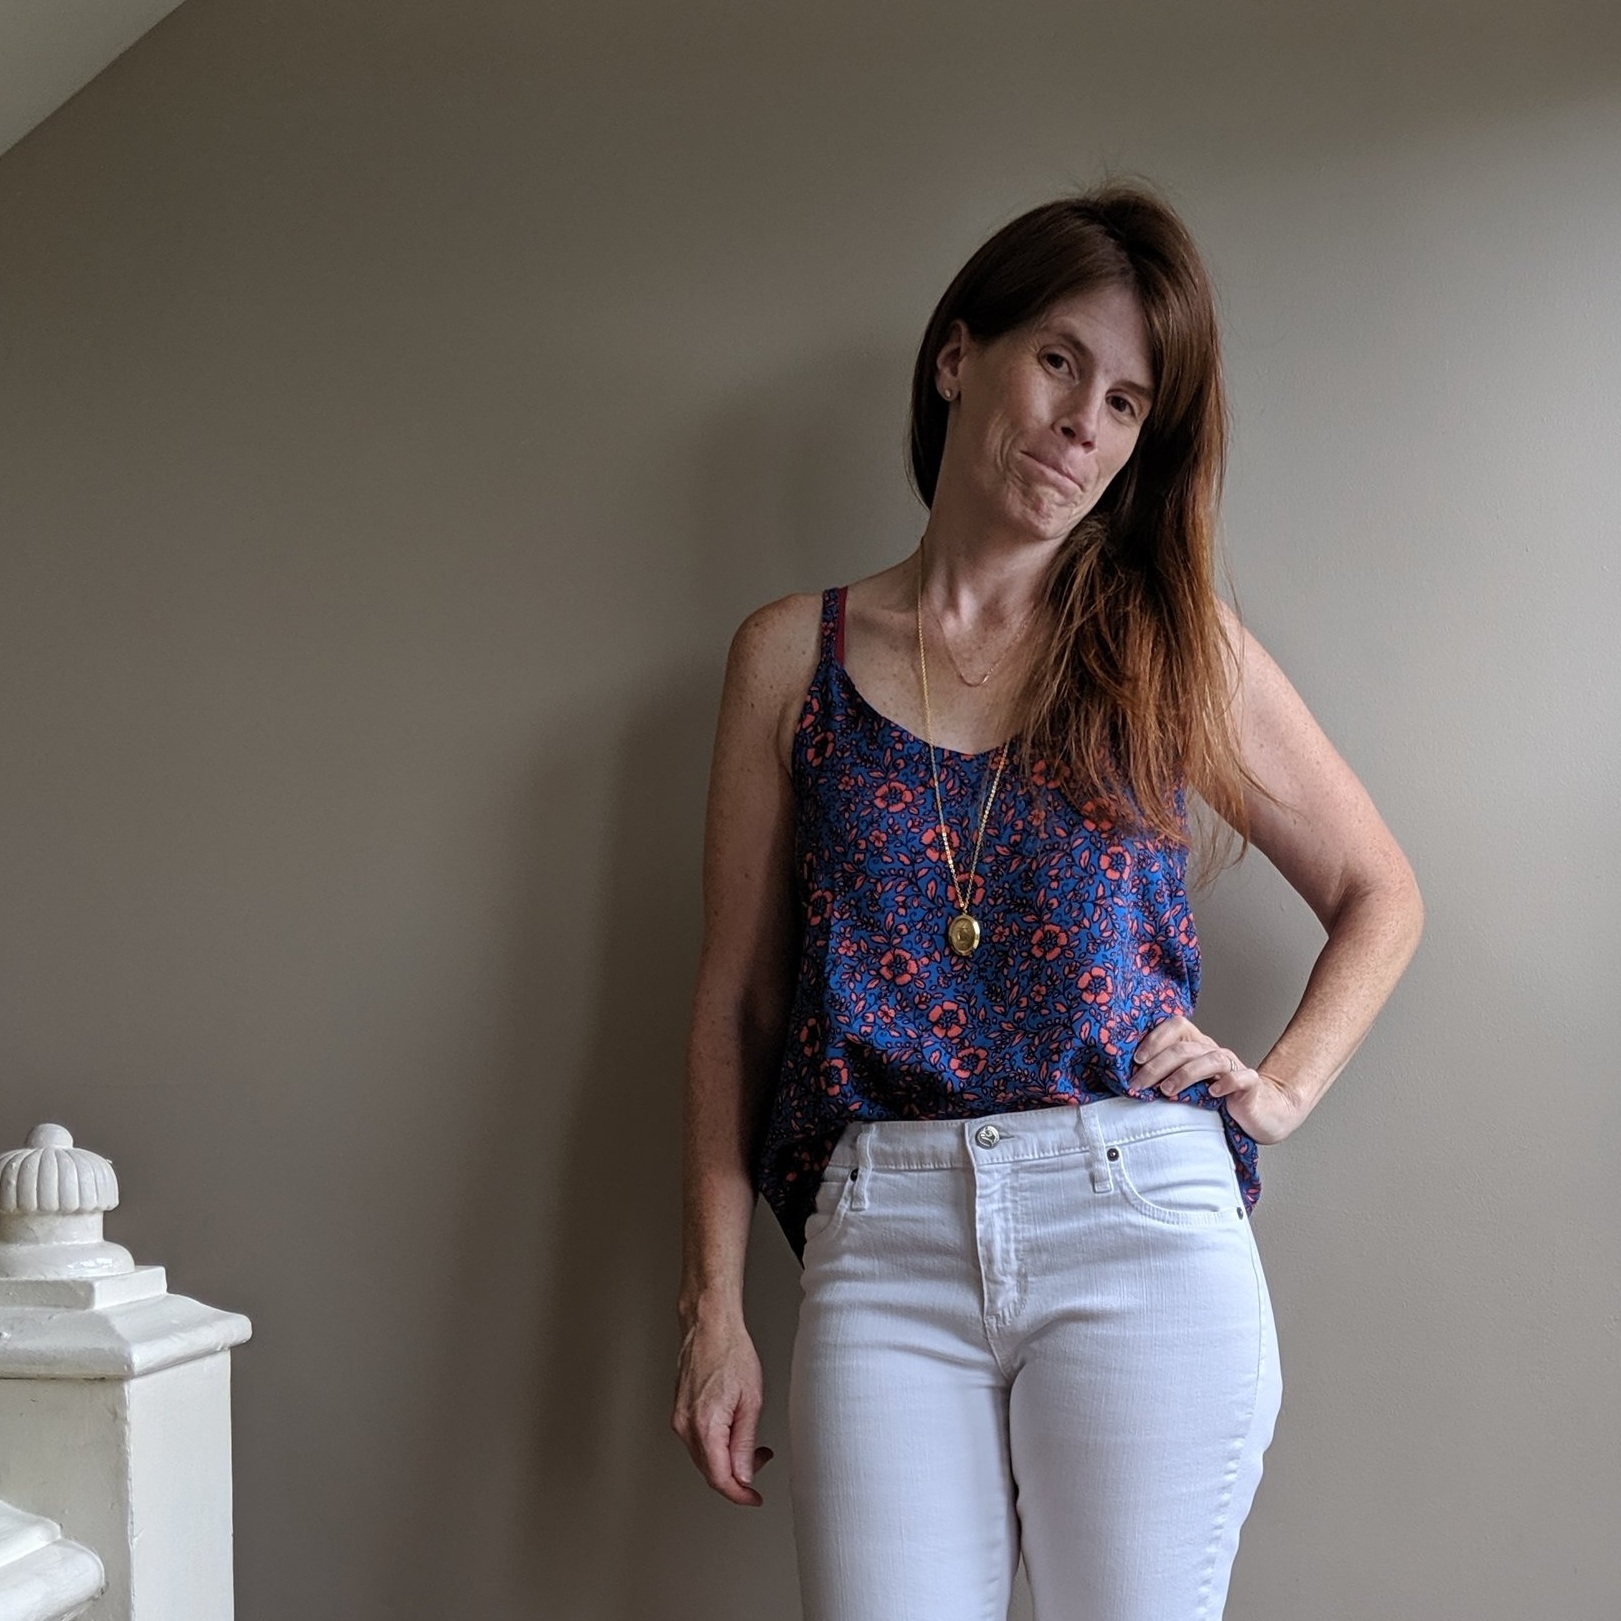
I love a tiered version because it utilizes the facing as an actual style point. I’m sure this mod has be done many times. But I was just getting on board. #lateadopter
with a “regular” back-closure bra
For my first tiered cami, I used only the front and back pattern pieces. I cut 1 set full length and another set shortened 2.5”. (I shortened at the lengthen/shorten line so the tiers would have some movement between them. If you shorten from the hem, the layers will be same widths and sit very closely to each other. ) The full length set becomes the “facing.” Just be sure to sew the right side of the shortened/outer set to the wrong side of the “facing”/longer set. I did this exactly backwards (with the shortened layer ending up inside the full length) on my first go, because braining is hardest sometimes for the simplest of tasks.

Knowing I loved this effect, I set out to copy a few of the other aspects of the rtw cami.
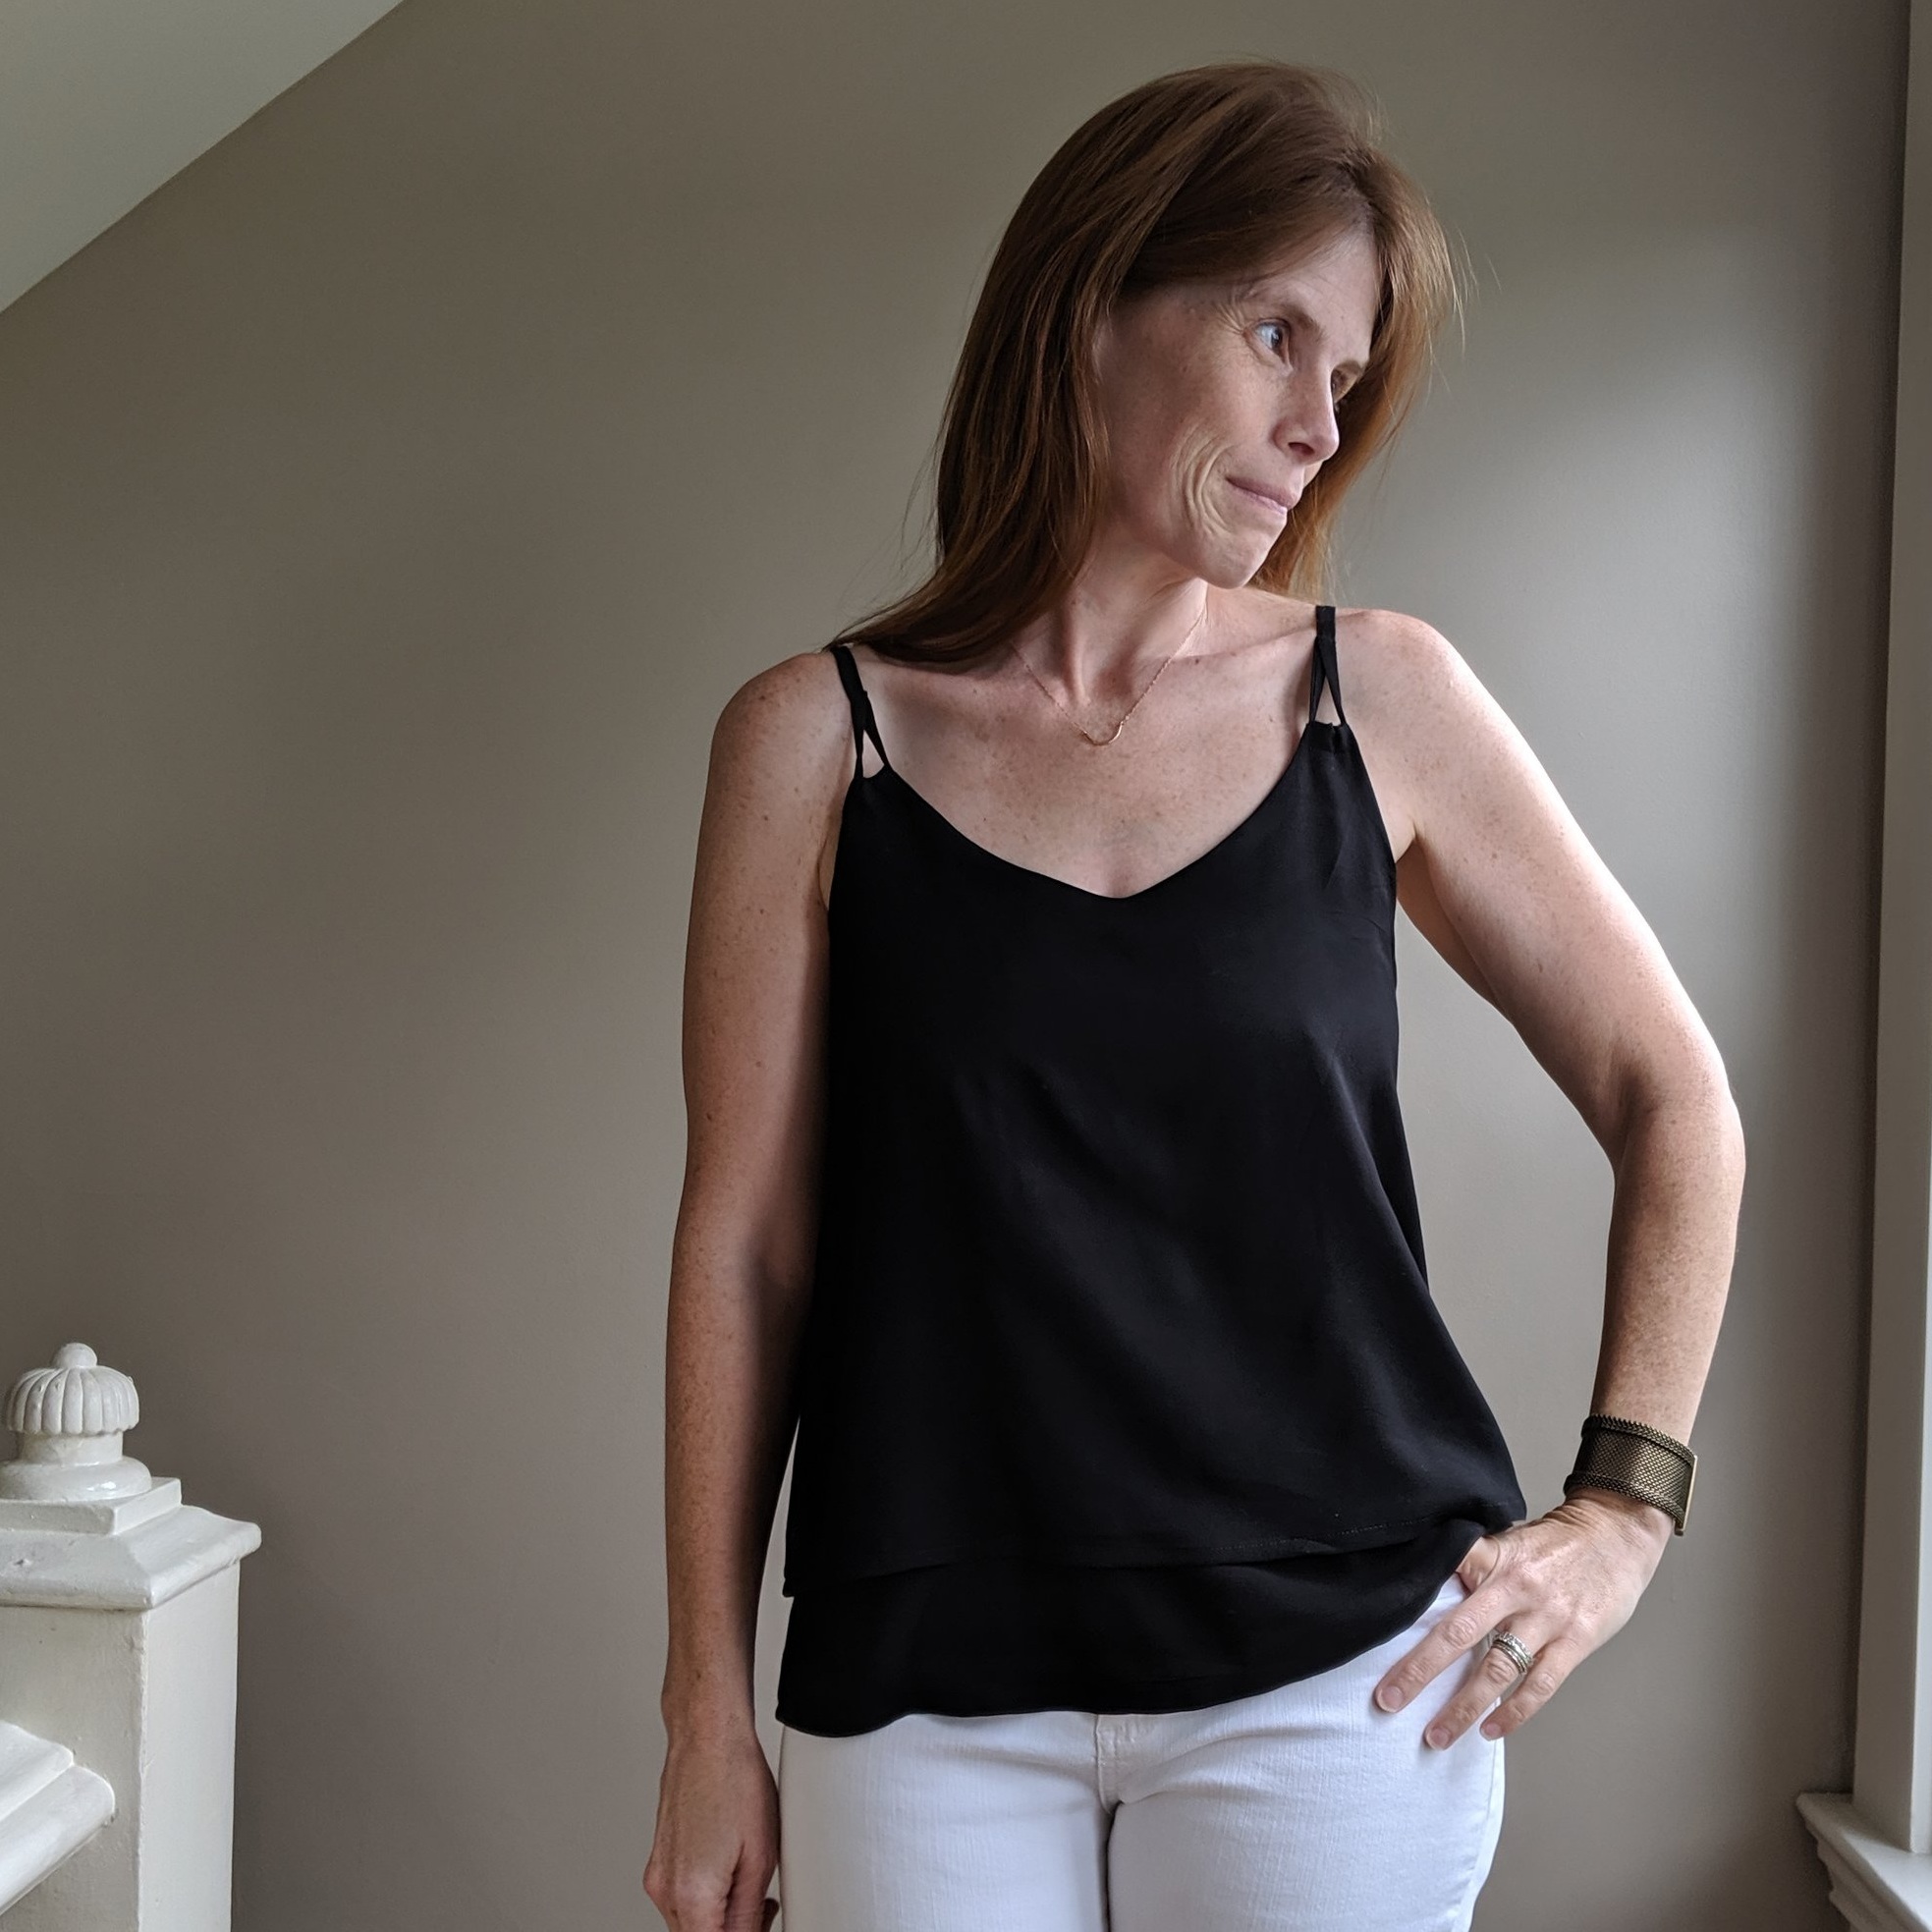
I raised the back neckline 2.5” and straightened it. (It’s now quite obvious which is the front vs. back and one won’t find one’s self pinning the facing to the wrong side.)

In the front, I added a half of inch to the height (because it folds over to create a casing for the strap) and widened this area so it would gather like my inspiration.

Surprise! I had lingerie sliders in my stash. (When am I sewing lingerie?? Lord only knows. Bewbs are rather mysterious.)

I knew I would need the straps to be a bit longer in order to run through the casing and meet itself at the slider, so I just doubled their length when cutting. I then sewed the straps with a larger seam allowance so they would finish at 3/8” to work with the slider.
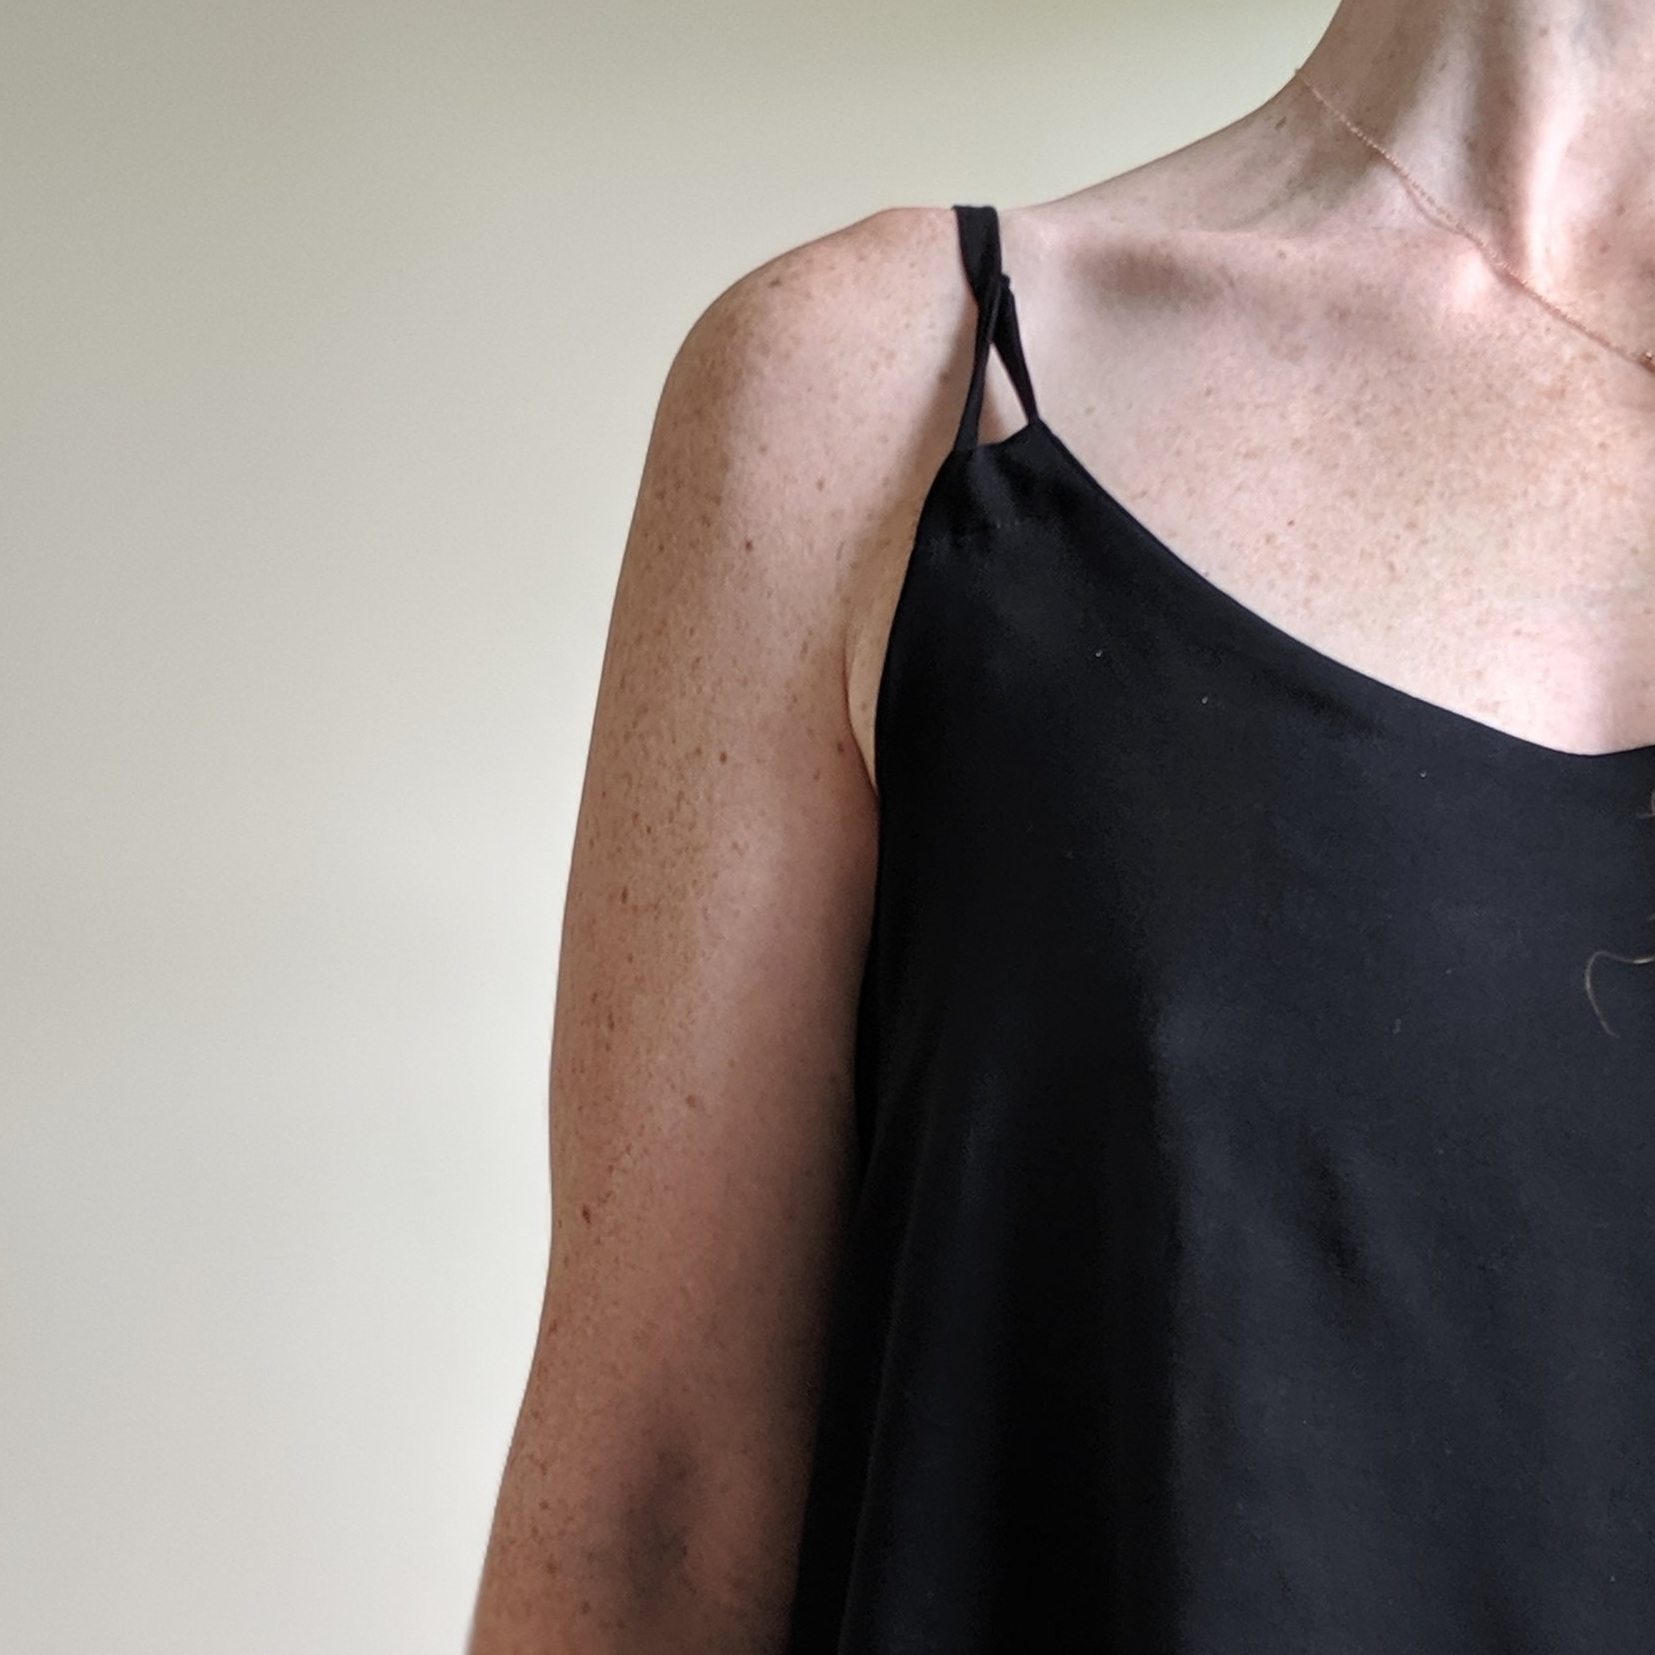
The straps are sewn in the back of the top as usual. In the front, simply sew up, across, and back down the strap attachment area (without the straps inside). Trim, clip and turn the area as usual.

After turning right side out, fold the top to the wrong side/inside and stitch it in place, creating the strap casing. Below- the left is before and the right is after stitching the casing.

Then it was just a matter of trying it on and figuring out how long the straps need to be when running through the casing. I actually abandoned the slider aspect at this point. A) I think they look cheesy and B) I wouldn’t be adjusting my straps, so I simply stitched them in place.


I think I did a pretty good job copying the Anthro cami, but here’s what I also did: I created a top that didn’t work well with a bra (narrower straps with an open detail) and in essence changed all that really is wonderful about Odgen.
it’s either bandaids or a bra. I think I prefer a bra.
So to the last half dozen or some so folks out there who haven’t tried Ogden, I say you are missing out a pretty good thing. It’s much more bra friendly than you think! (And widening the straps to match your bra strap width would be very doable.) Go take advantage of the many variations and hacks that have already been shared. You won’t have to invent them!

left- back raised 2.5”/right as designed
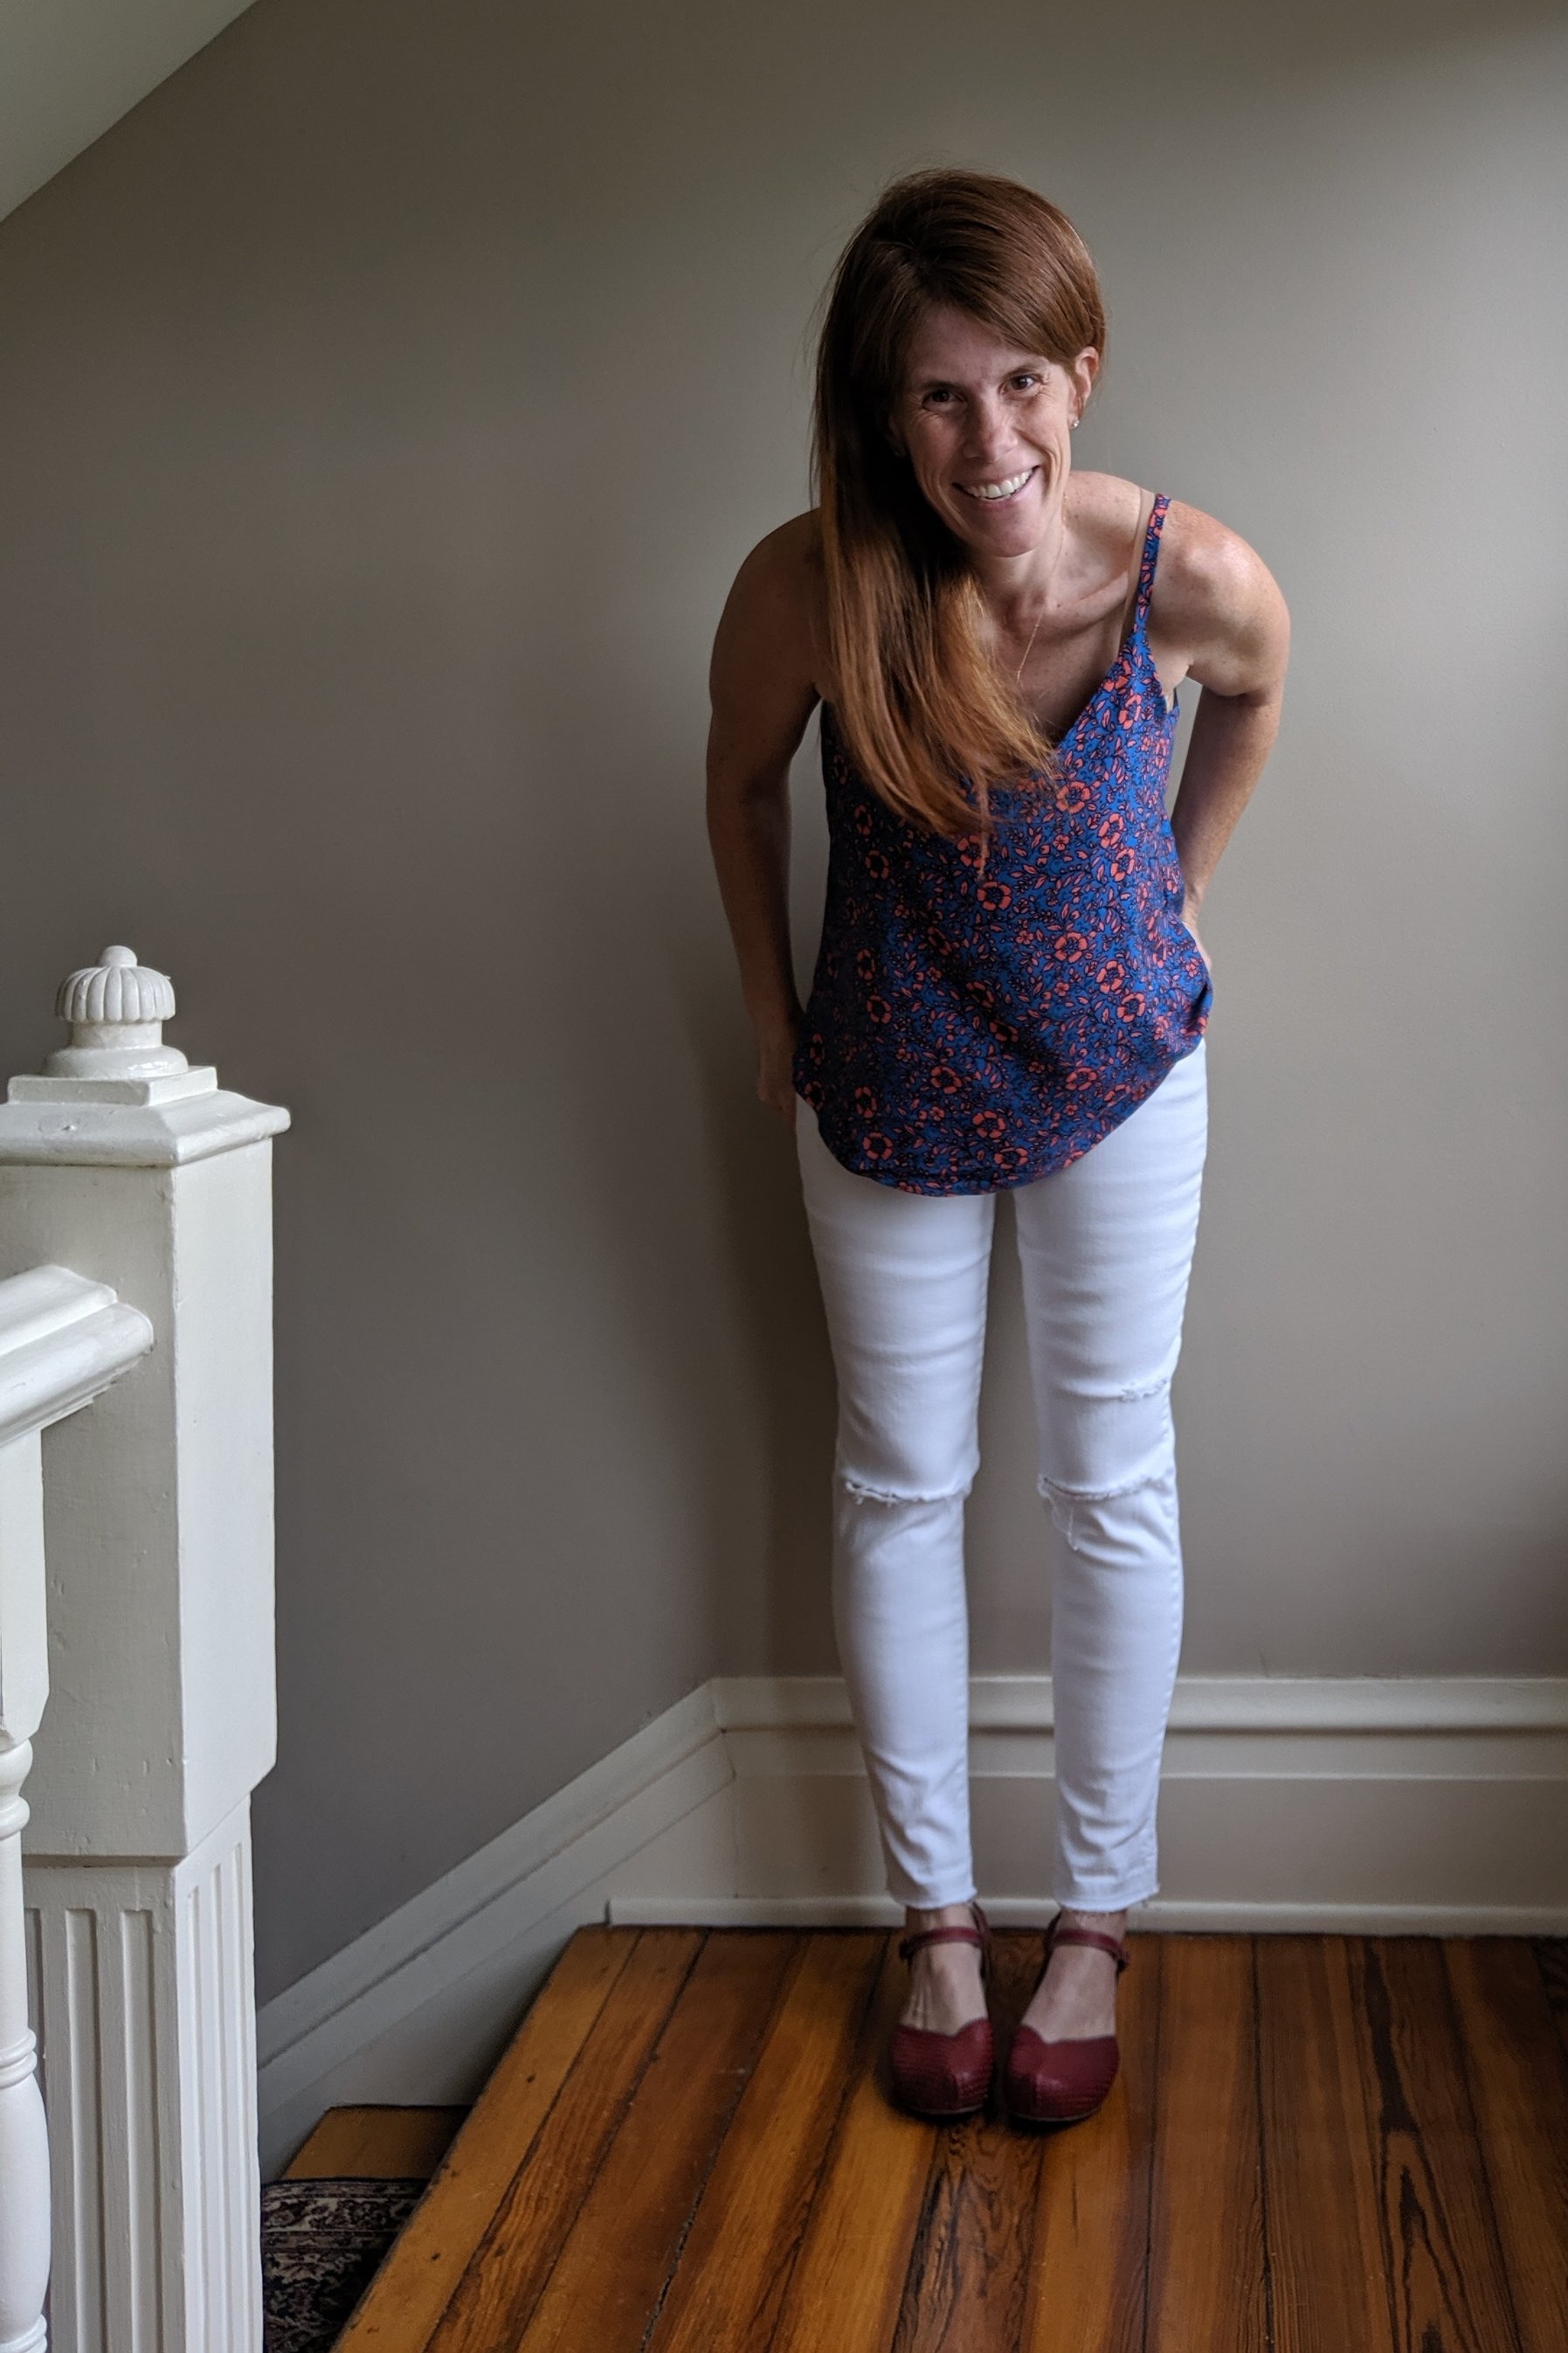

I sewed a straight size 6 for all my versions. (I measure 34” high bust, 35” full bust, 28” waist, 37” hips. 5’5”.)
More info on the swap can be found here.
