

Not to brag….but I’ve been rather good at working through my stash recently. It’s actually quite amazing how much fabric one can amass. (#jazzhands) So I found myself staring at a cut of off-white (unbleached?) cotton with really cool woven detail in large staggered polka dots. I couldn’t even recall where I had purchased it or how it got here.

I’m pretty keen on trying new patterns and who doesn’t love FREE, so I decided to pair this stash pull with the Wrap Top pattern from Peppermint magazine.

I printed out size E, based on a high bust of 35”, before perusing the hashtag on Instagram, aka doing research. A couple of posts caught my attention: Mie’s (@sewinglikemad) and Tessa’s (@sewspoke). The first thing to note is that there’s about 10” of ease at the bust as designed.
I honestly hadn’t noticed the finished measurements chart. With the numbers listed in metric first, it didn’t really click. But boy was I paying attention now. Going down 2 sizes felt like better starting point, but I was still a bit concerned that SEVEN inches of ease at the bust was going to be too much. Reprinting was in order. I loaded all 35 pages back in the printer to print on the other side.
Admittedly, I am one of those kinda lazy brand of sewists, who really don’t make true muslins. I held the front pattern piece up to my body and was surprised that the bust dart didn’t look like it would be too high. I usually need to lower them about an inch. Satisfied, I just dove right in to cutting and sewing.
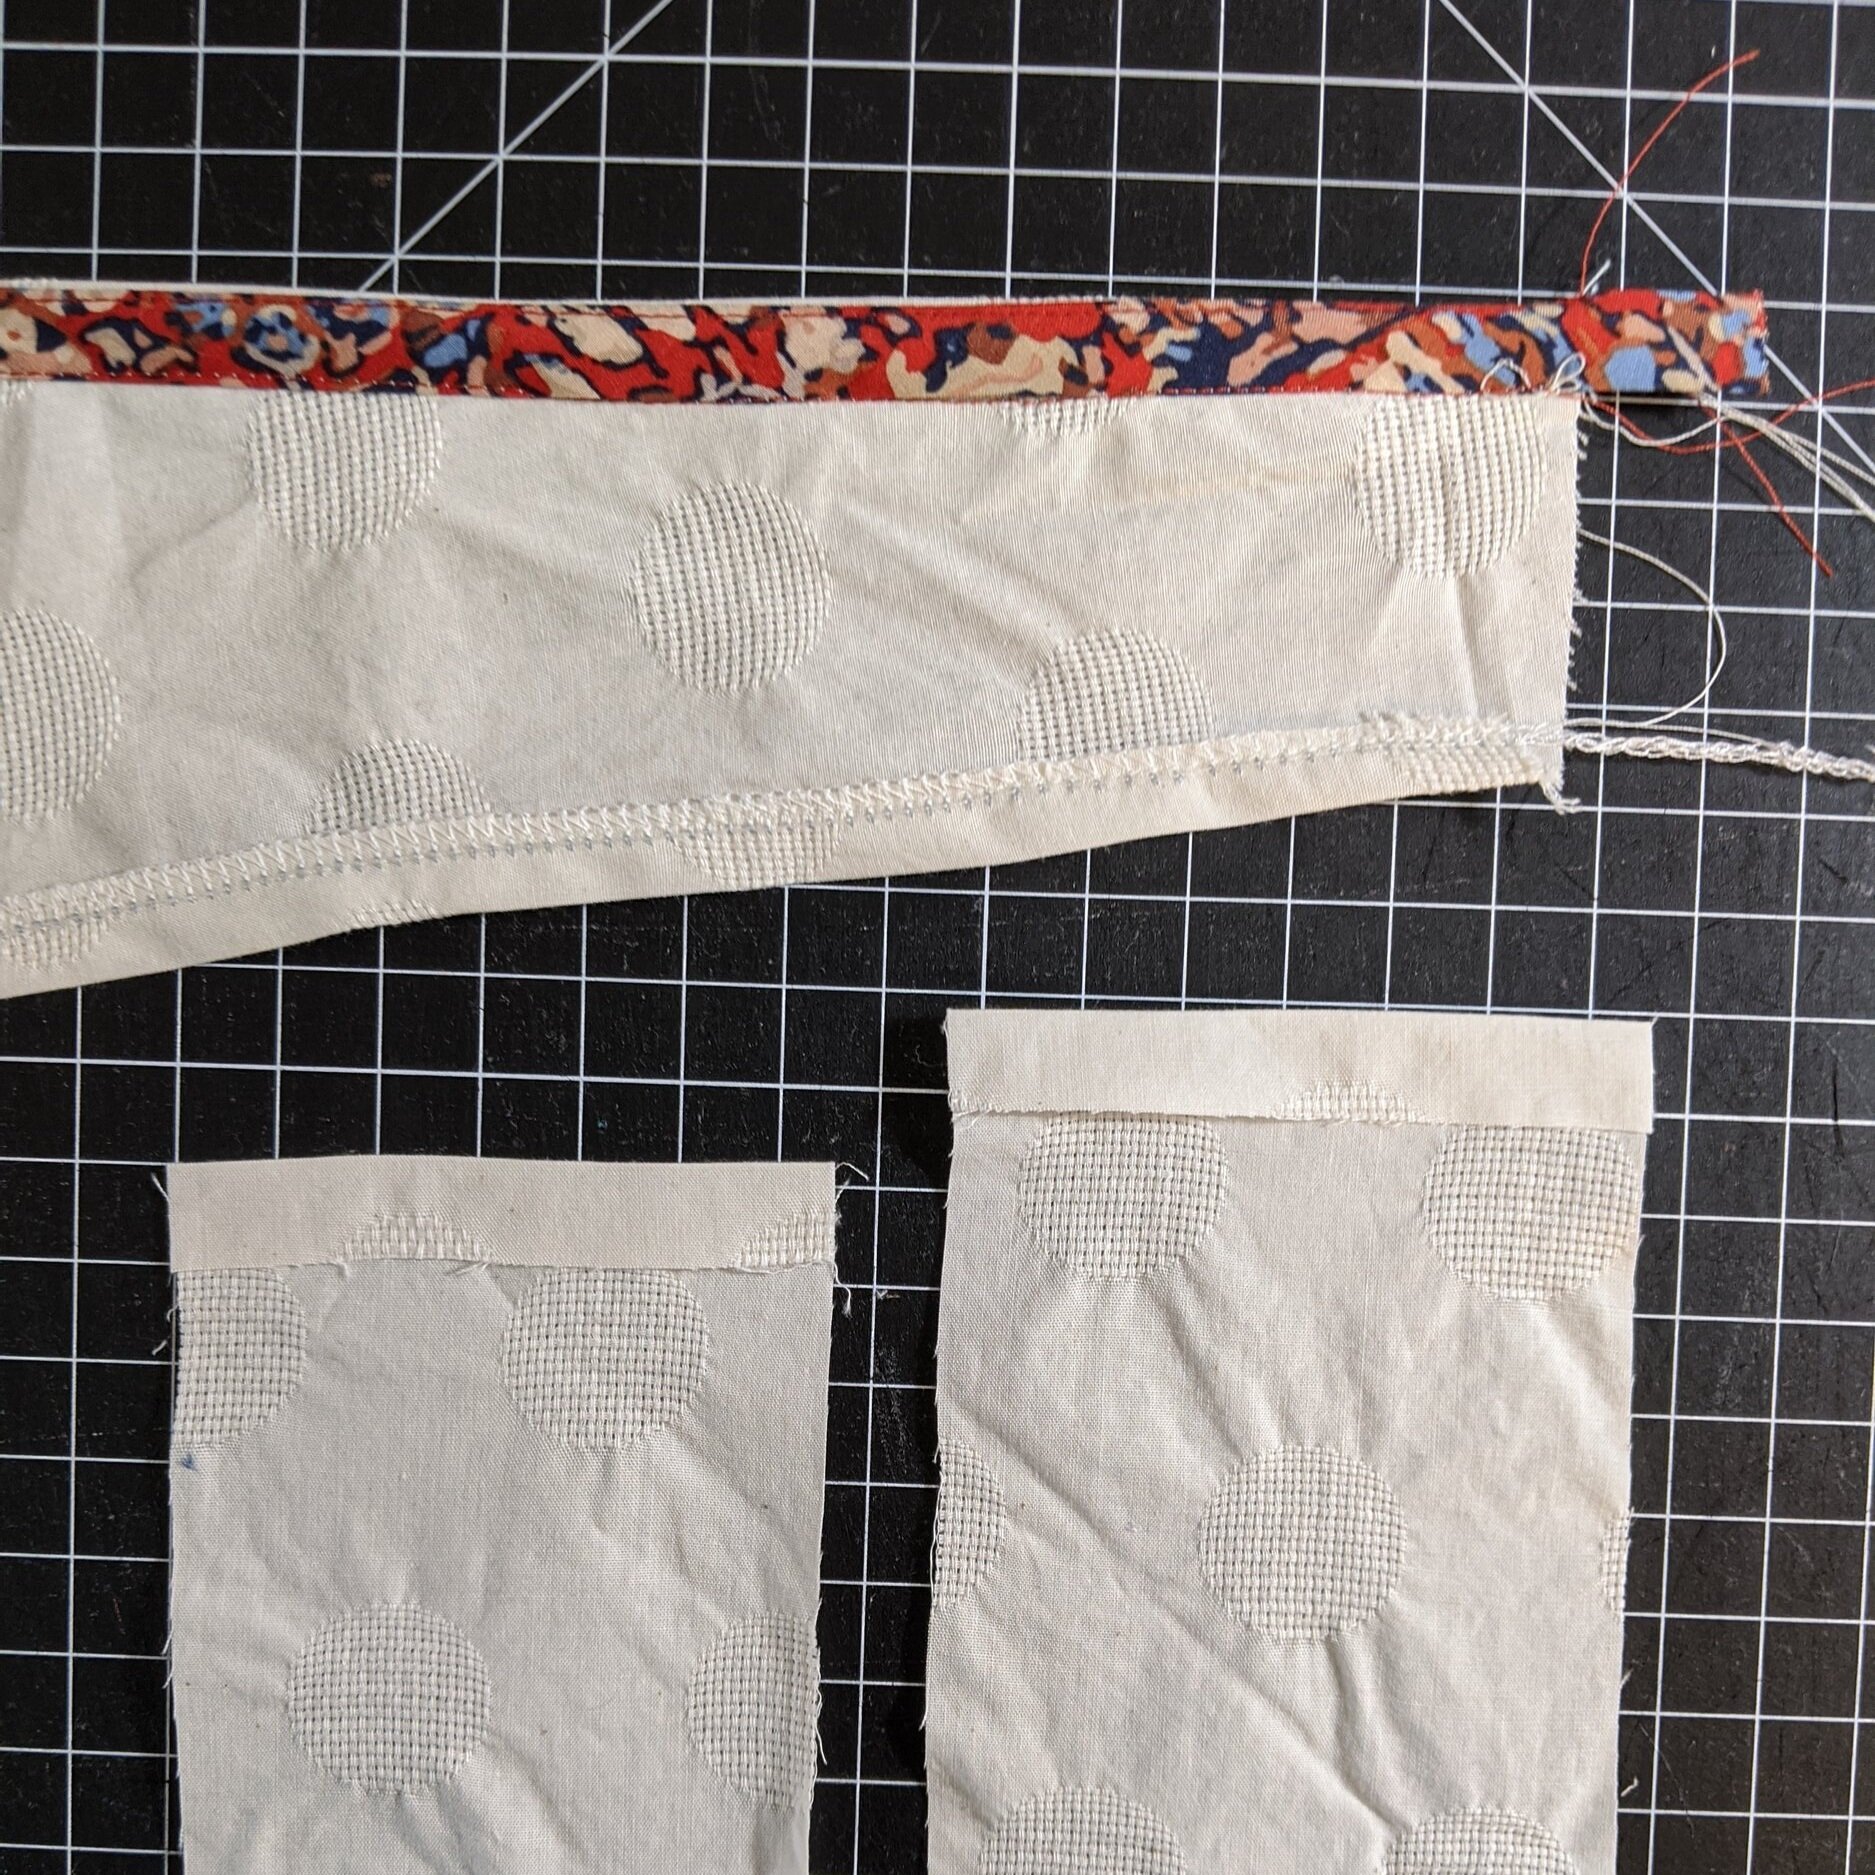
While I just called myself lazy above, one of the first things I found myself doing in constructing this top was to use bias to finish the edge of the front. It’s quite a long edge too. (We can make note that I didn’t bother to stay stitch anything, so +1 in the lazy column again.)

I used the same trim on the back neckline facing.
The sleeves can be set in flat if one simply finishes (serges) all the right side seam edges first. (The right side has the opening for the left tie to pass though.) It felt weird to French the left side seam, when the right side was being pressed open, so I (lazily, +1) did a simple serge to finish that side. If I were to do it again, for continuity/consistency, I’d finish the left side seam edges first, sew, and press them open like the right.
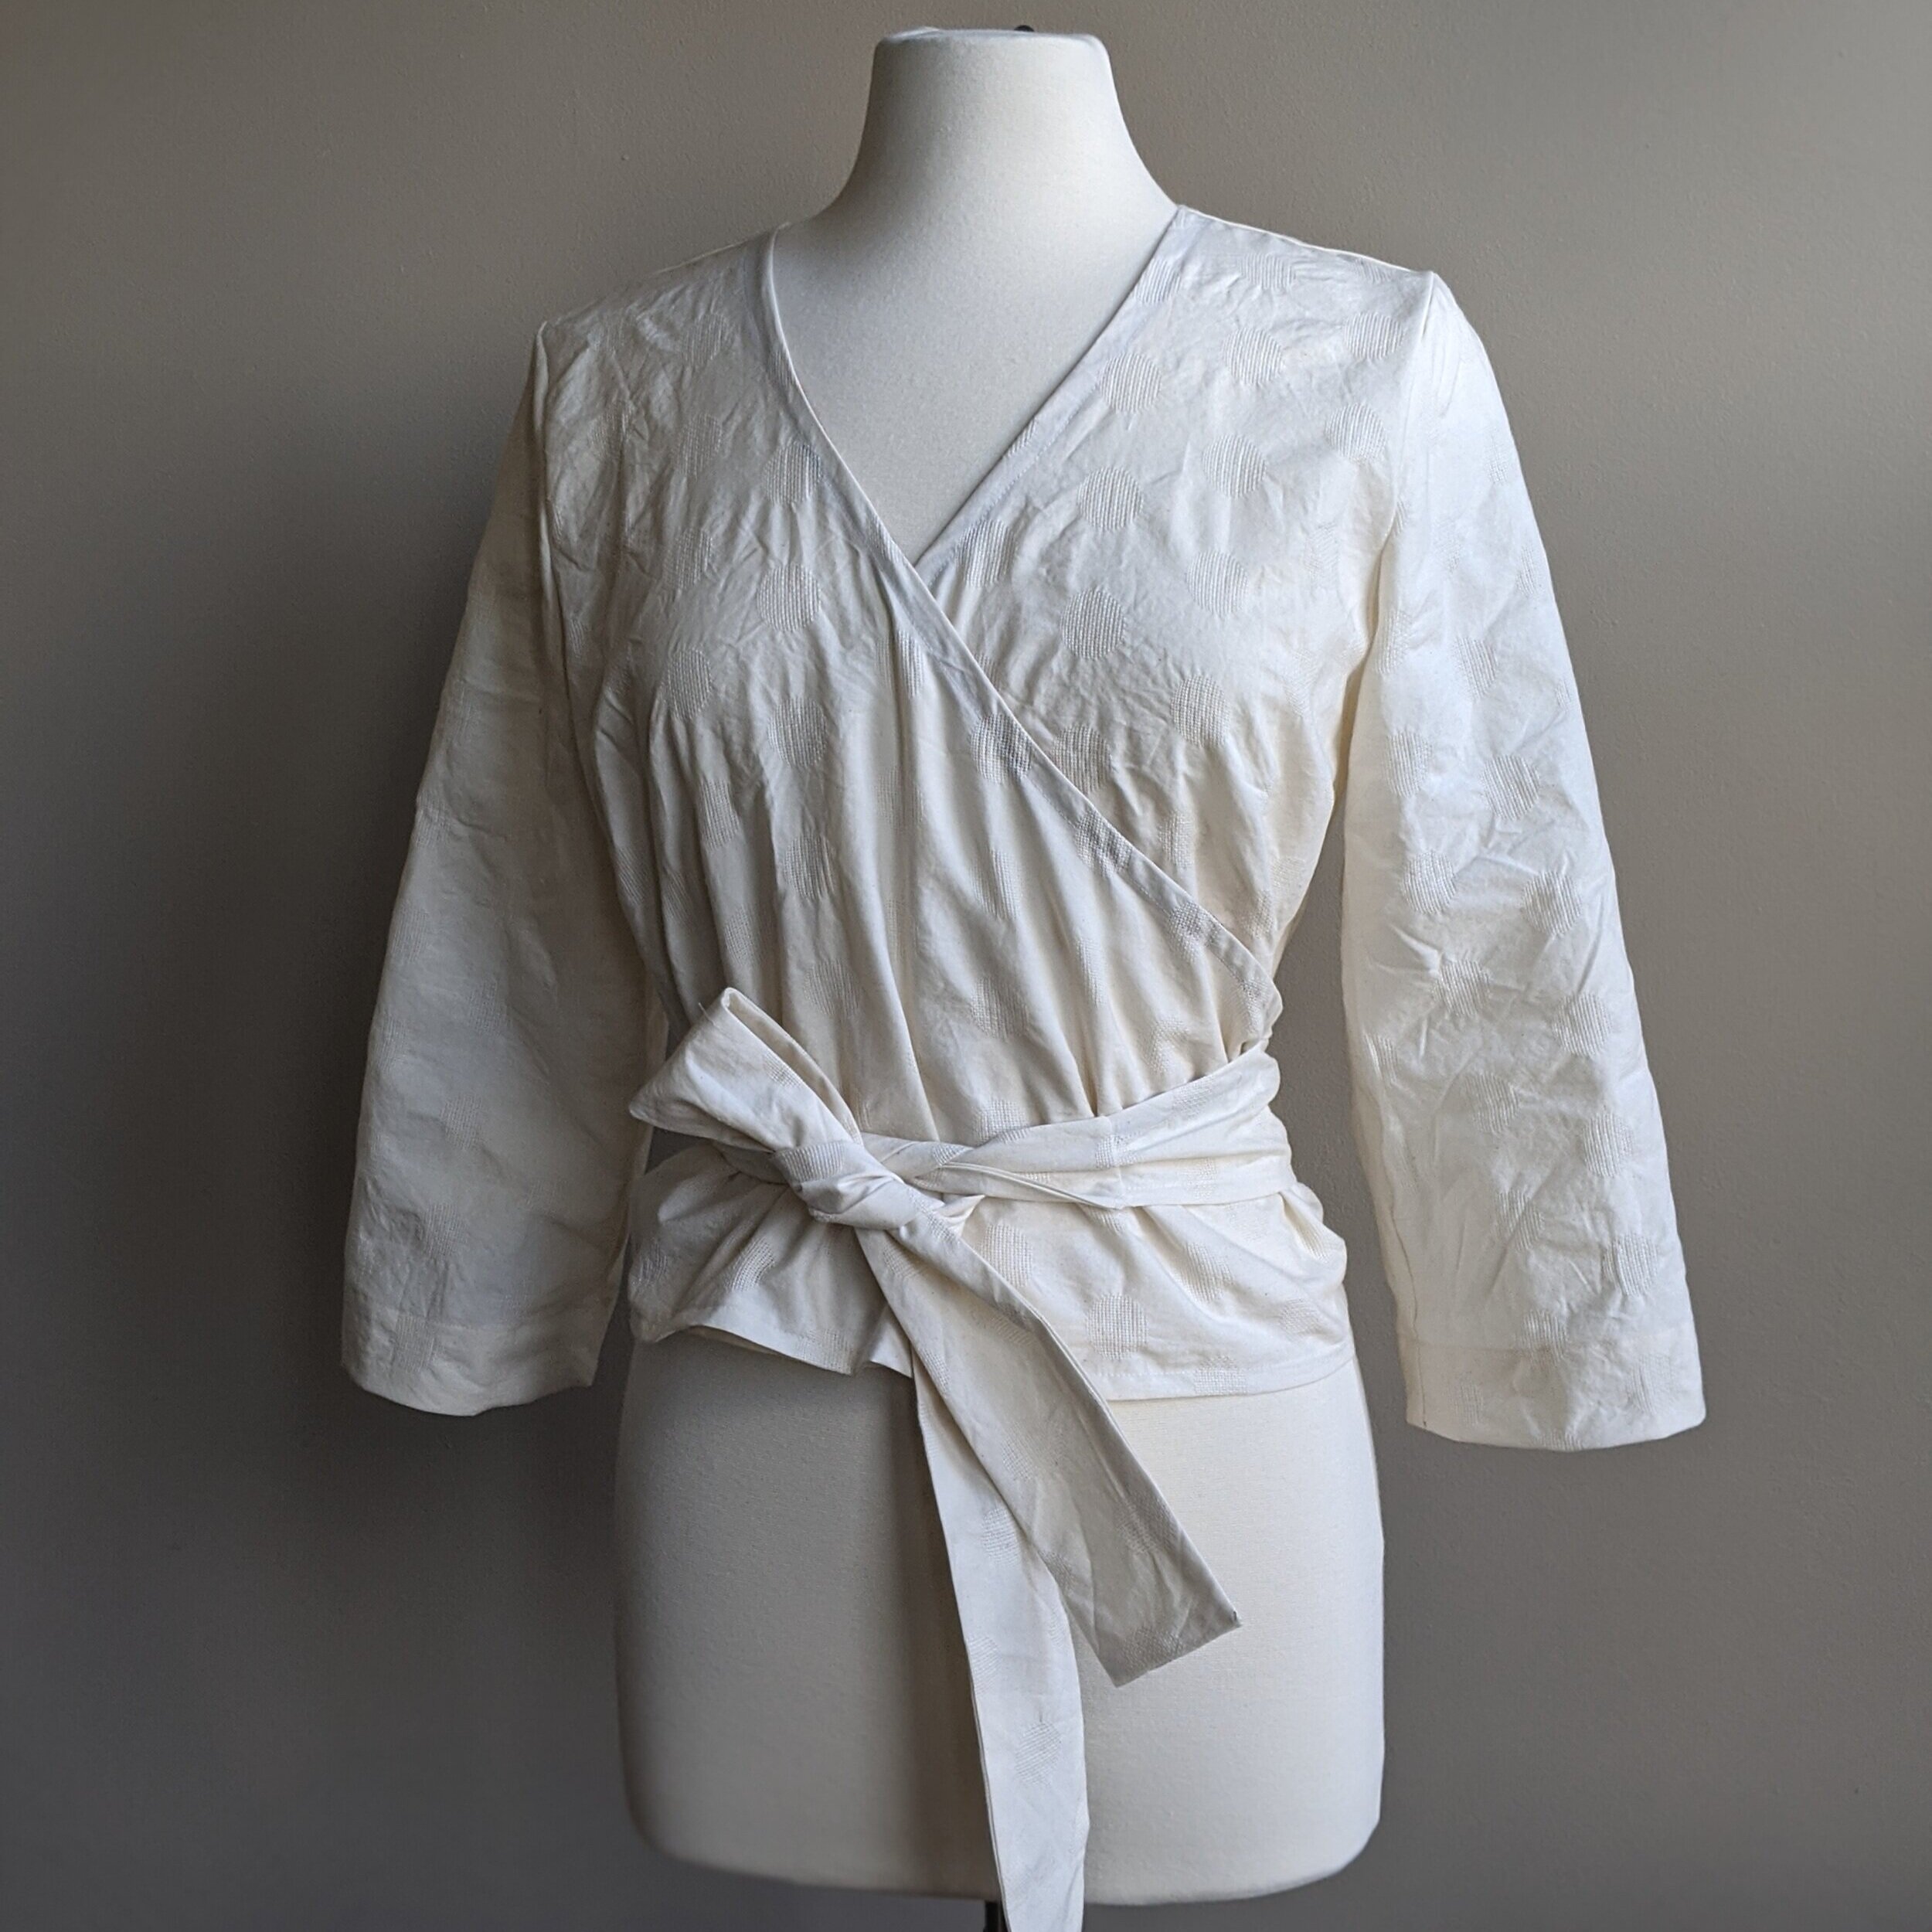
One of the things Mie had mentioned in her post was that her ties were double sided. I liked that idea (and I had enough fabric to cut mirrored sets) mostly because it allowed for a rather lovely finish. With the front bodice top edge finished and the bottom hemmed, I sandwiched the front between a set of tie pieces, right sides facing, naturally. The opposite short side was pressed to the wrong side. I stitched down one long side of the ties, around the short edge, securing all three layers, and back down the other long side, making sure not to catch any of the front piece when stitching the long sides. With this approach turning the tie is a breeze; just pull the front piece through. (And close the short open end. The repeat everything for the tie on the other side.)
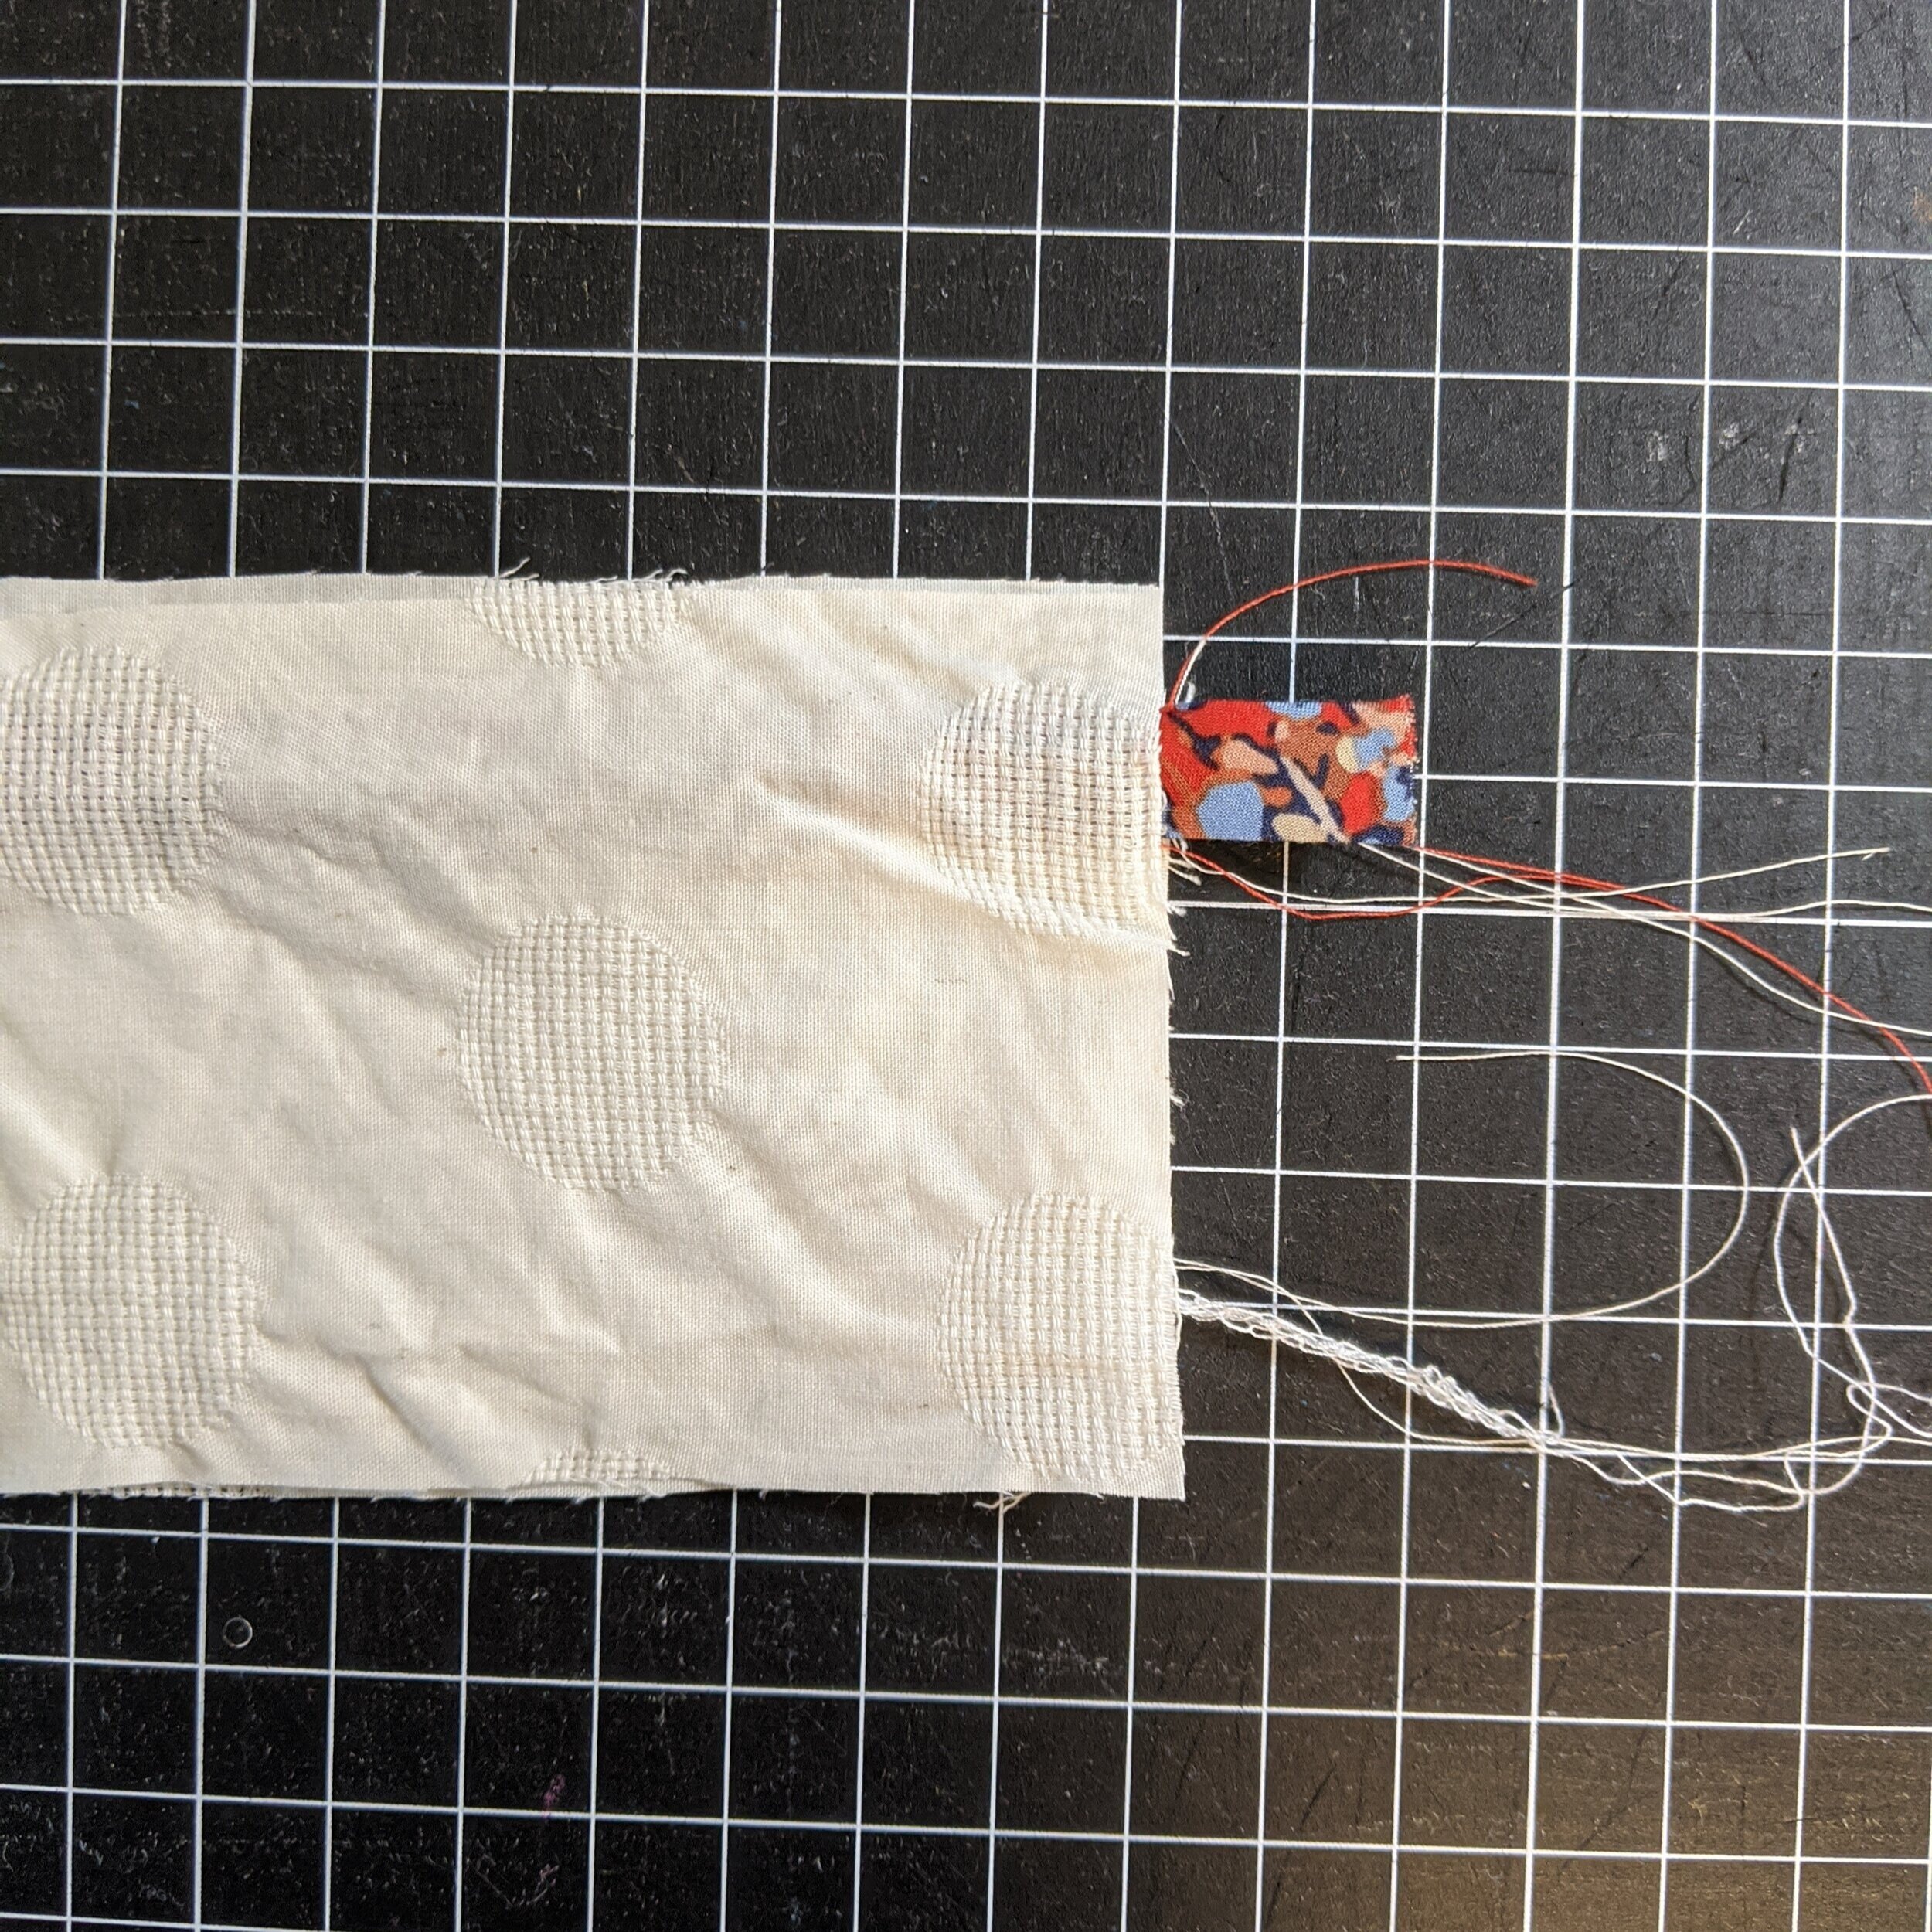
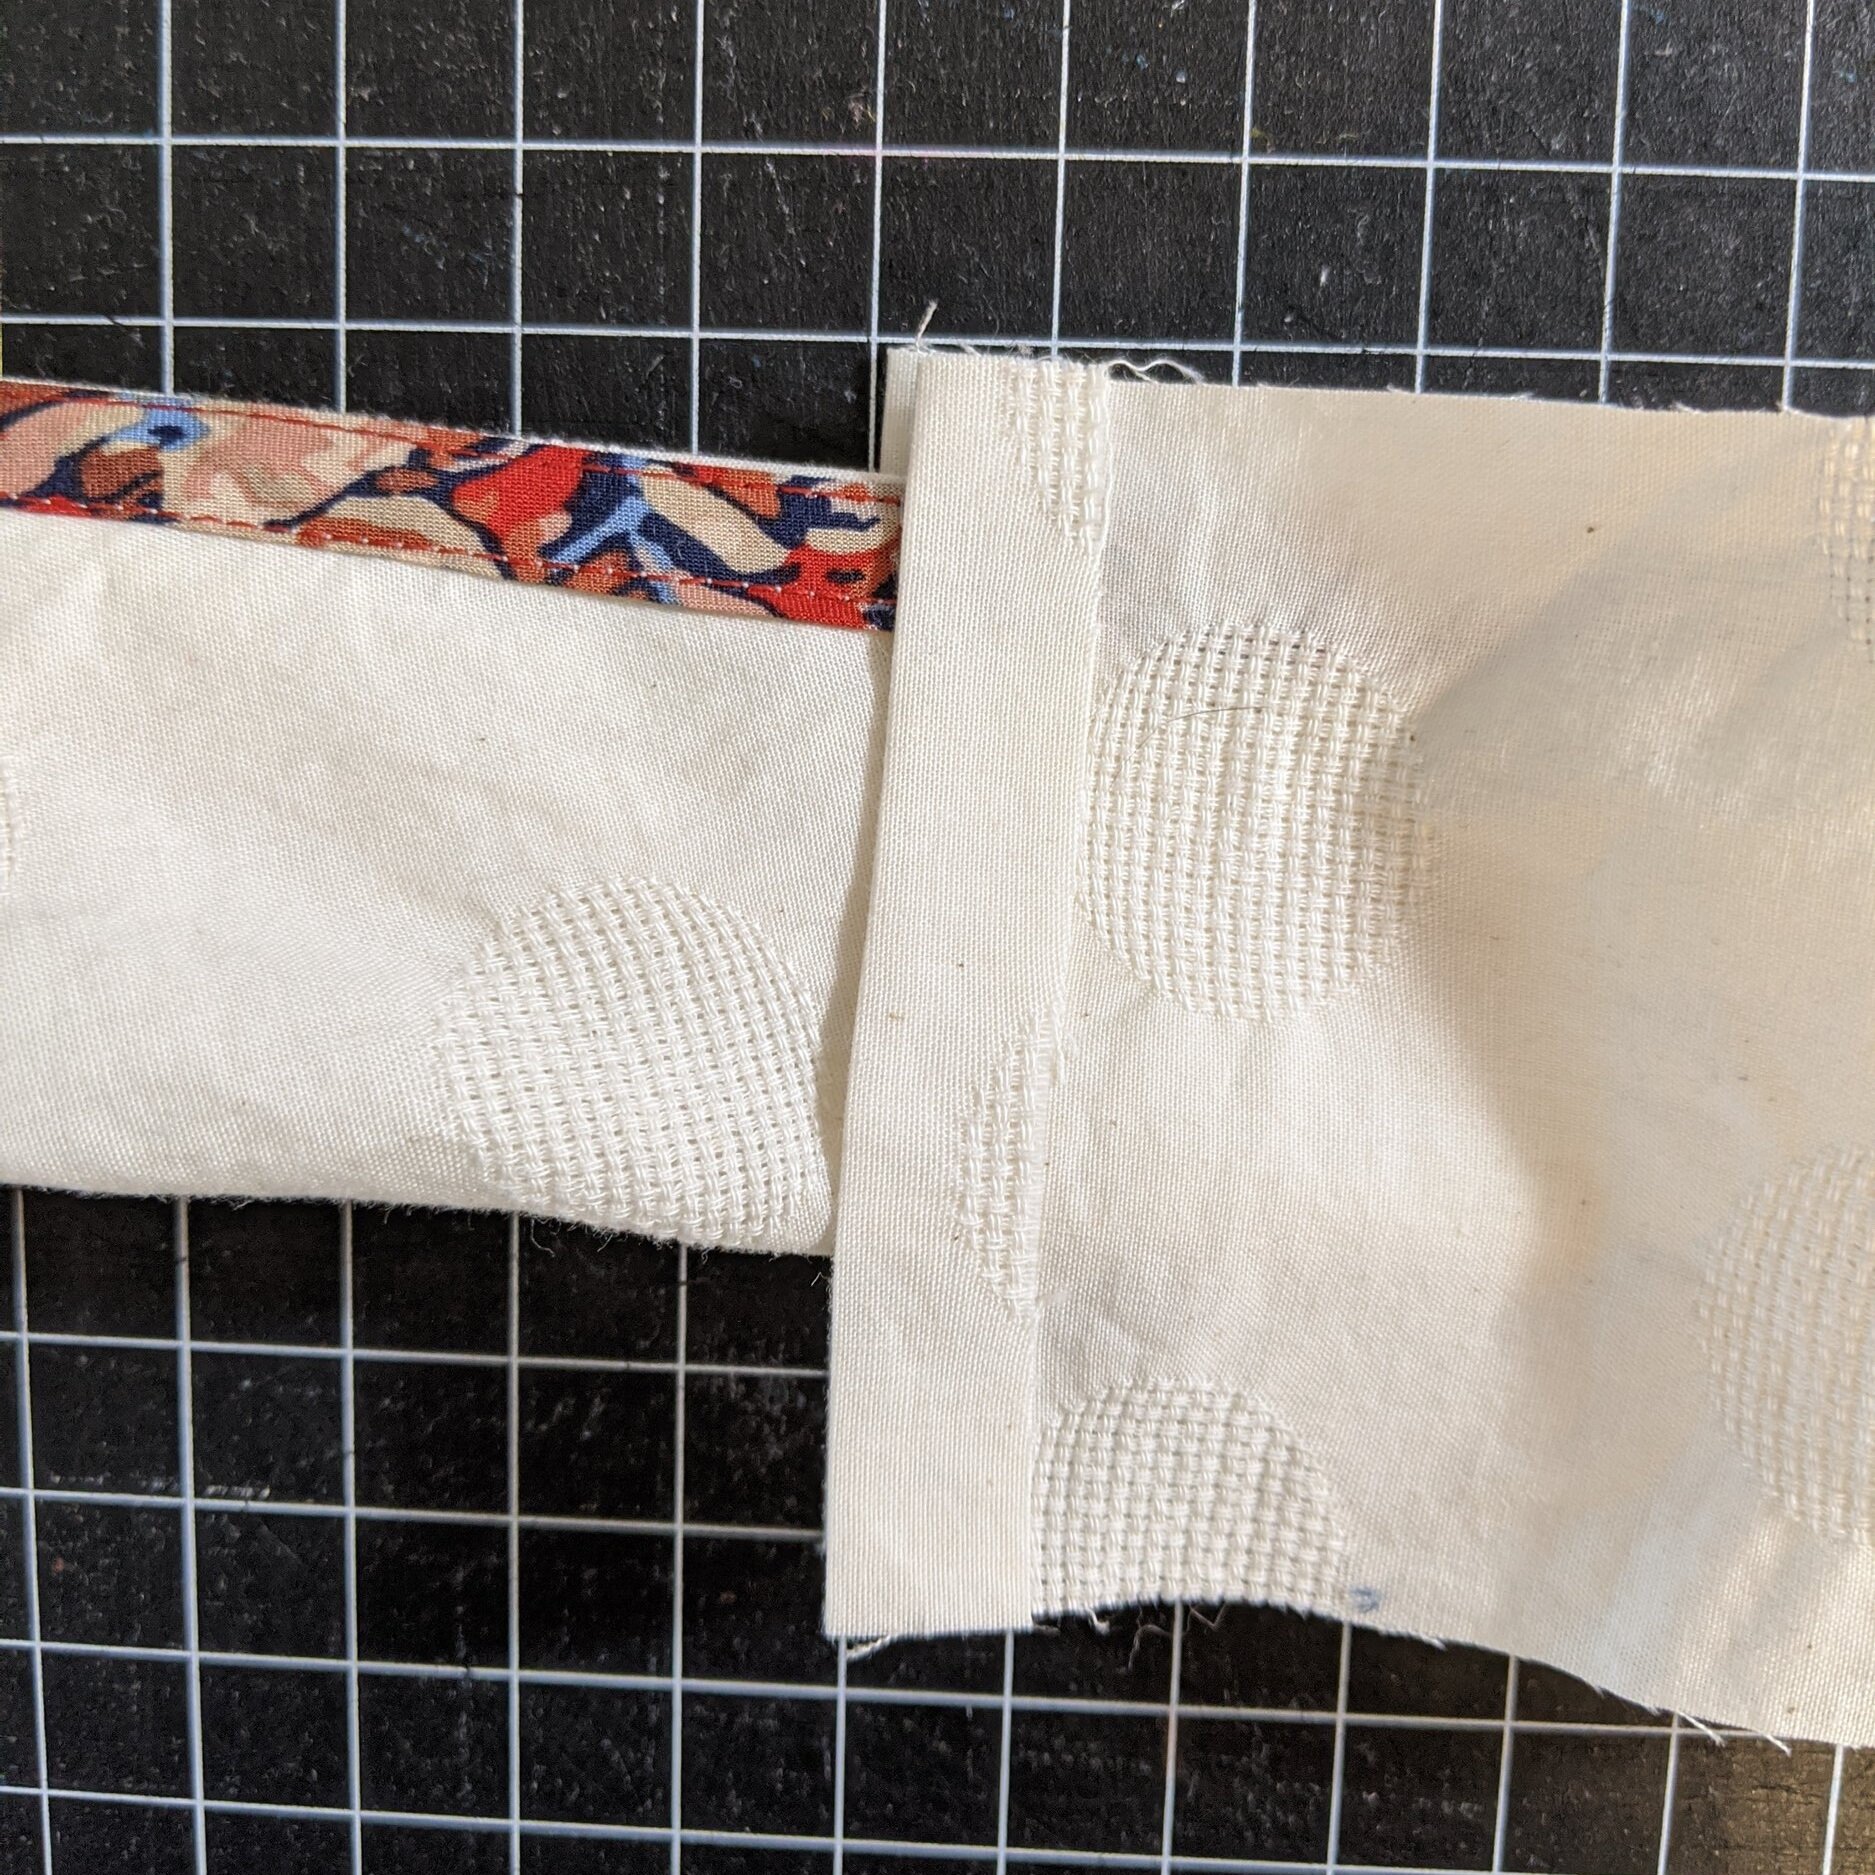
The pic below shows the result. I think this looks much nicer than having an exposed seam here and simply hemming the tie, which is the suggested construction approach here.

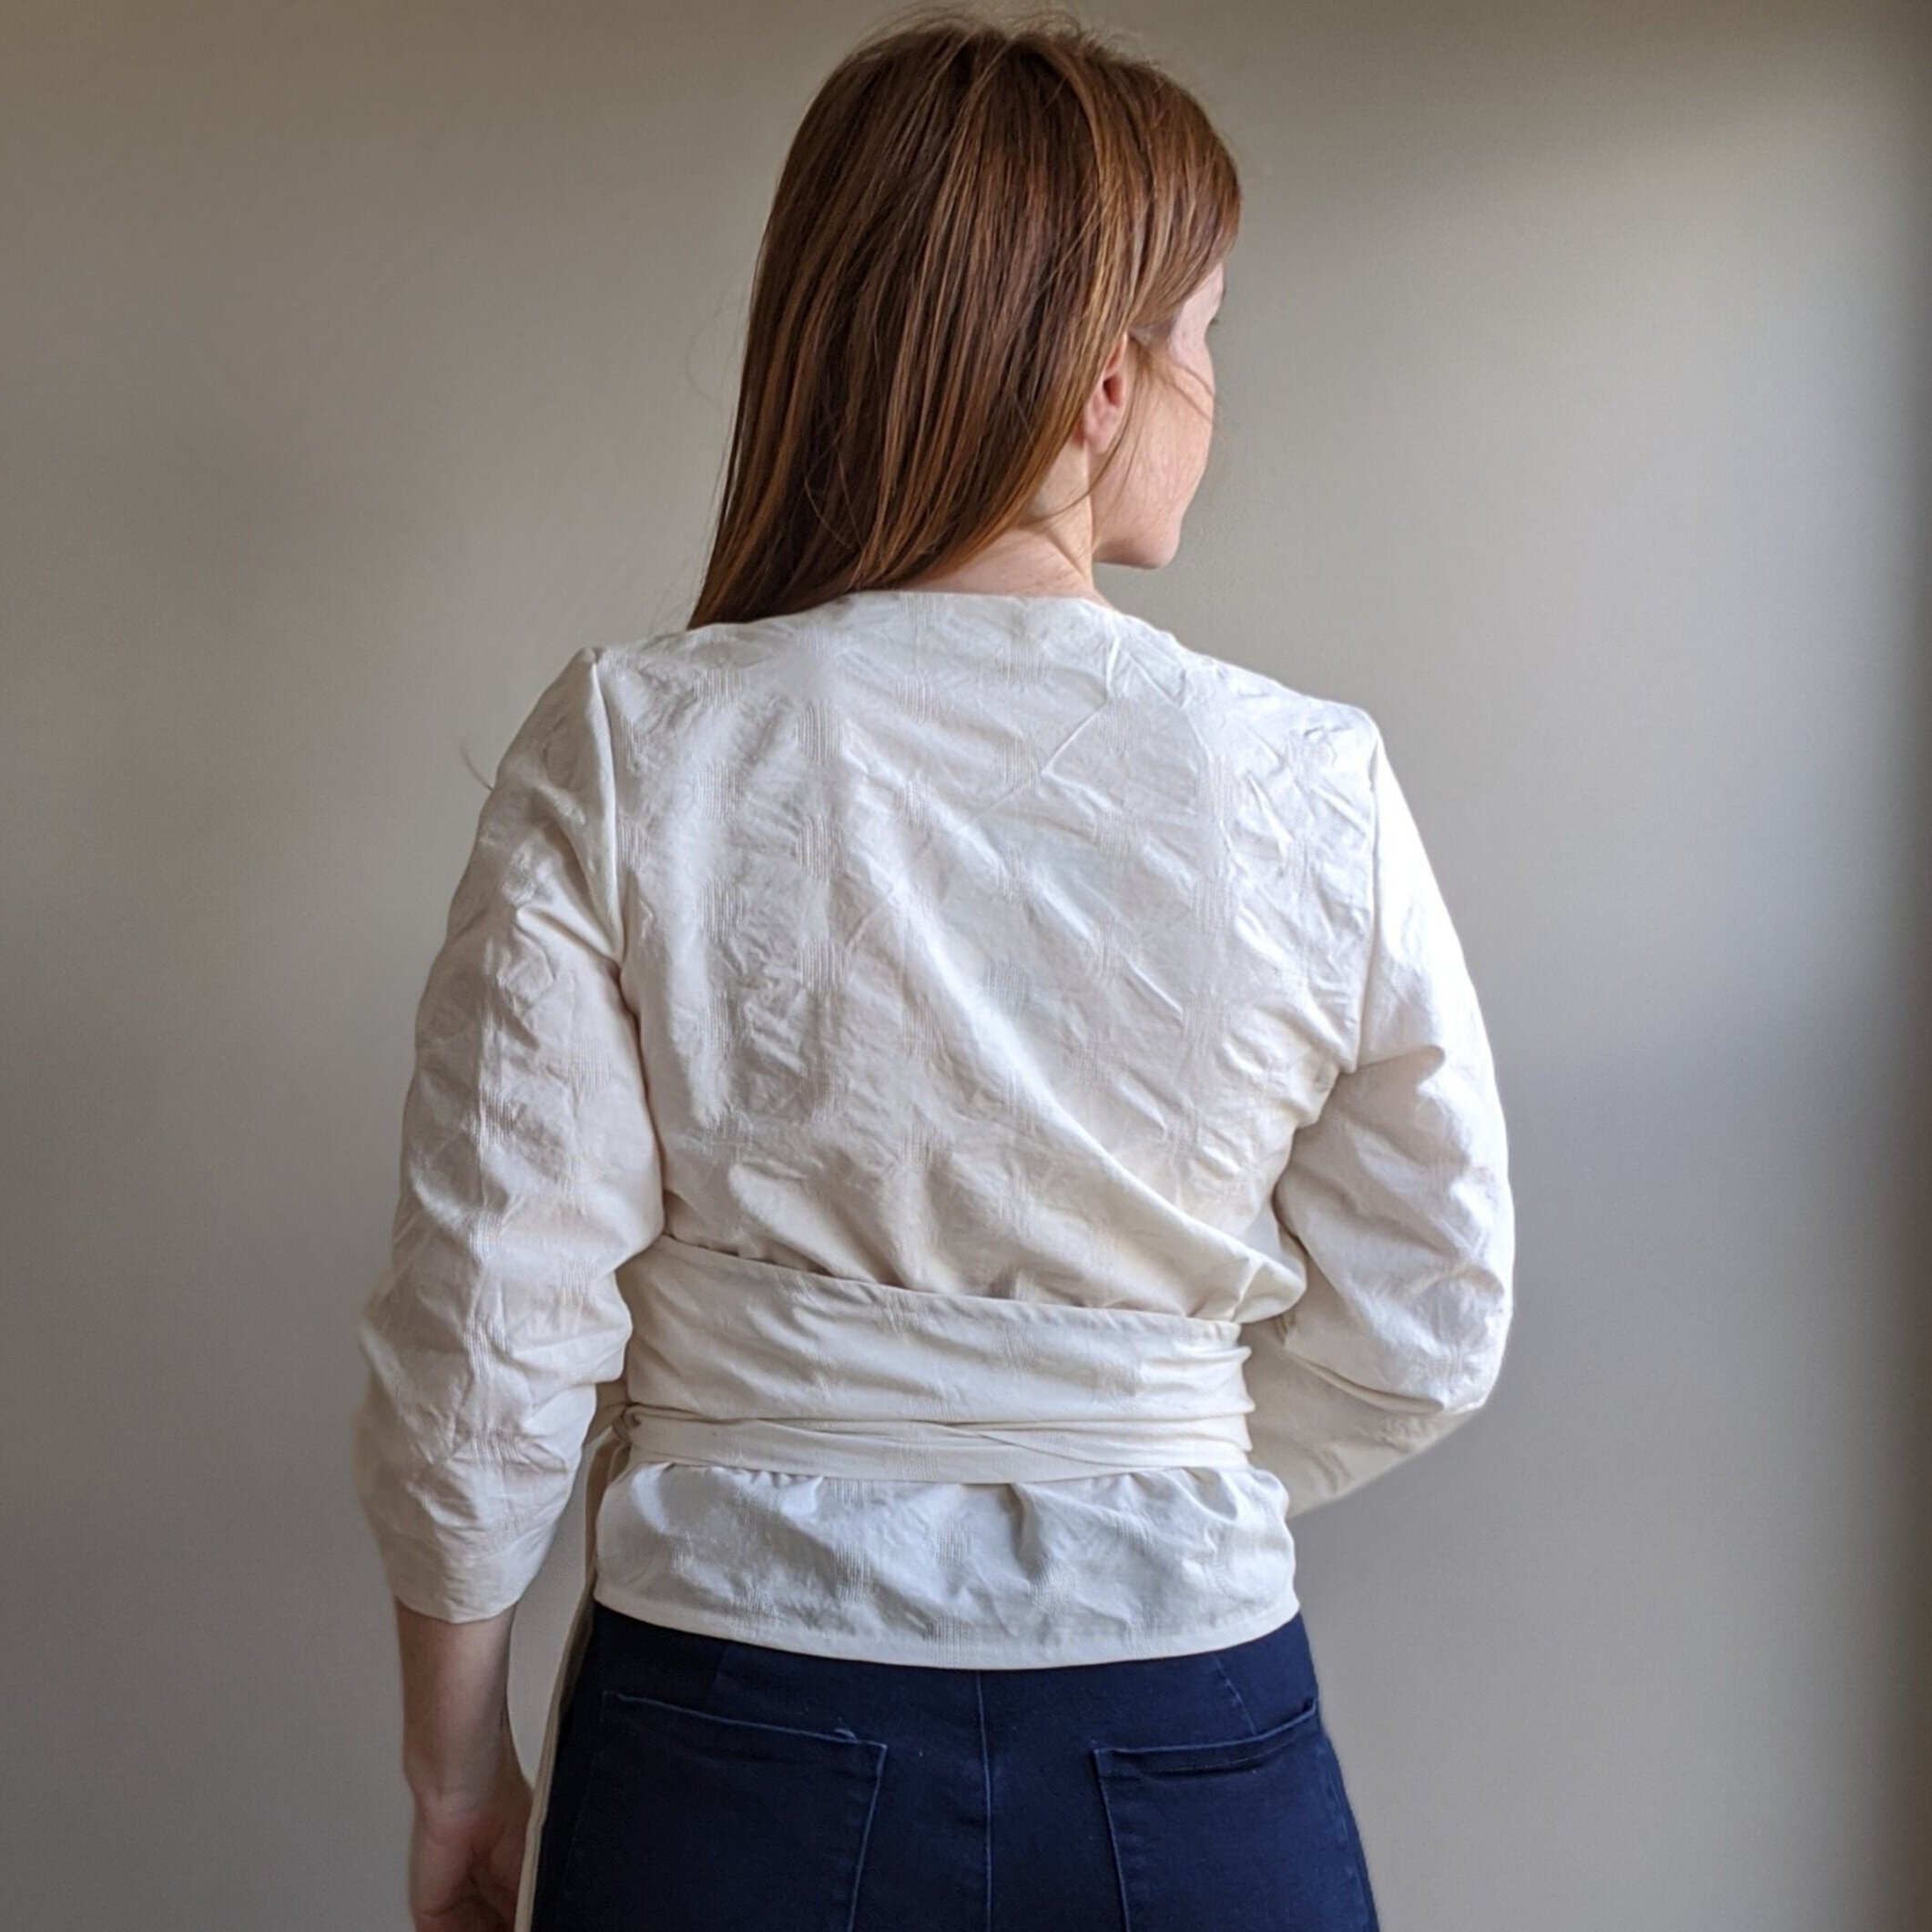
And here’s my top. That dart isn’t too high, but it probably ought to be lengthened. From this side view, the extra ease doesn’t look terrible (note this is after I took a bit of ease out by adjusting the side seam, removing at least another inch of ease), but there’s a lot of extra fabric, under the arm around the bust, when viewed from the front and it’s quite obvious in this fabric without any drape.


why the furrowed brow?
I loved the sleeve length as it was, so I drafted a simple sleeve hem facing. I will also note the sleeves seemed perfectly sized. They might be too tight or in need of adjustment if I went down in size further to escape some of the bust ease.

I think I’d like a bit more length in general, having the hem fall about 2 inches lower.

very lazy hem here, lazy +1
Looking back as I was writing this up, I realized I forgot to understitch the back neck facing, so I’ll go back and do that. I don’t think under stitching does much to keep facings from flipping, you know the #1 reason why I hate them, but it does keep the facing edge from rolling to the right side.

I found that the ties aren’t long enough to create the big bow as shown in the line drawing.
Takeaway- I enjoyed making the Wrap Top. It’s designed with a large amount of ease at the bust. Fabrics with little drape will accentuate this, so keep that in mind when choosing a size and fabric.

Bonus- ridiculous hair toss action shot because a few people commented on this the last time I tried it and I honestly can’t think of other action shots to try.

PS- the fabric is “muslin with a twist” by Kokka, purchased from PDX Sewing Studio. It seems I had shared my order on my grid.