


Ogden Cami Hack: Double Wrap Dress
At some point over the last week or so, a chartreuse green dress had crossed my path. A green dress with separate front and back portions that each wrapped around the body, over lapped, and tied.
I couldn’t for the life of me recall where exactly I had seen such a make, or whom had made it. It’s quite easy to find one’s self in an endless stream of potential sewing inspiration, dog videos, and memes on IG.
At any rate, the sewing hive mind knew exactly what I meant when I asked for what I would describe as a “double gathered apron style tie dress.”
…and then I fell down the rabbit hole of “pinafore wrap dresses” which let me to several inspiring makers’ versions.

Anna has lots of juicy details and process information saved in her highlight- WrapPinafore
And HOT DAMN, if we haven’t just come full circle here. The children’s items that come up under that hashtag are the exact thing I started making when my daughter (now entering 4th grade) was an infant/toddler.
I was also directed to @msromoscreations’ profile.
Cynthia has a tutorial for her La Lupita Wrap Dress available at a sliding scale, pay what you can rate AND she’s currently in the testing phase of pattern development for her design developed a pattern with five sizes. (La Lupita Wrap Dress PDF Pattern). Cool beans, Cynthia!
Now! I had just created two dresses in July, using the Odgen cami as the bodice so my brain was ready to jump off from there. I also had the experience of making a few pairs of Winslow Culottes Wrap Pants so I came armed with some knowledge and preferences for double wrapped apparel.
My initial fabric thought for this dress was some lovely pink linen, but the little voice in the back of my head saying, “you know it might not work out; you should really make a muslin,” wouldn’t relent. I ended up using a cotton Swiss dot striped print from Alyssa May that had been patiently waiting over three years to be chosen.
I have found the size 6 for Ogden works well for my 36” bust. (Ogden is also available in an extended size range.) My waist typically measures about 29”
Bodice pattern creation-
I added 3 inches to the bottom of the lining pieces and extended from the side seams tapering to an extension intended for the ties to attach. I wanted a wider tie (finishing at 2”) from the back bodice to tie in the front and a narrower tie (1”) from the front bodice to tie in the back, given the back tie is concealed anyhow.
I like the center back straightened and raised an inch and a half. Mostly because it's easier to visually determine the back from the front if I haven't added tags or another marker.
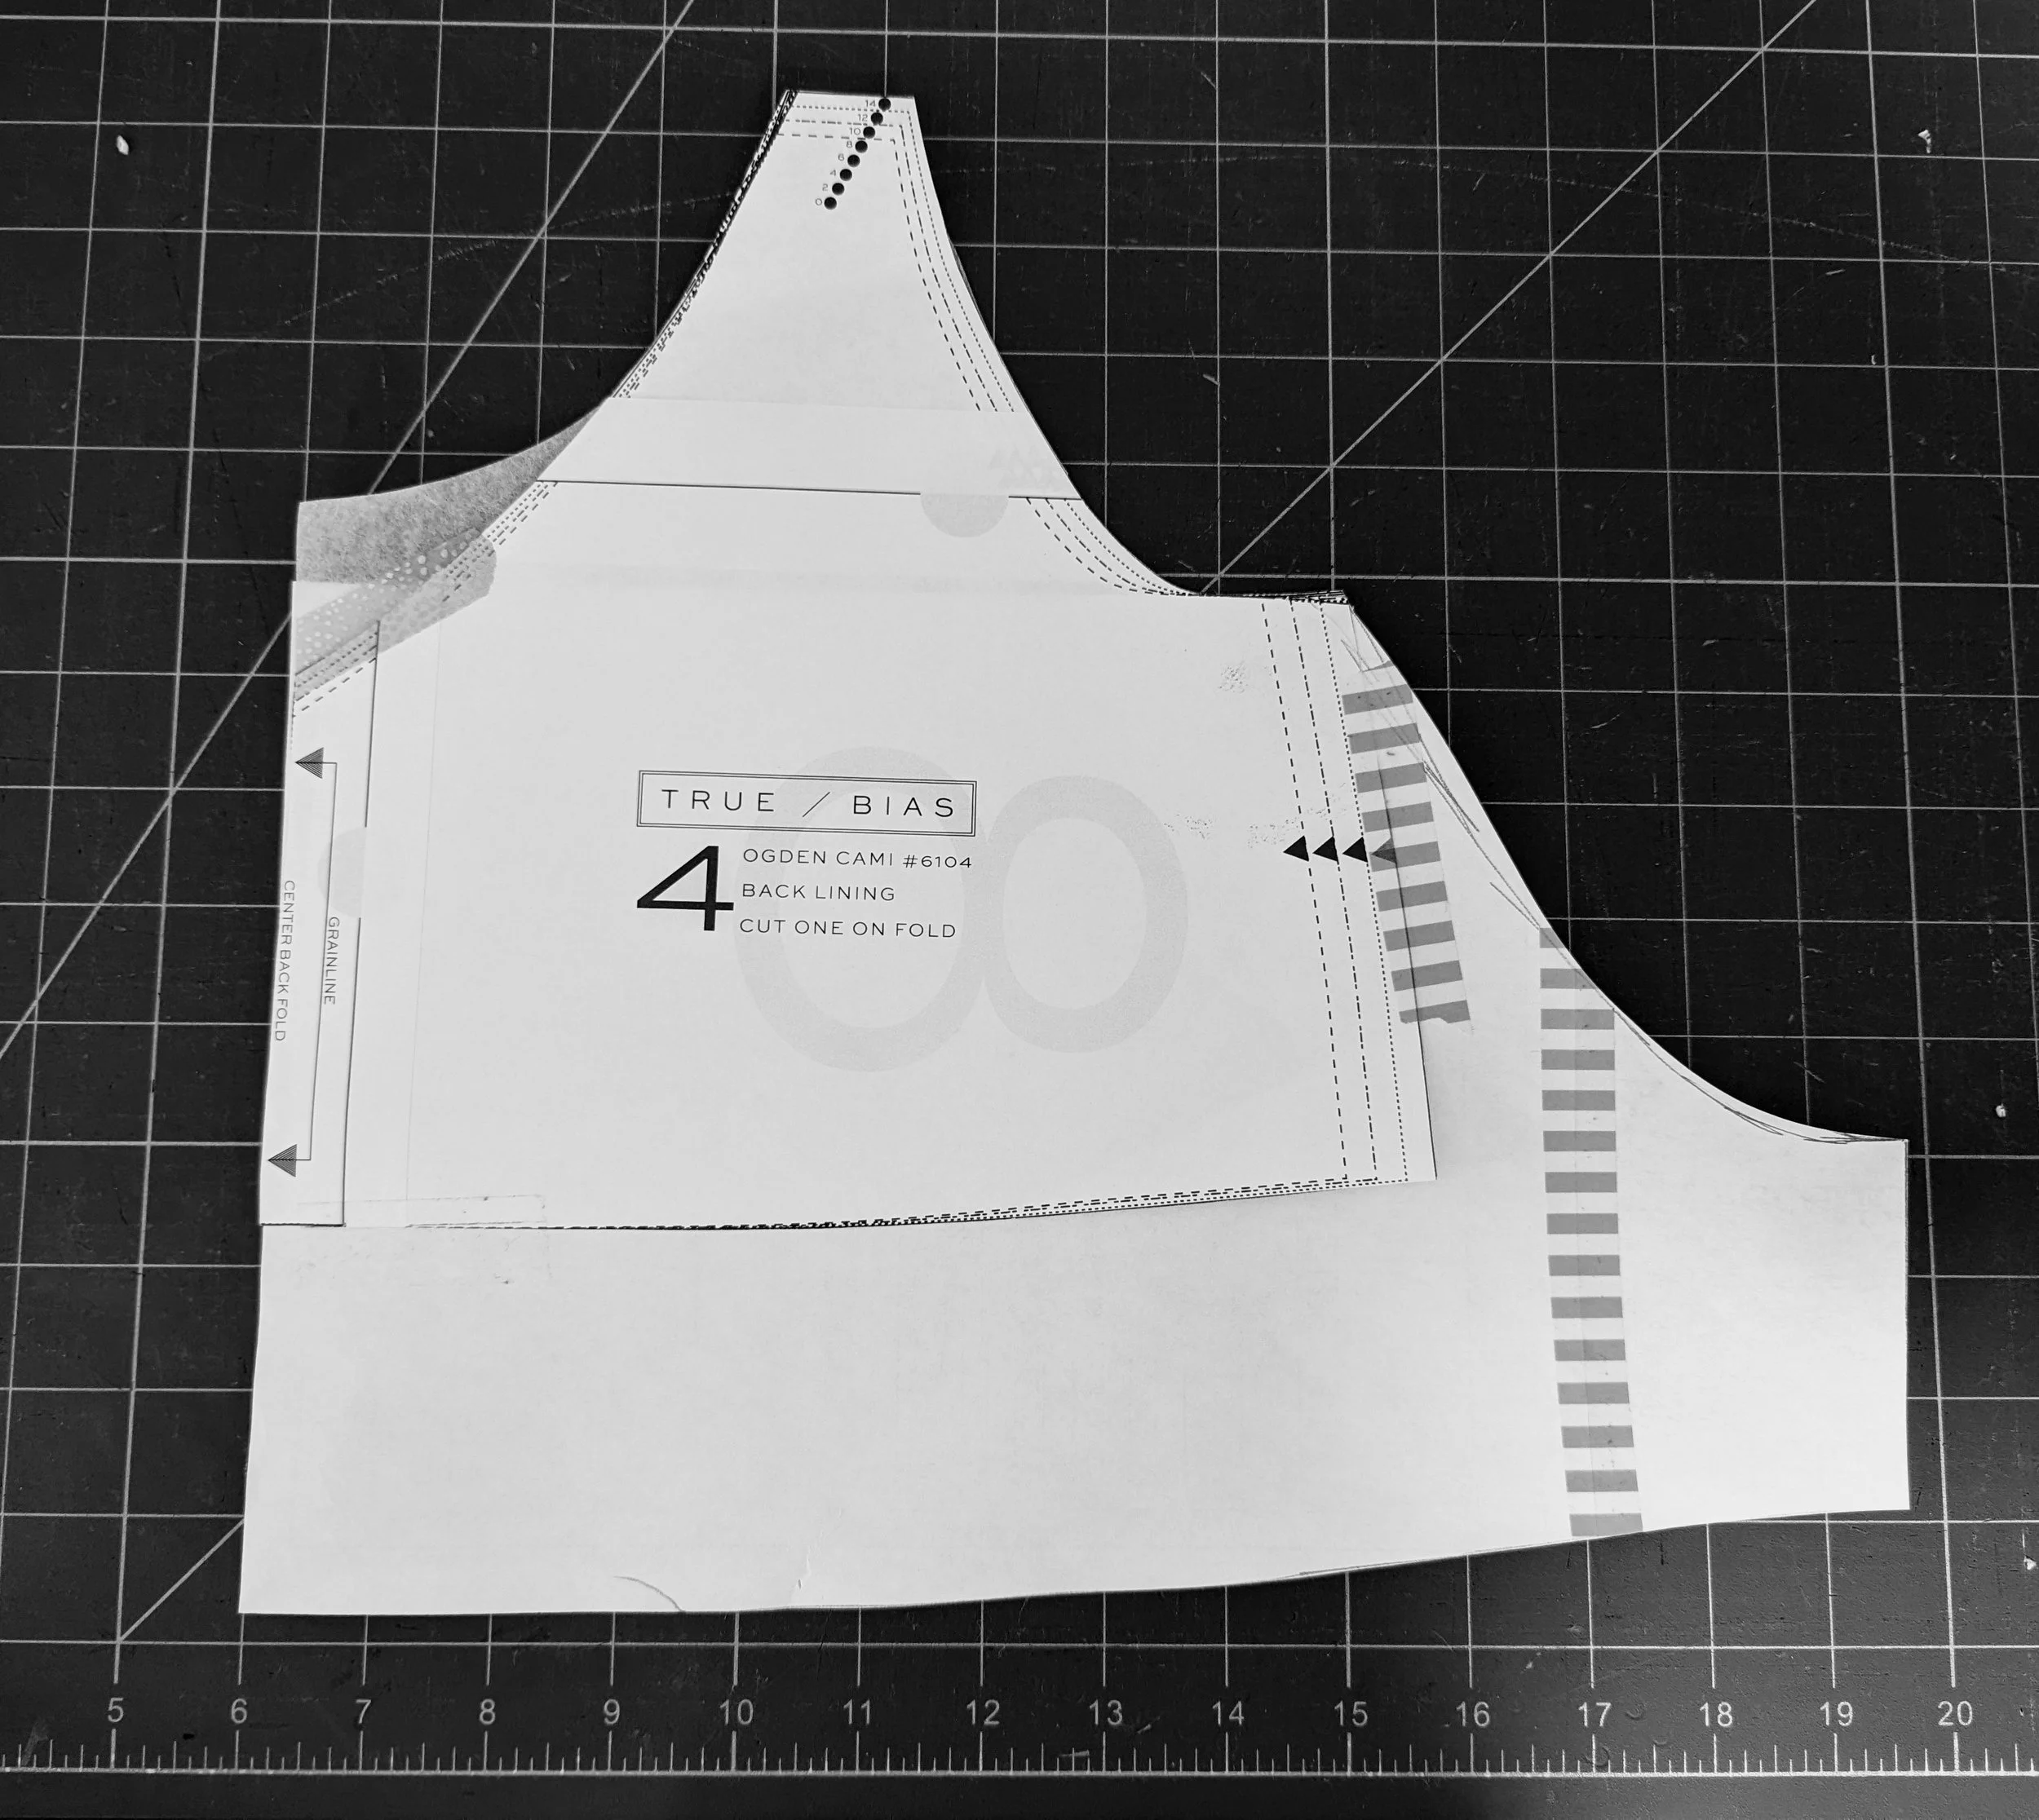


Each bodice is cut as a mirrored set so the pieces are lined. I didn't change anything about the straps pattern piece.
The skirt panels are sort of fabric hogs. I reserved two full width of fabric (WOF) pieces x 31” for the front and back gathered bottom panels.
I cut a WOF x 5 inch piece to become the ties (finished width 2”) from the back. I also reserved a cut for narrow ties that would attach to the front bodice. I found my front bodice extended around my back enough to overlap without adding ties so I chose to add two snap sets instead. These are spaced an inch and a half apart. As such, there's some flexibility in fastening.

Construction is straightforward. Because there’s no side seam, the front and back are each sewn to their respective lining with the shoulder straps sandwiched between. The ties are sewn and then attached at the extension. Lastly, the skirt pieces are gathered and attached.


Now, the fabric didn’t feel quite me. It’s a pretty dress, sure! But I wanted to make another one in a decidedly more “fashionable” fabric. My first thought was a black version. Though my stash offered a few options, none felt quite right. Ultimately, I picked a gingham linen.
My interwebs are full of folks clad, often in 2-piece sets, in gingham, and they make it look glorious.
I had two yards of this 58” wide linen. By using a different material for the bodice linings, it was just enough fabric.

I even understitched this version. ***pats self on back***


Despite understitching the lining, the bodice wants to roll outwards and me hates this very much.

I immediately had regrets. Though the modeled photos are fine, I wasn’t in love with my linen dress.

I can’t seem to put a finger on it. Is it the length? The fact that it begs to be worn with 4” heels and I do not have Barbie feet at this point in my life. (Why do these shoes even still have a place in my wardrobe??) The fullness of the skirt? I don’t know exactly.

It begs to wonder. Same dress. Different fabric. Is it the thrill of the hunt, as they say? To conquer a sewing quest and feel that accomplishment. Check off that box. My don’t have greater feelings about this second take. It doesn’t feel more me. Is it the general style? I’m not one to often sew dresses. On rare occasion, I do enjoy wearing them, but I’m not someone who wears dresses everyday. Where am I going in this frock? Flower picking? (NOT in those heels.) A winery? YES, please.

But I do have a strong feeling I’m cutting this dress down to become Bob Pants.
ETA- If you’re looking for a FREE pattern to try a similar look, the Kaia dress and top by SewLovePatterns is a possible option. (Listed as free for August 2023.)
May 2, 2024 Update
The gingham version is now separates.
https://www.instagram.com/p/C6ZI0pLxG5m/?igsh=ajE2OGtsbGhveWVu

