


BFF Bag Tutorial: Roomy Front Pocket; Marine Layer Dupe

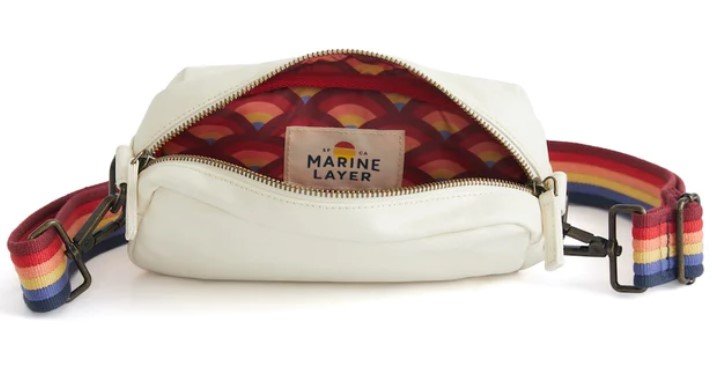
Here we are again with a targetted ads dropping inspiration in my lap. I actually think this bag isn’t a new one, per se. I feel like I saw it in ads last year. But this time, it stopped me in my tracks and I knew I would need to recreate the Marine Layer Fanny Pack in Seasonless Natural. The general design is so very close to the BFF Bag pattern, only insideout, in a sense., as the exterior pocket on the inspiration bag is like the interior zippered pocket in the BFF pattern; we just need to adde some depth (see those small seams/darts in the corners of the pockets?). (Admittedly, this ready to wear bag also looks VERY similar to the Fennel Fanny Pack, which could be used as the base pattern with some tweaking as well.)
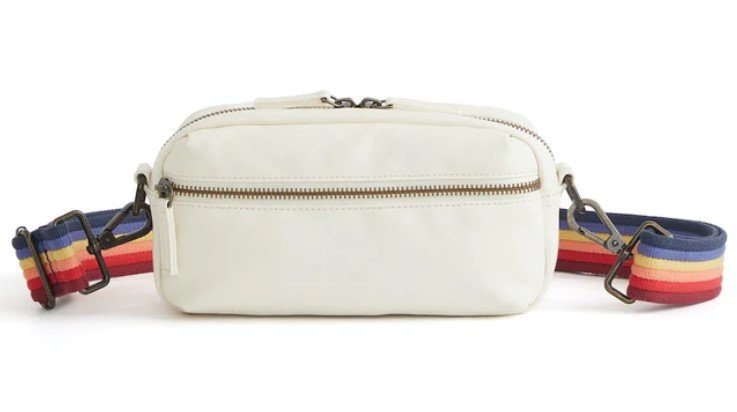

My stash was quite ready to provide. I already had 1.5” rainbow webbing, natural canvas, and metal zippers on hand.
Changes-
1.5” webbing calls for 1.5” hardware (two swivel clasps and one slider)
ring tabs (two) with rectangle rings, 1”, on the middle panel
head-to-head main zipper (add an extra slider/pull)
add two inches to the pocket zipper length (12” instead of 10”)*
zippered exterior pocket, boxed (for extra room)

Cut List
front and back, exterior and lining (no change)
middle panel pieces, exterior and lining (no change)
zippered pocket top, exterior and lining (new dimensions- 2” H x 12.5” W)
zippered pocket bottom, exterior and lining (new dimensions- 5”H x 12.5’ W)
ring tabs, exterior x two (2” x 2”)
webbing, length per crossbody circumference less 12” (no change)
bias strips (two) (no change)
optional- interior slip pocket (no change)
Of note, I wanted to include more photos for this tutorial, but my Pixel7Pro has been being a bit of an asshole lately. I may update or supplement this post when my technology is more agreeable.
Construction Changes
Boxed Pocket
After setting the pocket zipper between its top and bottom portions, matching the exterior to the face of the zipper, mark each corner with a 1” square. Remove the marked areas by cutting with scissors.

Fold the corners 90 degrees, right sides together, matching the 1” cuts.
Stitch along the cut out with a 1/4” seam allowance.
(Note- The exterior and interior layers and be boxed together, or separately. To box both layers together, fold each right sides together, then place them wrong sides together, as shown below.)


Baste together one one exterior and one lining piece and round the corners as per the pattern instruction.
Baste the boxed pocket to the front panel, working from each quarter point and easing the corners. (The pocket panel does not need to be rounded.)
Ring Tabs
Fold 1/2” along one side, wrong sides together. Press to set the fold. Repeat for the opposite edge. Top stitch along the folded edges. You will have a short 1” x 2” open back strap/tab. Repeat for second tab.
Wrap each tab, wrong sides together, around the rings, basting the open ends closed.

ring tabs
Middle Panel

Set the main zipper as per the directions without change (other than using a head-to-head zipper)
Baste the ring tabs to the Middle Panel at the zipper ends before stitching the bottom panel in place.

Adjustable Strap
Attach the slider and one swivel clasp as per the directions. Attach the second swivel clasp to the open end in the same fashion as the slider’s middle bar. Set aside.

The remaining construction proceeds as per the directions without change, attaching the middle panel to both the front and back panels.

Other tips and tricks-
*if you need to add length to the pocket zipper instead of purchasing a new one, you may add zipper tabs.
Zipper tabs/extensions are created by cutting rectancles of fabric that measure the width of the zipper tape x length needed to add (plus a seam allowance). These are stitched in pairs, right sides together at the end of the zipper, then folded back and top stitched.

You can add an additional slider/pull to an existing purse zipper by removing the top stops and wiggling the slider onto the tape head-first. I actually constructed the middle panel below with NO pulls on the tape and added them both after top stitching. This route makes for effortless stitching as there are no pulls that need to be moved out of the way of the needle and foot. That’s the most annoying and challanging part of zipper insertion, right!? It’s otherwise just a of couple straight lines.

I’ve given you the new measurements for the pocket pieces, specific for the BFF Bag. If you want to create a boxed pocket for different dimensions, your task is to simply add the desired pocket depth to the height and width, plus a small seam allowance. With a zipper running through the pocket, the depth was added to each, the top and bottom, and double that for the width. (Extra thanks goes to SewAndTellPatterns, who helped my brain work this out, while struggling a tad. I initially thought to use darts in the corners, but the boxed corners are much more straightforward to explain.)


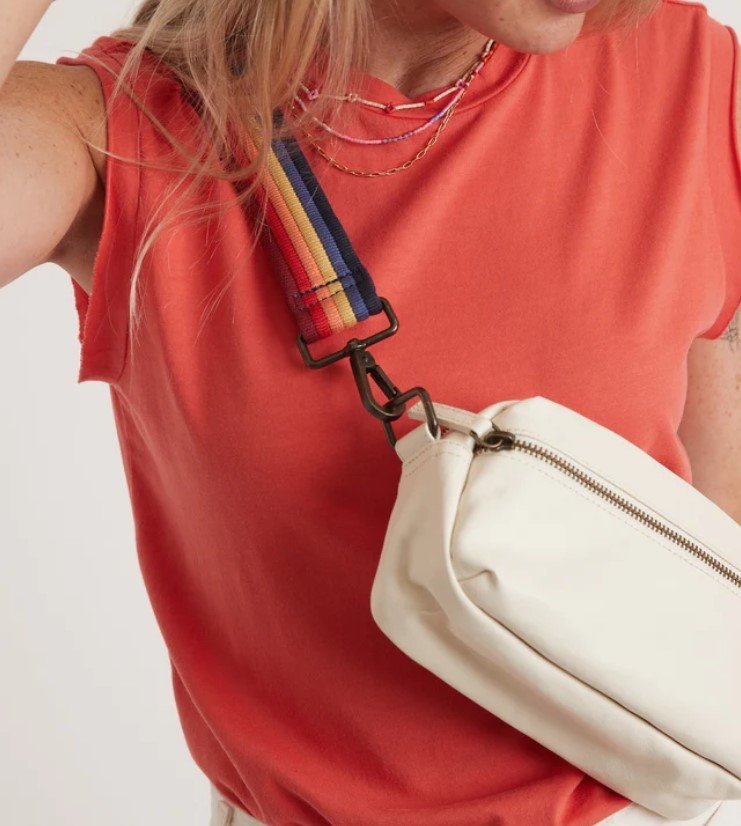
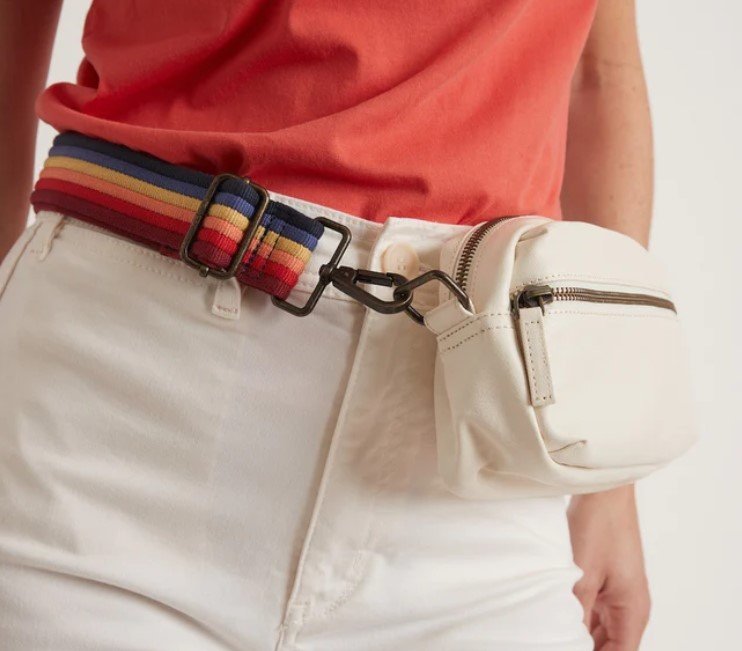
Naturally, I needed to dupicate the full look! I’m wearing a Lola tank with a pair of natural denim Isle jeans.


