
Kennedy Hooded Top
Not too long ago, I shared a comparison of two not-so-basic hoodies, Mile End and Stanton. Here, I’ve got another sweatshirt I’d like to show you, StyleArc’s Kennedy, that also features a fair number of interesting and elevated details. (Maybe I will ONLY sew hoodies now. It’s not the worst idea I’ve ever had…we’ll talk about my questionable decision making process when under the influence of tequila later. Sewing comes first.)

Kennedy line drawing
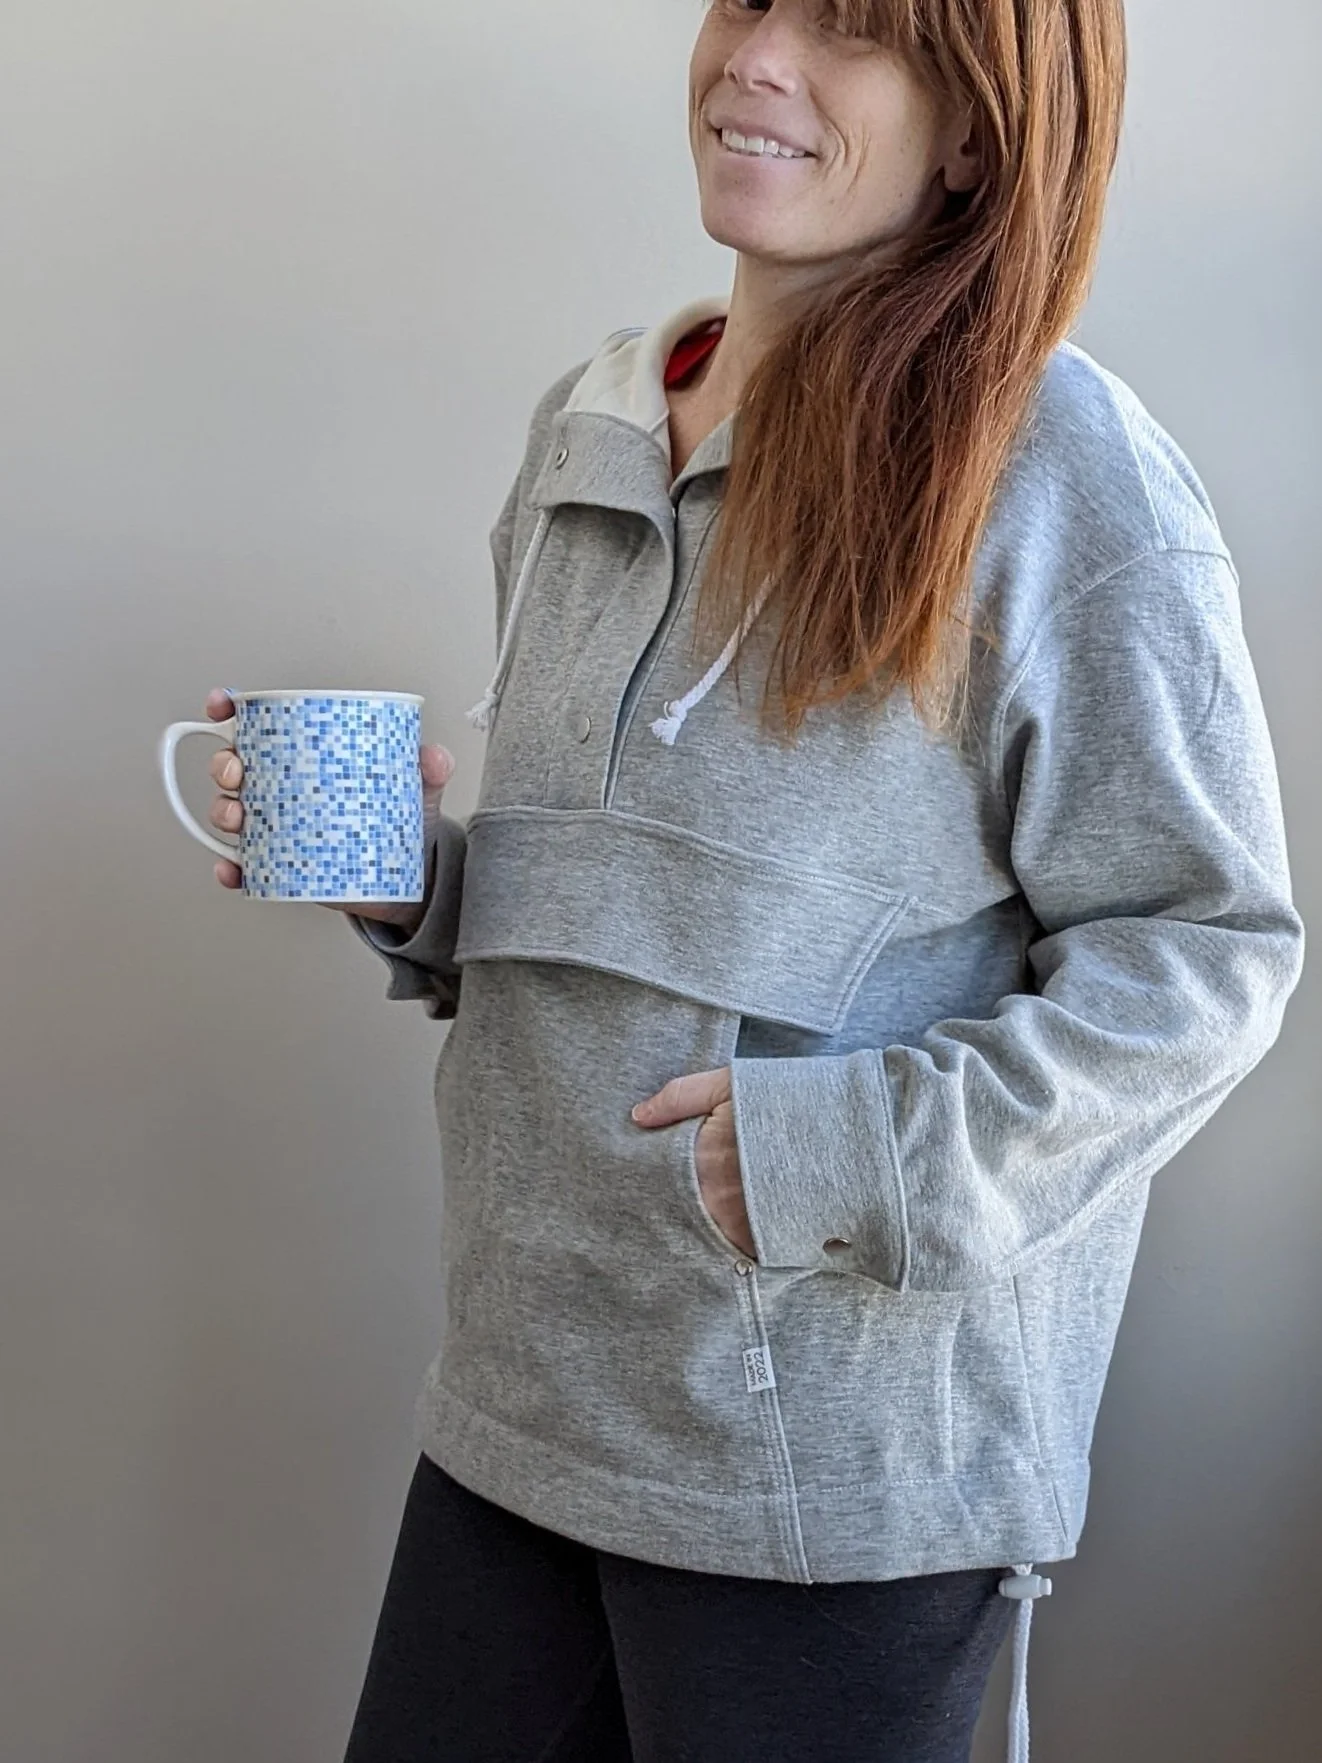
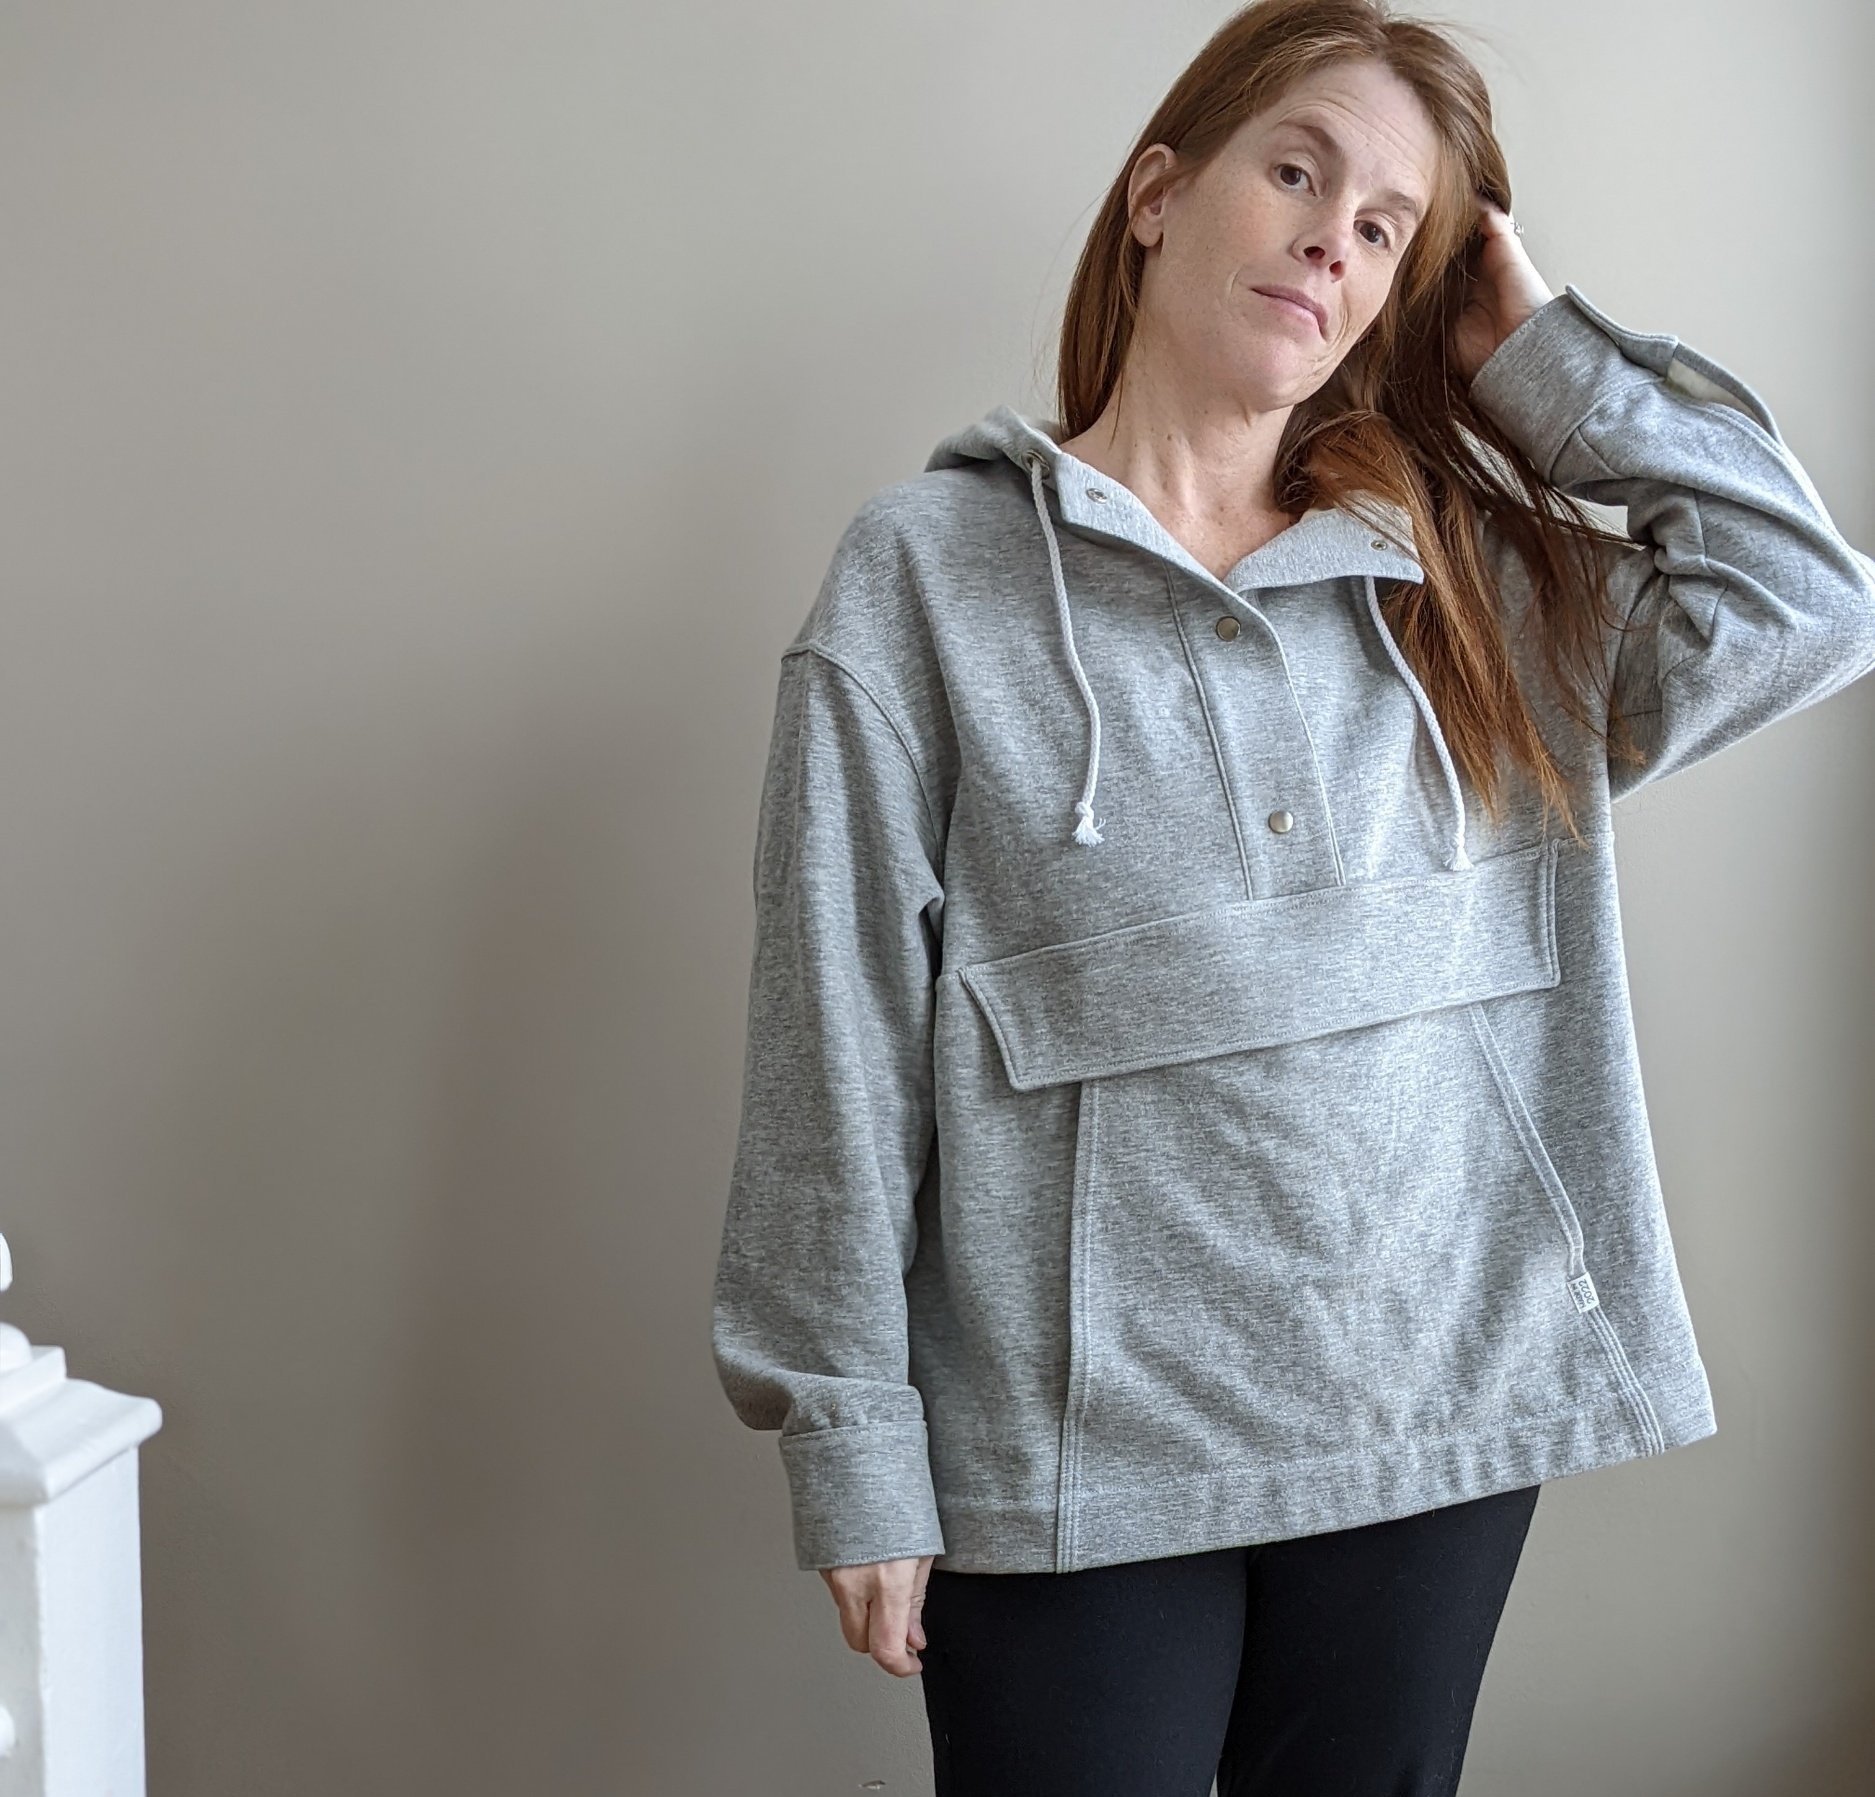
Kennedy is a very relaxed half-button, hooded top with dropped shoulders; two-piece, button-cuffed sleeves; kangaroo pocket with flap and drawstring hem. Phew! So many features!
I’m sure a sale of some sort enticed me to purchase Kennedy and I probably got another pattern free as well. It’s the StyleArc way! While Kennedy is designed for knits, I initially thought I would make a raincoat-type layering piece using some Rag&Bone waxed cotton twill from Mood. And it’s hard to say when or why I changed my mind. (I do know it wasn’t before a nice game of Pattern Tetris in which I made sure it would fit in 2 yards by 54” wide when the pattern calls for 2.5 yards by 58” wide. Four inches can be a big deal, or so they say?)

Sizing
StyleArc designs typically are a bit oversized and Kennedy is certainly no exception. While my body measurements currently fall around a 10 on their size chart*, I typically buy size 8. (The “single size PDF” includes one size below and above the chosen size, which costs a few dollars less than the “multi size” file). Kennedy’s finished measurements show there’s 8-10 inches of ease through the hip and bust (which was why I was considering a non stretch material without a size adjustment).
*It appears their size chart ranges from a 32-70” hip. I hope this applies to all their patterns, and if so I'm reasonably impressed!
Fabric
I used a recently purchased designer double knit from LA Finch Fabrics for this make. I would link it, but the good stuff goes fast, and I’m not seeing it in their current listings. The face is heathered grey and the reverse is off white. It’s stable and not overly bulky, but did tend to grow some as I worked with it. It’s sometimes tricky finding a suitable knit for complex projects because increased stability of the fabric is often met with added bulk in the final product. Choose wisely, friends.
Construction notes
For a StyleArc pattern, which are notoriously sparse in the assembly department, Kennedy has relatively detailed instructions. They provide a bit more direction than a cursory “assemble body.” In so much as they included these directions, I had a few steps where the directed approach was particularly challenging or troublesome.
The first of these is in the front tab or placket construction. The directions don’t exactly agree with the illustrated steps. (I followed the written steps.) The top of the placket where it joins the hood’s edge may be a bulky, tight spot to neatly stitch. Godspeed!


The next hurdle was the seam joining the upper and lower fronts. There’s the bulk of the overlapping (interfaced) front tabs with a flap (faced) between it and the lower portion. Surprisingly, no serger needles were broken! But I had a handful of skipped stitches, so I elected to zig zag the seam allowance.

At this same seam, the plackets want to have the allowance pressed down, while the illustrations show the top stitching above the seam and the flap and its seam allowance add another 4 layers of thickness here. I Tim Gunn-ed it by top stitching below the seam with the pocket flap lifted up out of the way first AND THEN top stitching the pocket flap down over it.

I ended up adding bias trim to the edge of the hem since I wasn’t able to double turn it with where the grommets were placed. I often need to improvise to get around these rather large grommets that I bought an absurd quantity of. This isn’t a fault of the pattern and I don’t mind the hidden dash of color and print.

As the hood is three-pieces and lined, I would advise one to press the center portion’s seam allowances in opposite directions. This helps nest them at the hood’s edge.

I found the sides of the kangaroo pocket to be a bit too open. (In the same way Stanton's pocket was.) Adding another couple inches of stitching above the notches will help keep the contents more secure.
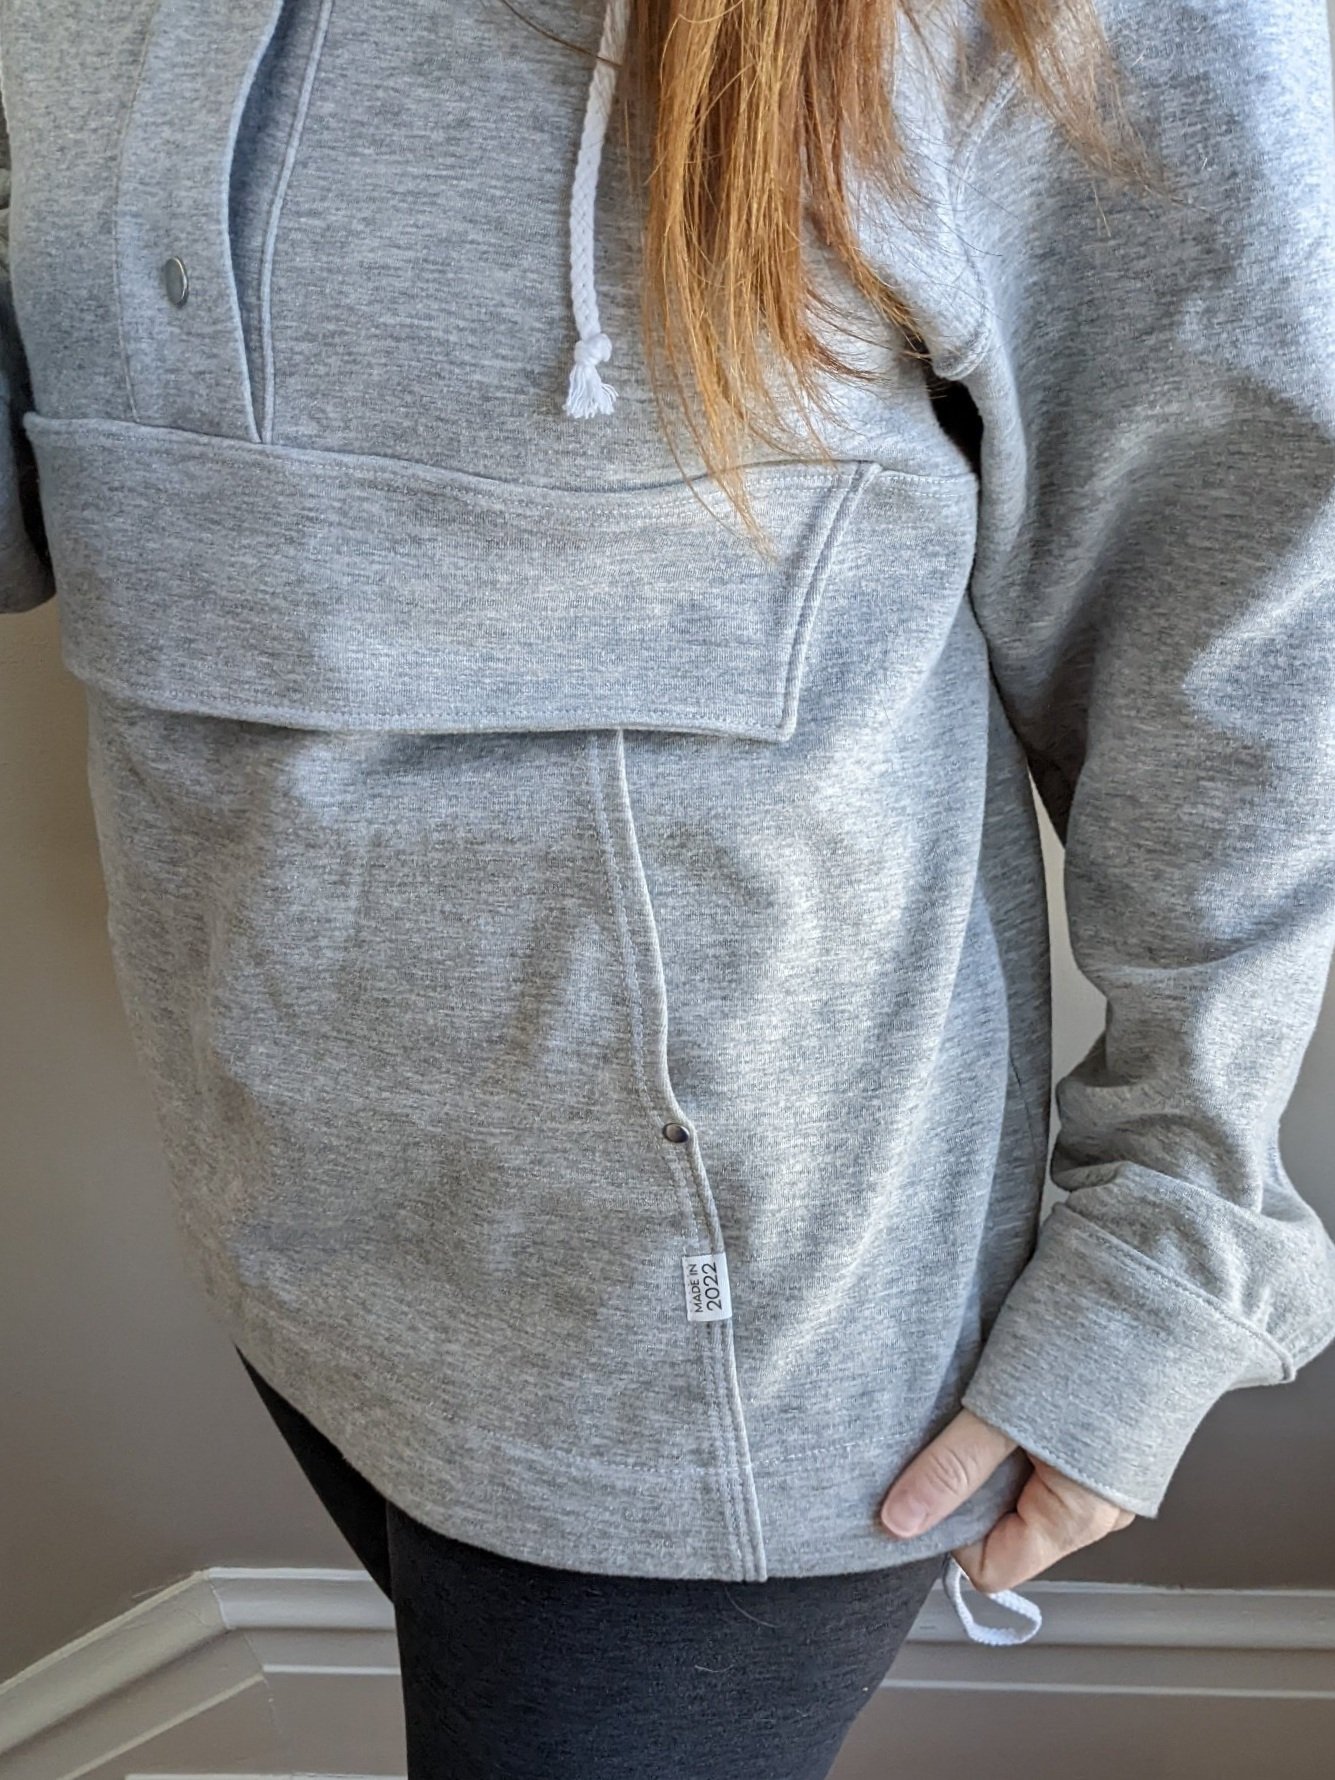
I ended up adding rivets, when I decided bar tacks weren’t in the cards for this knit.
How many tools does a garment sewer need for getting drawstring or elastic into casings?

Probably four. A loop turner is my favorite tool for the job, actually, but it won’t always fit through a grommet. The next two bodkins are life savers and the plastic Dritz one is the least slippery of the two. Sometimes, though, our only option is a trusty safety pin.

The pattern calls for a “double gun” toggle or cord lock, but I used a single holed toggle that my stash provided.


I used metal spring snaps for the front placket and sleeve cuffs. (Amazon-sourced.)

Seeing Double
I put Kennedy on for a side-by-side with her closest cousin, Hey June Brunswick (previously blogged). They both have similar oversized styles with hood and pocket options.

Brunswick (left) and Kennedy
Brunswick offers an additional neckline (cowl), simple sleeve, cuffs and hem, as well as a vented side seam option. Overall, it’s the “easier” pattern to make if you’re thinking the Kennedy might be too “challenging.” You don’t need both hoodie patterns, but if you enjoy sewing adventures, you might find yourself with both Brunswick and Kennedy in your closet.

Ultimately, I love this hoodie! The finished garment is a cozy lounging layer that hasn’t spent much time off my body since I finished it. And I would certainly sew the Kennedy pattern again.


Bang-a-rang! Tequila made me cut those hairs. Do I need to say more? #ItsBeenALongPandemic
Lastly leaving a little note here to say I know social media is a space where we all participate as we choose and that explanations for our activity (or lack of) aren’t necessary. But in so much as I've seen and felt quite meaningful and personal connections in our sewcial community (primarily via Instagram), you may notice less posting from me for the foreseeable future. Our family will be navigating the care of a parent with declining health.
It's unlikely anyone will notice the hiatus on the (maybe)blog because it's aptly named. *pats self on back*

