

Good morning (or afternoon), reader!
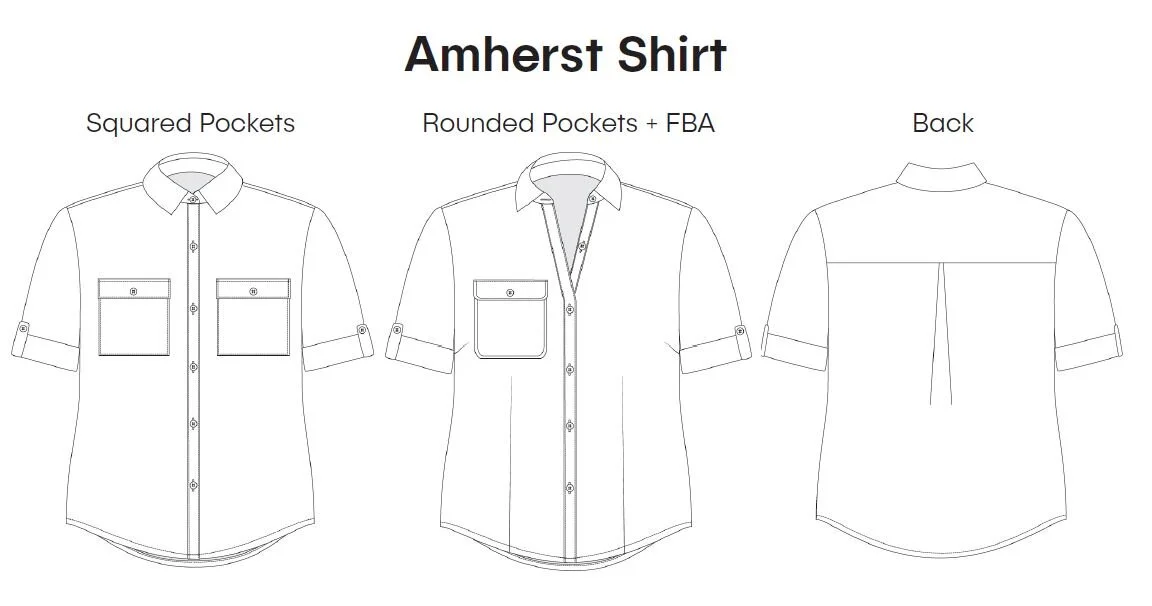
There’s two bullet points on the agenda then we’ll get to the new Hey June Handmade pattern (*wipes drool from corner of mouth*).
Last month I shared that I had signed on with Itch to Stitch’s affiliate program. Well, friends, thank you! Your clicks and subsequent purchases resulted in a reimbursement of $15.44. Whomever you are out there, I hope you’re enjoying your new pattern(s)! I think I’ll be treating myself to a miniature sewing room kit when my earnings reach $30.
Likewise, I decided to join Hey June’s affiliate program. Garments created from Hey June patterns are the most numerous items in my closet, so it only makes sense (or cents, sorry, I had to). For now, my affiliate links for Hey June and Itch to Stitch can readily be found in the sidebar on the right (which you might not see on mobile) and will be disclosed when used in a post.
And now for the main event! The Amherst Shirt (affiliate) or Amherst Shirt (not affiliate). (I will never know which link you use! #choosewisely)


Amherst is a boxy short-sleeved button down collared shirt. I made three samples during testing using three different fabrics and I’m excited to share them all.
My initial fit muslin was made in rayon challis purchased from LA Finch Fabrics. Let’s start with the back.
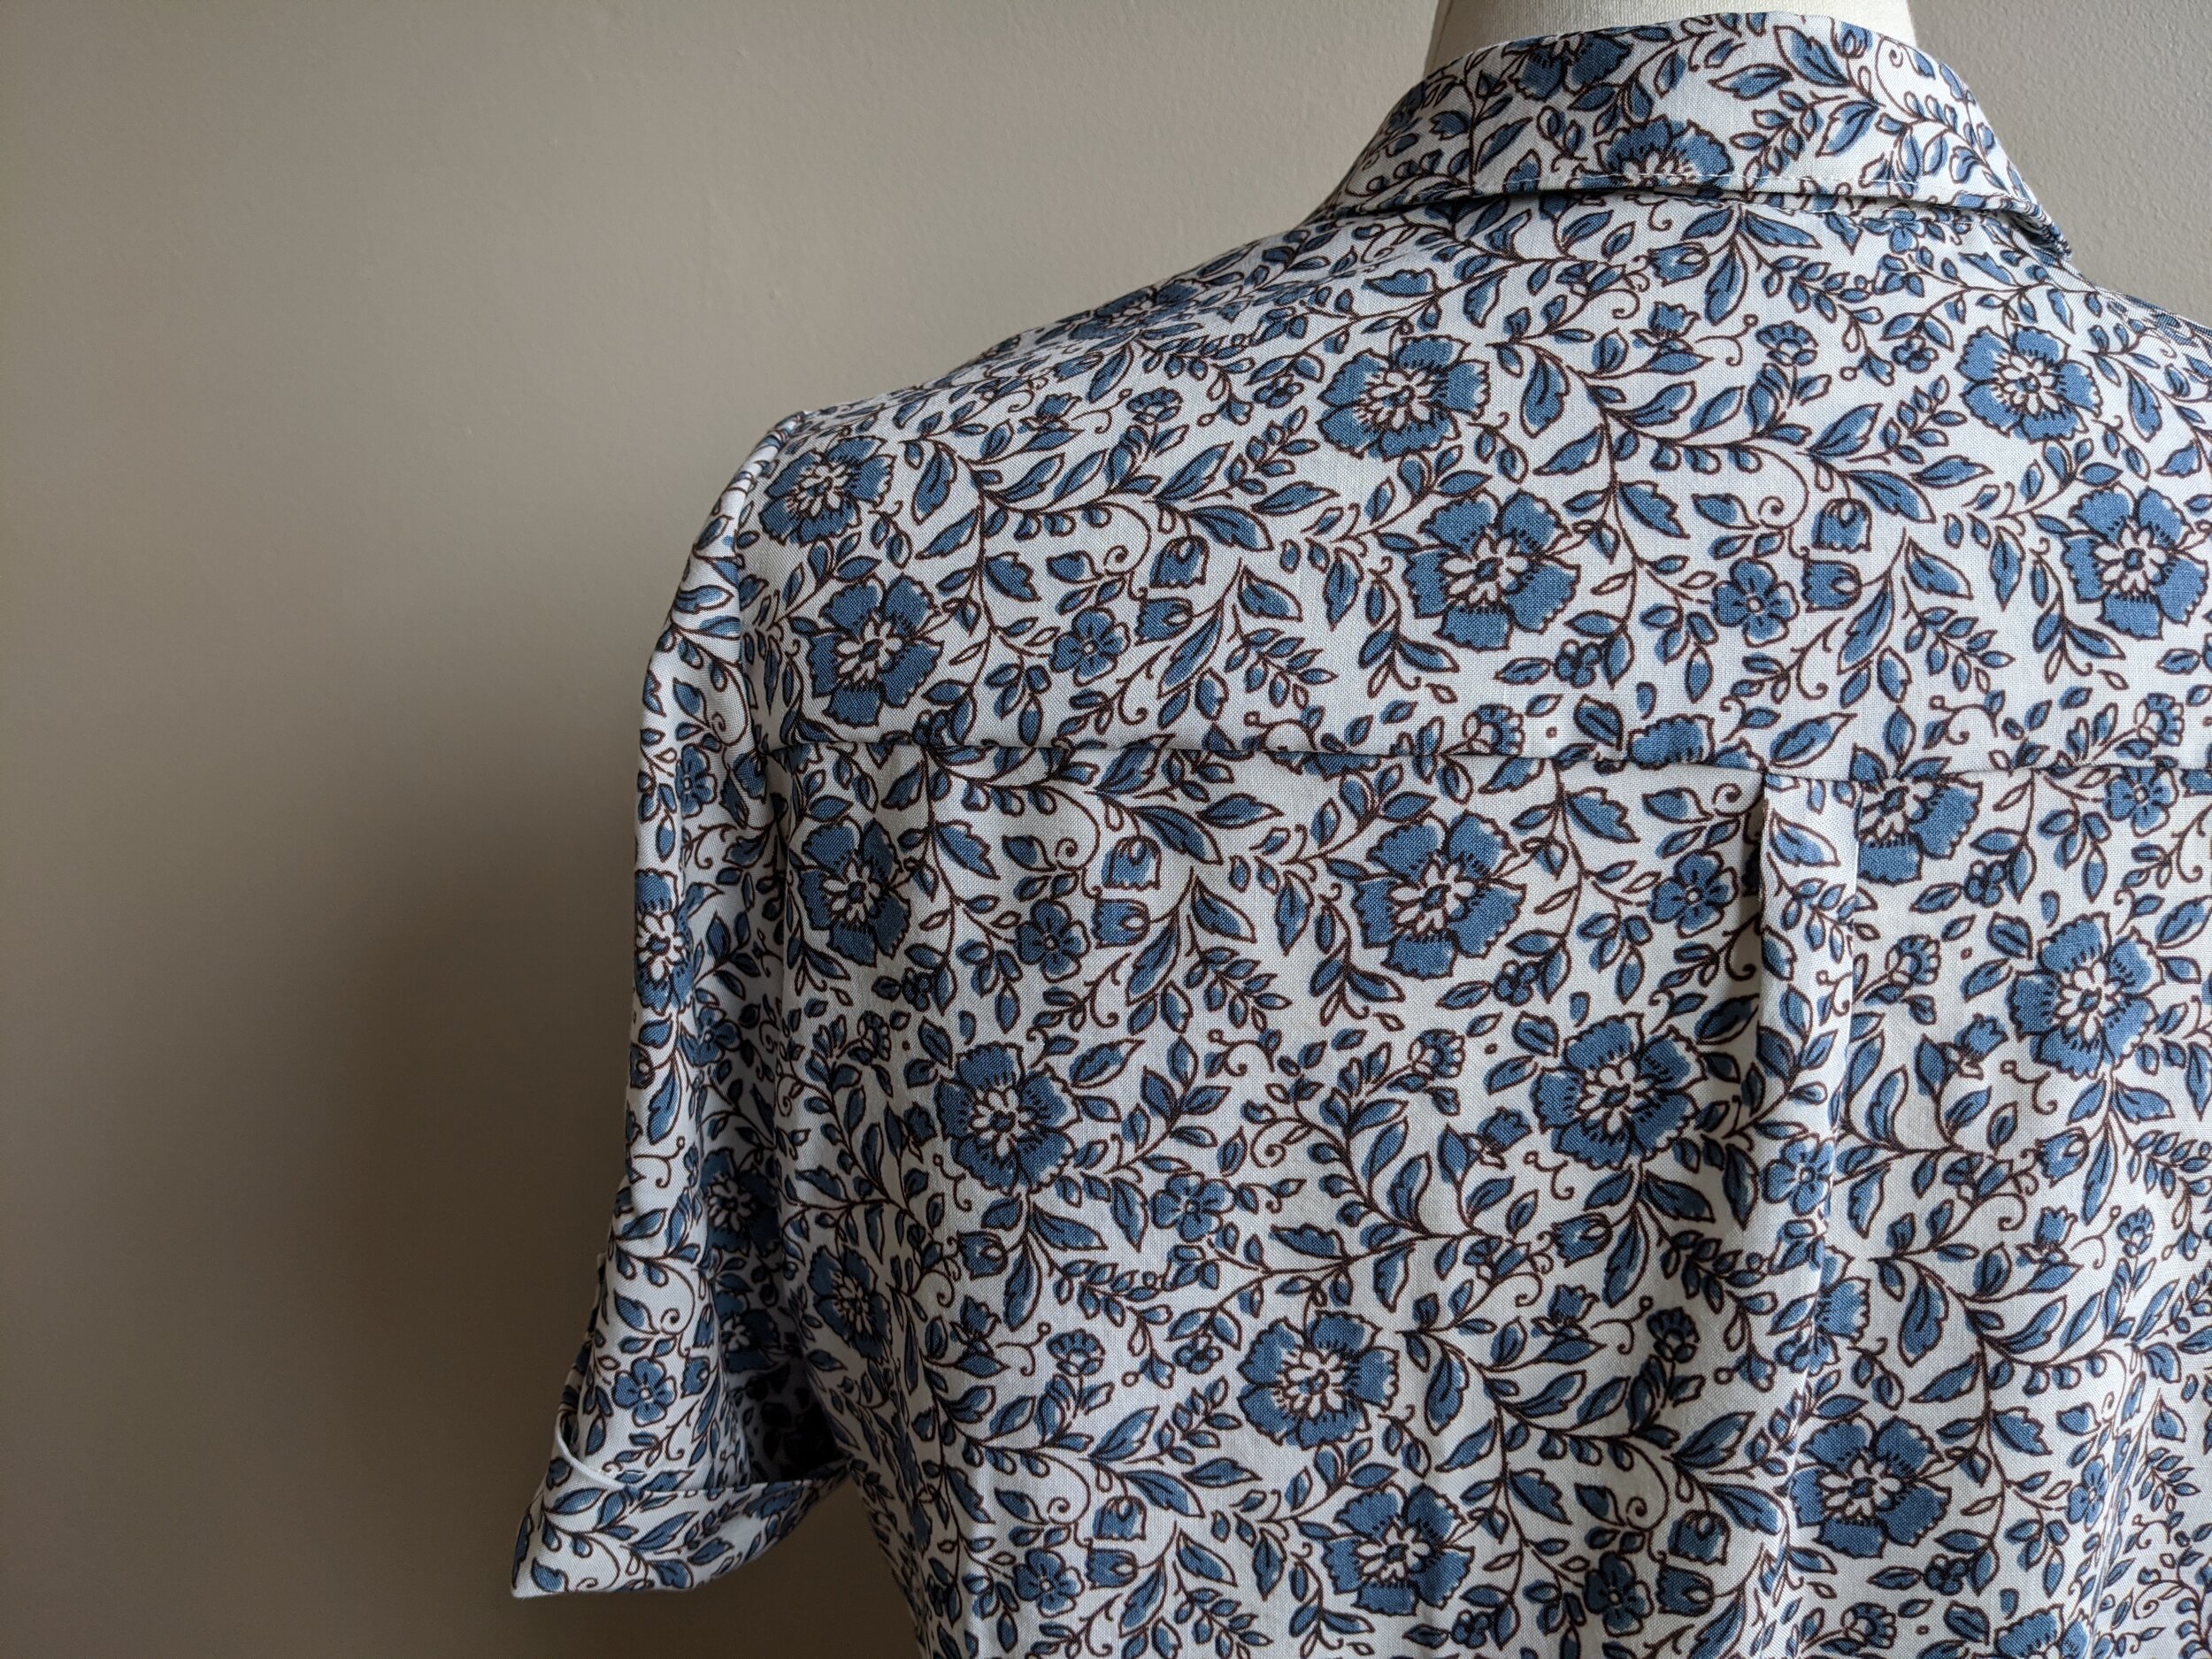
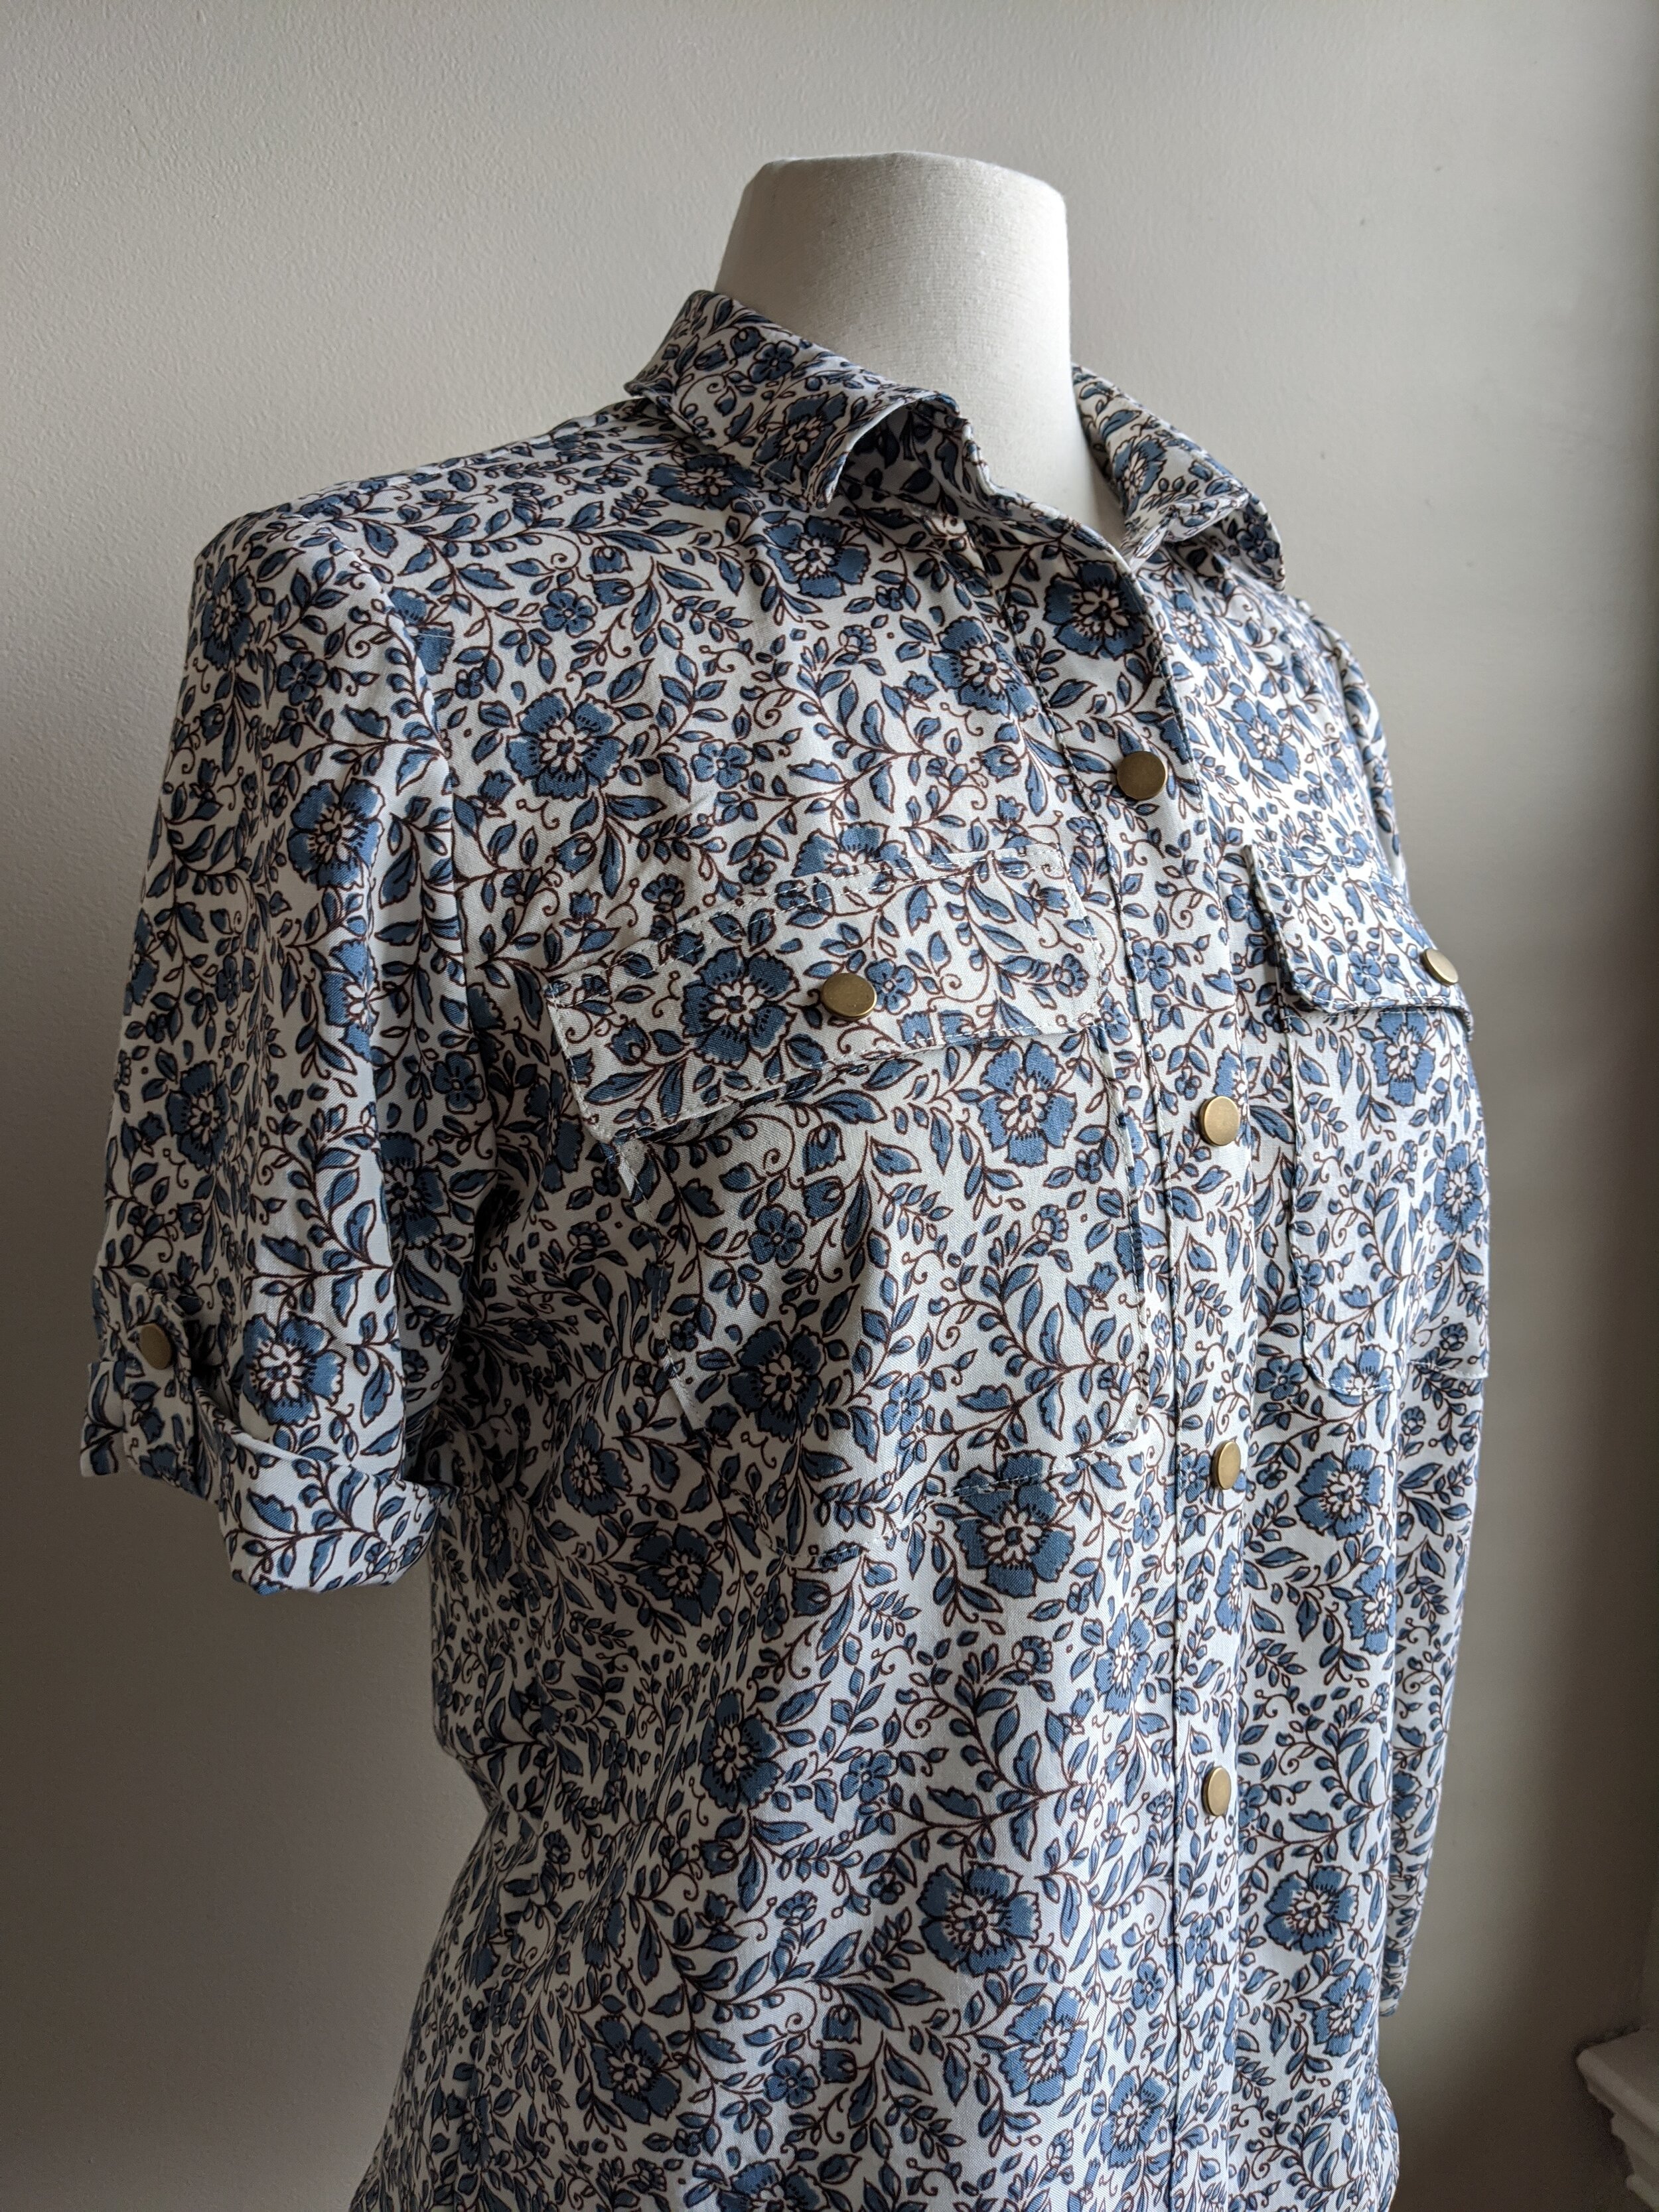
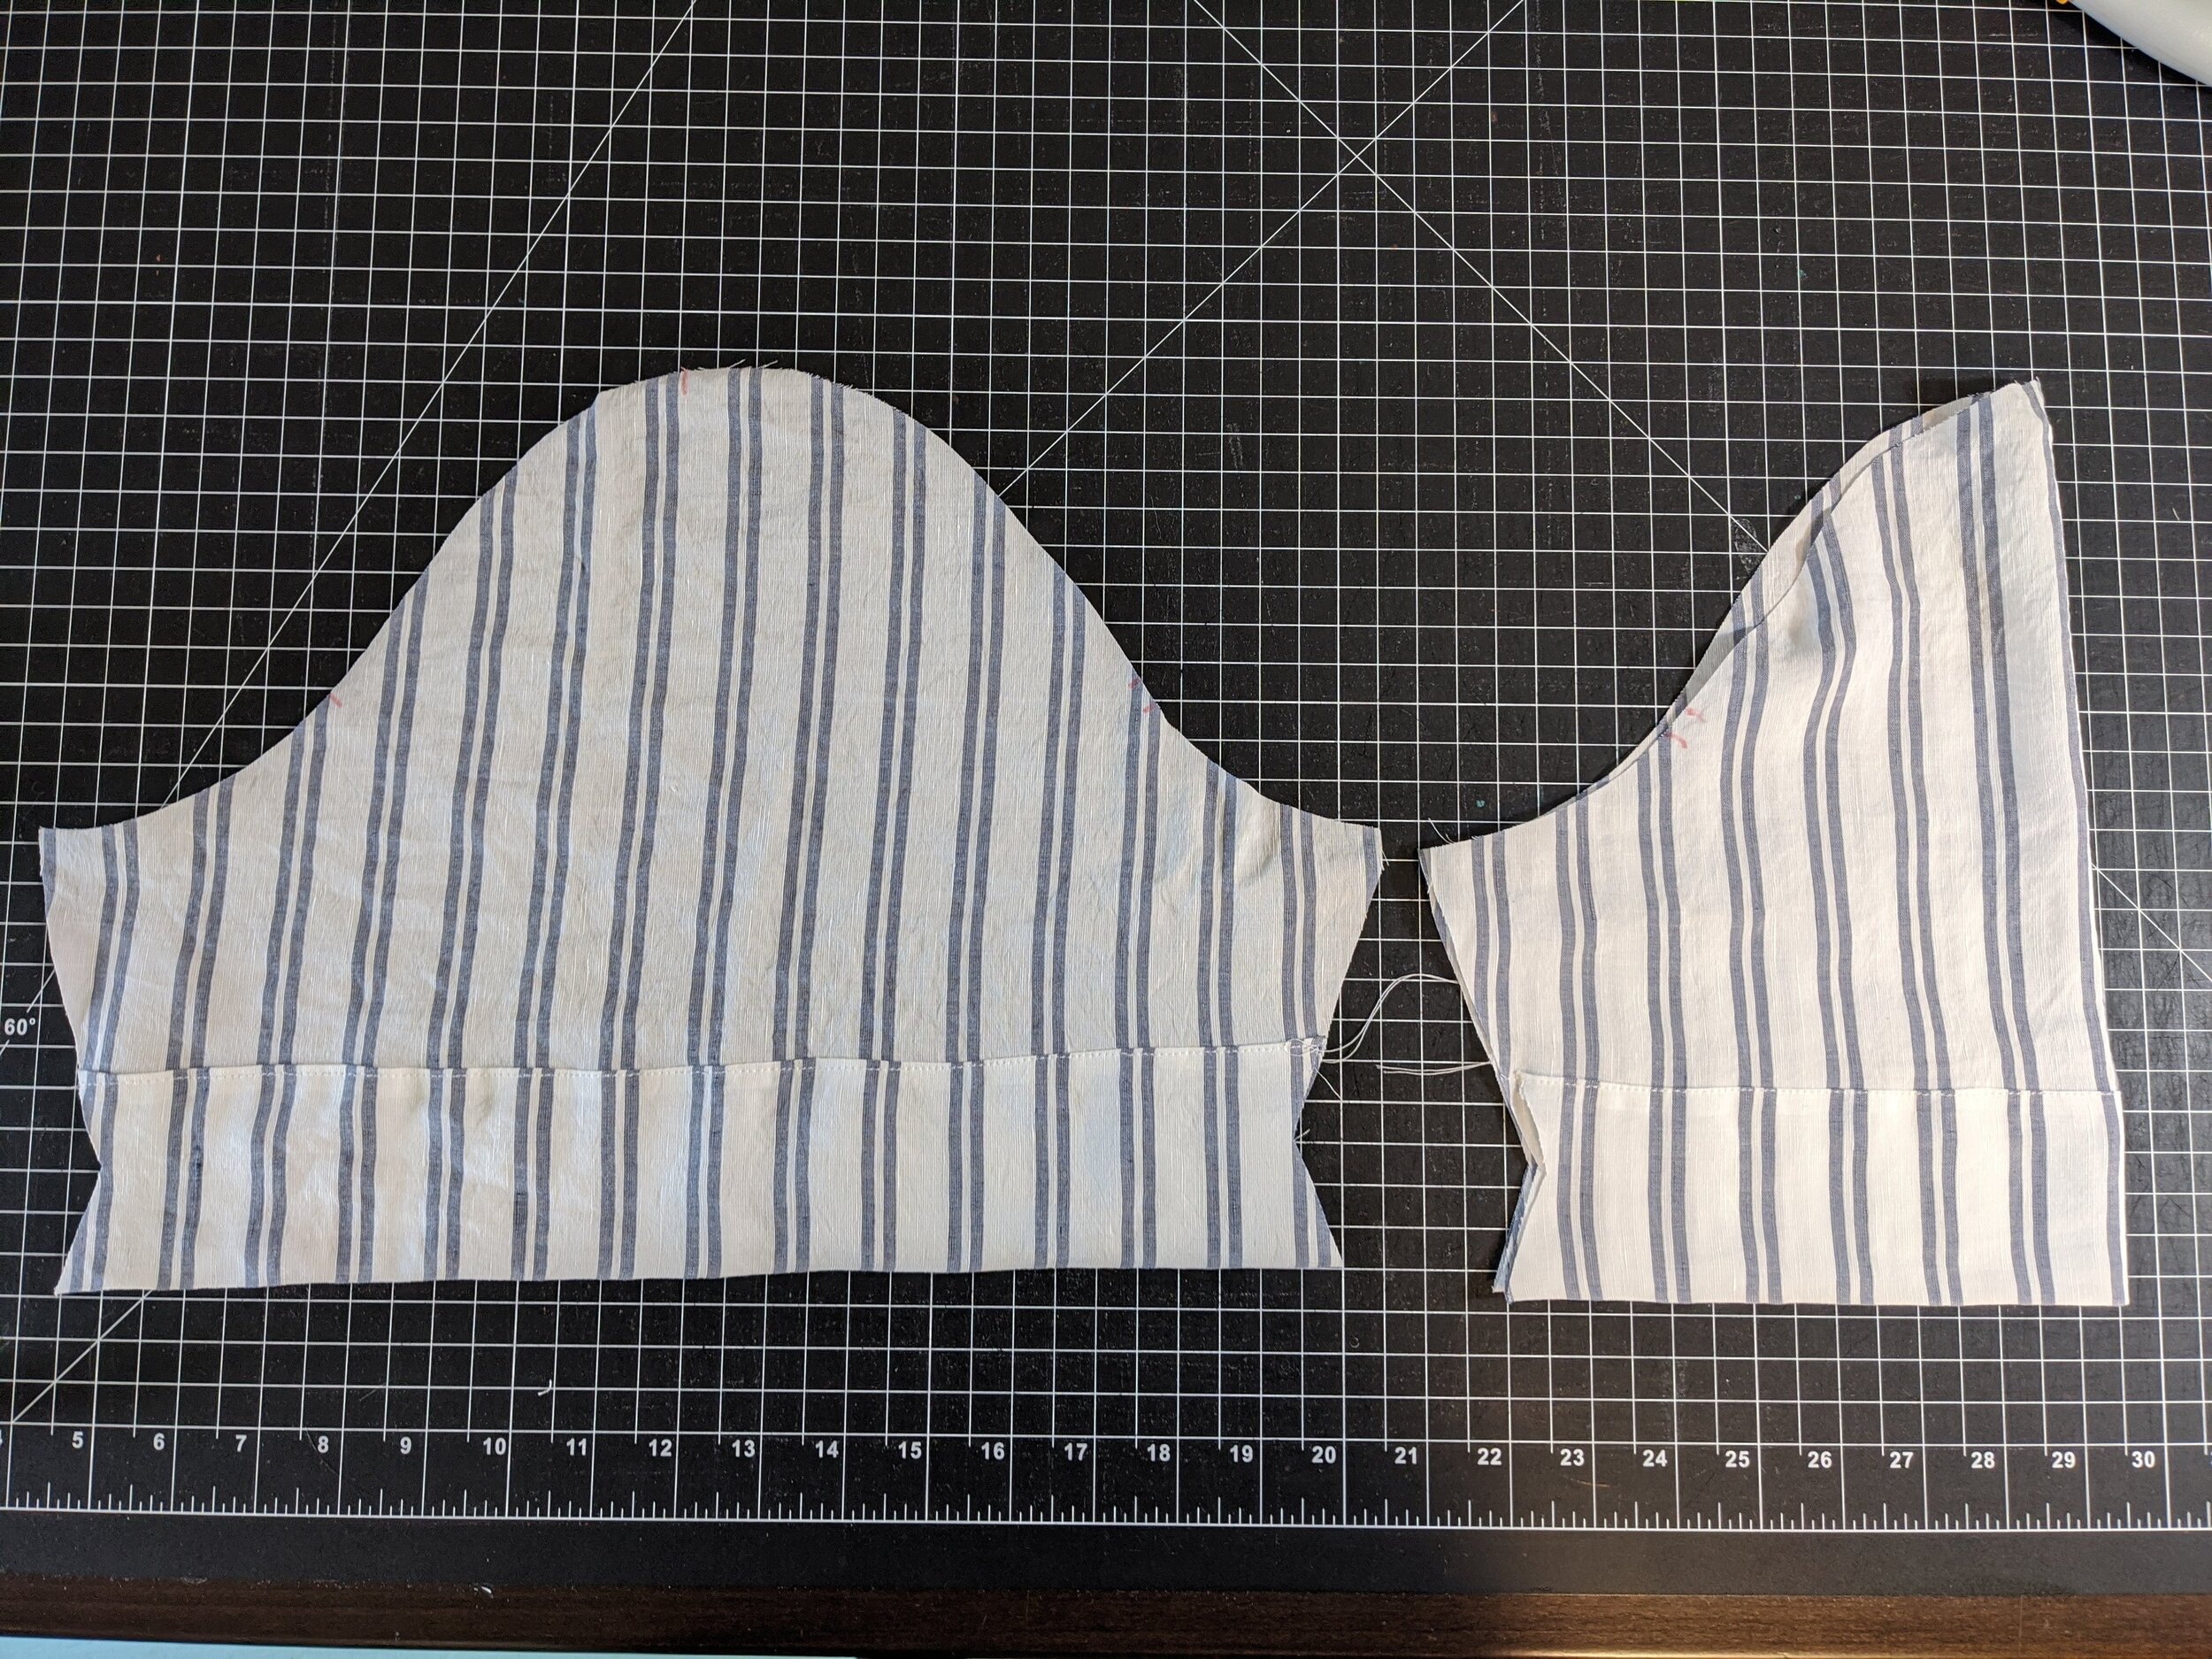
There’s a sweet little pleat at the center where back joins the yoke. (Note- the pleat was widened slightly in the final version of the pattern.) The front features rounded pockets with flaps.
Do not ask me why I cannot seem to upload my modeled images of this challis version. (insert eye roll.) I have two other samples, so hold tight! We’ll just admire the details on this one.
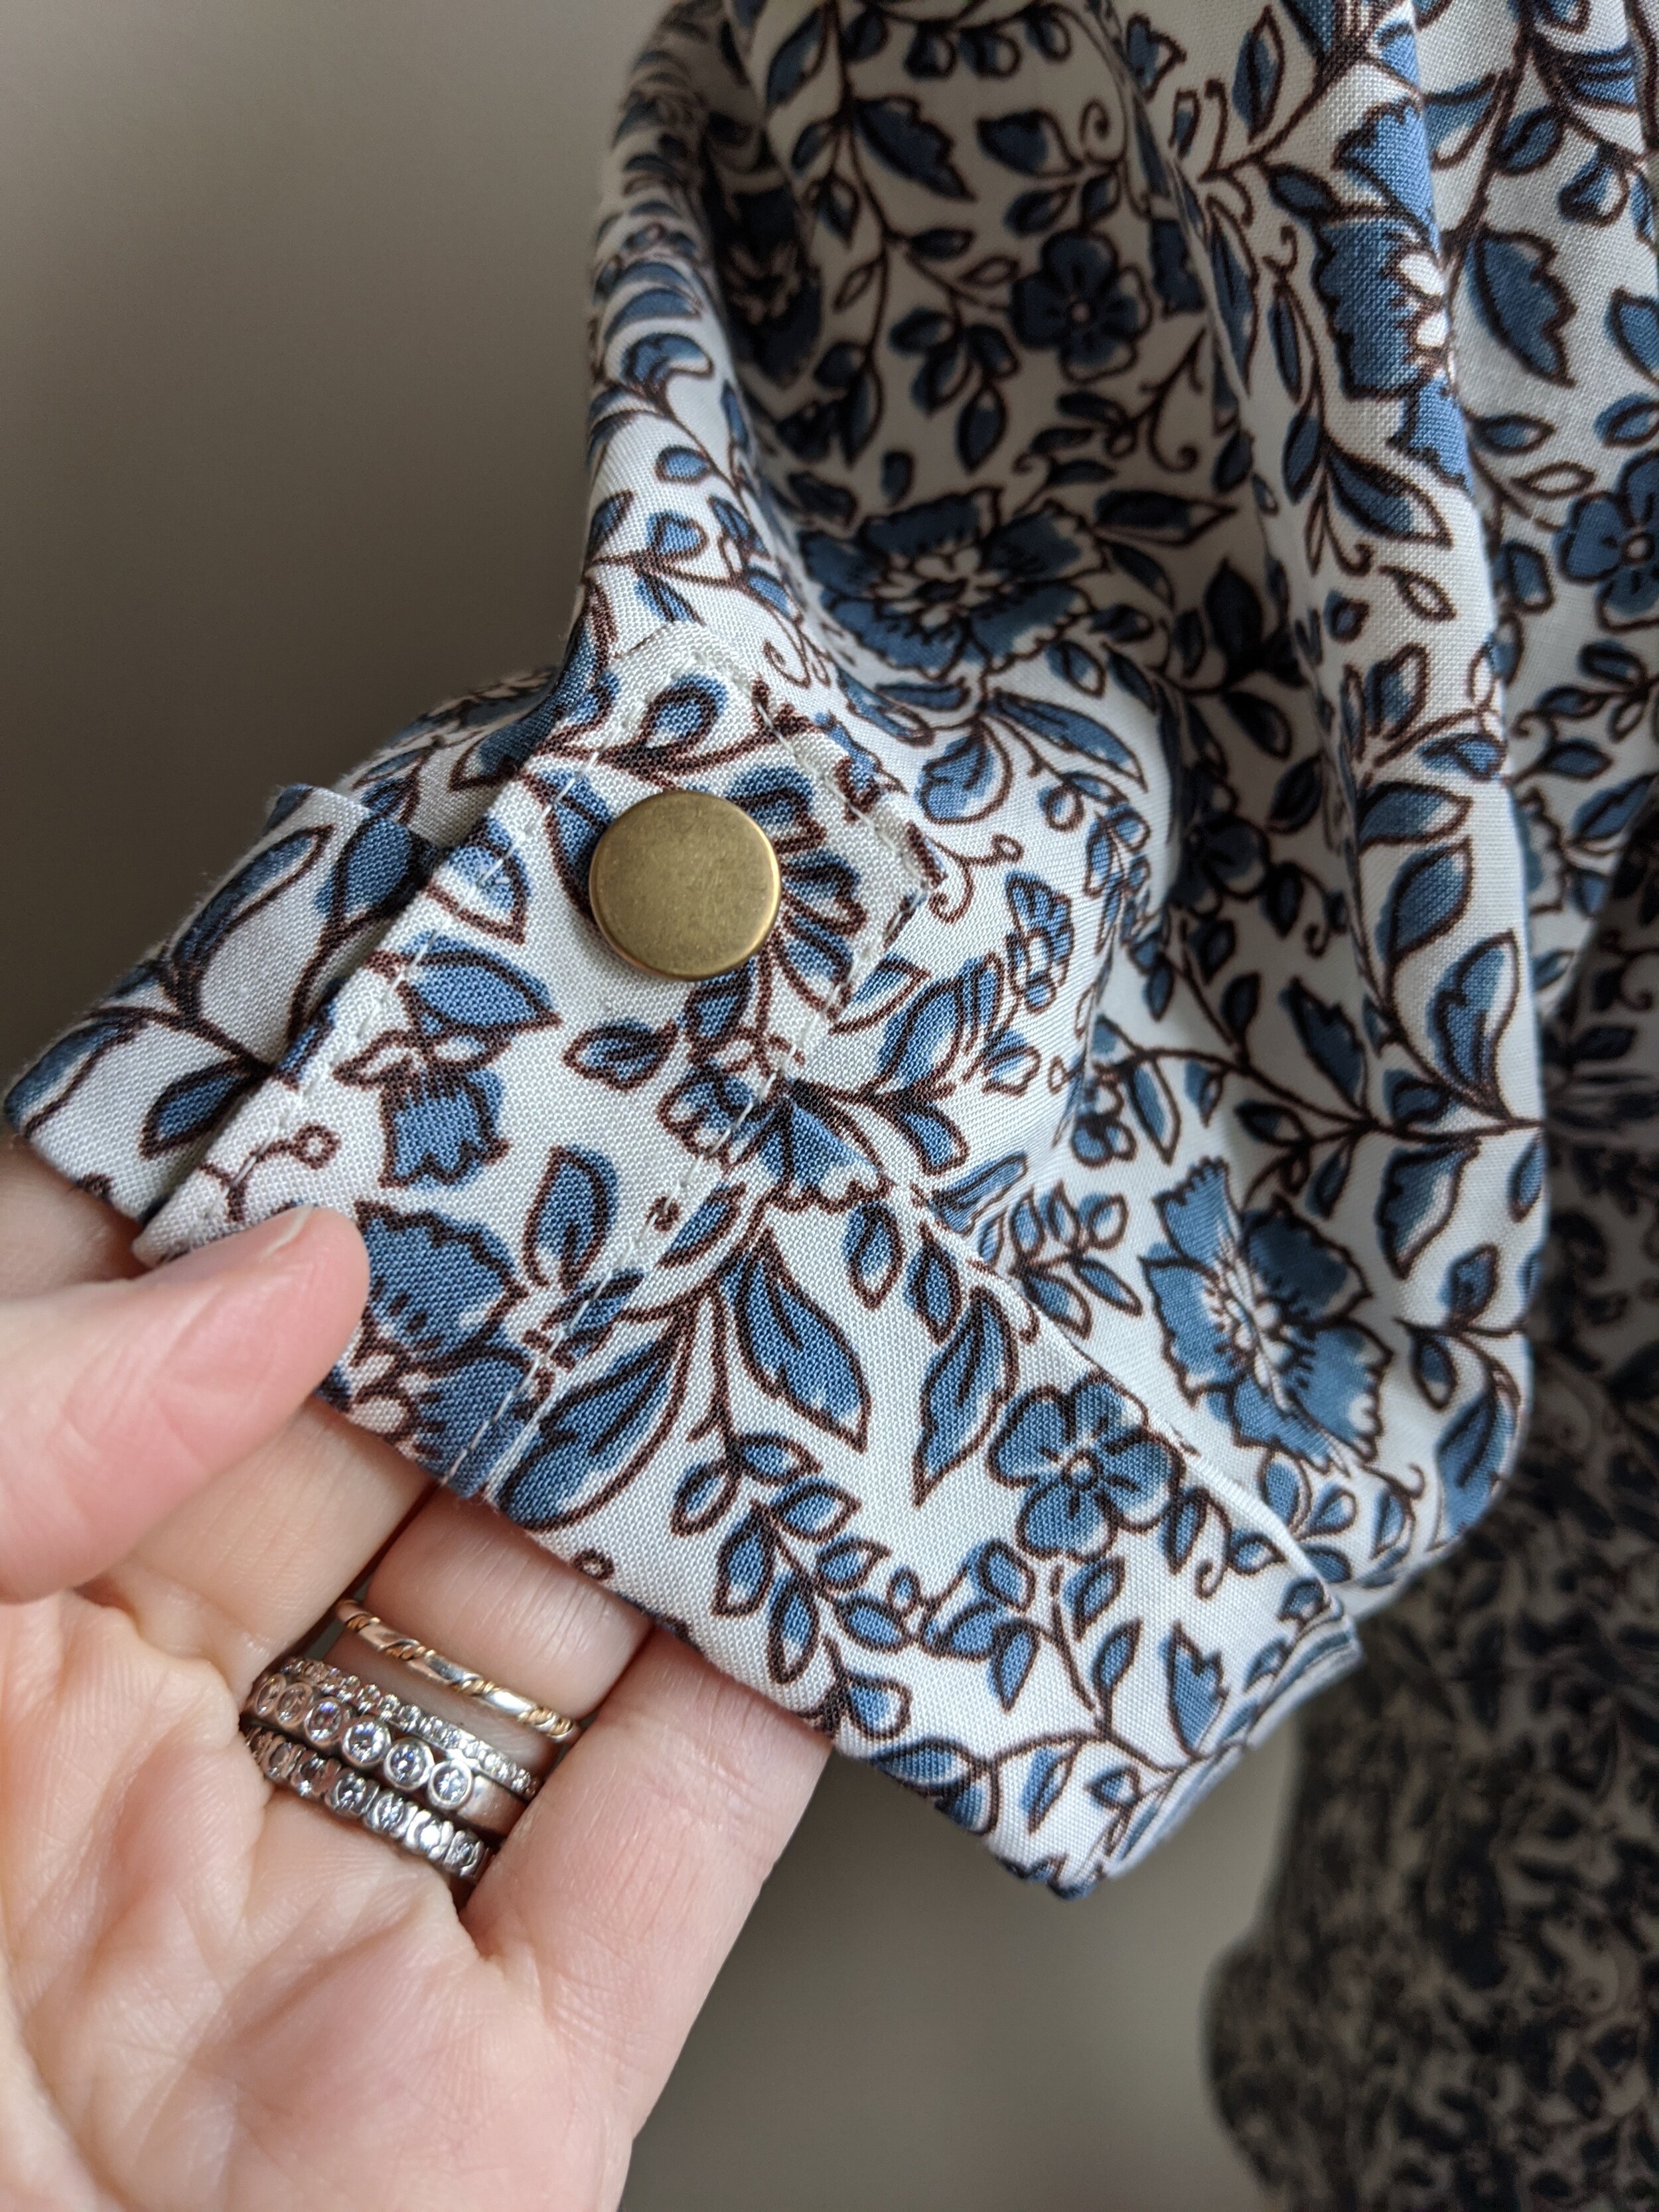
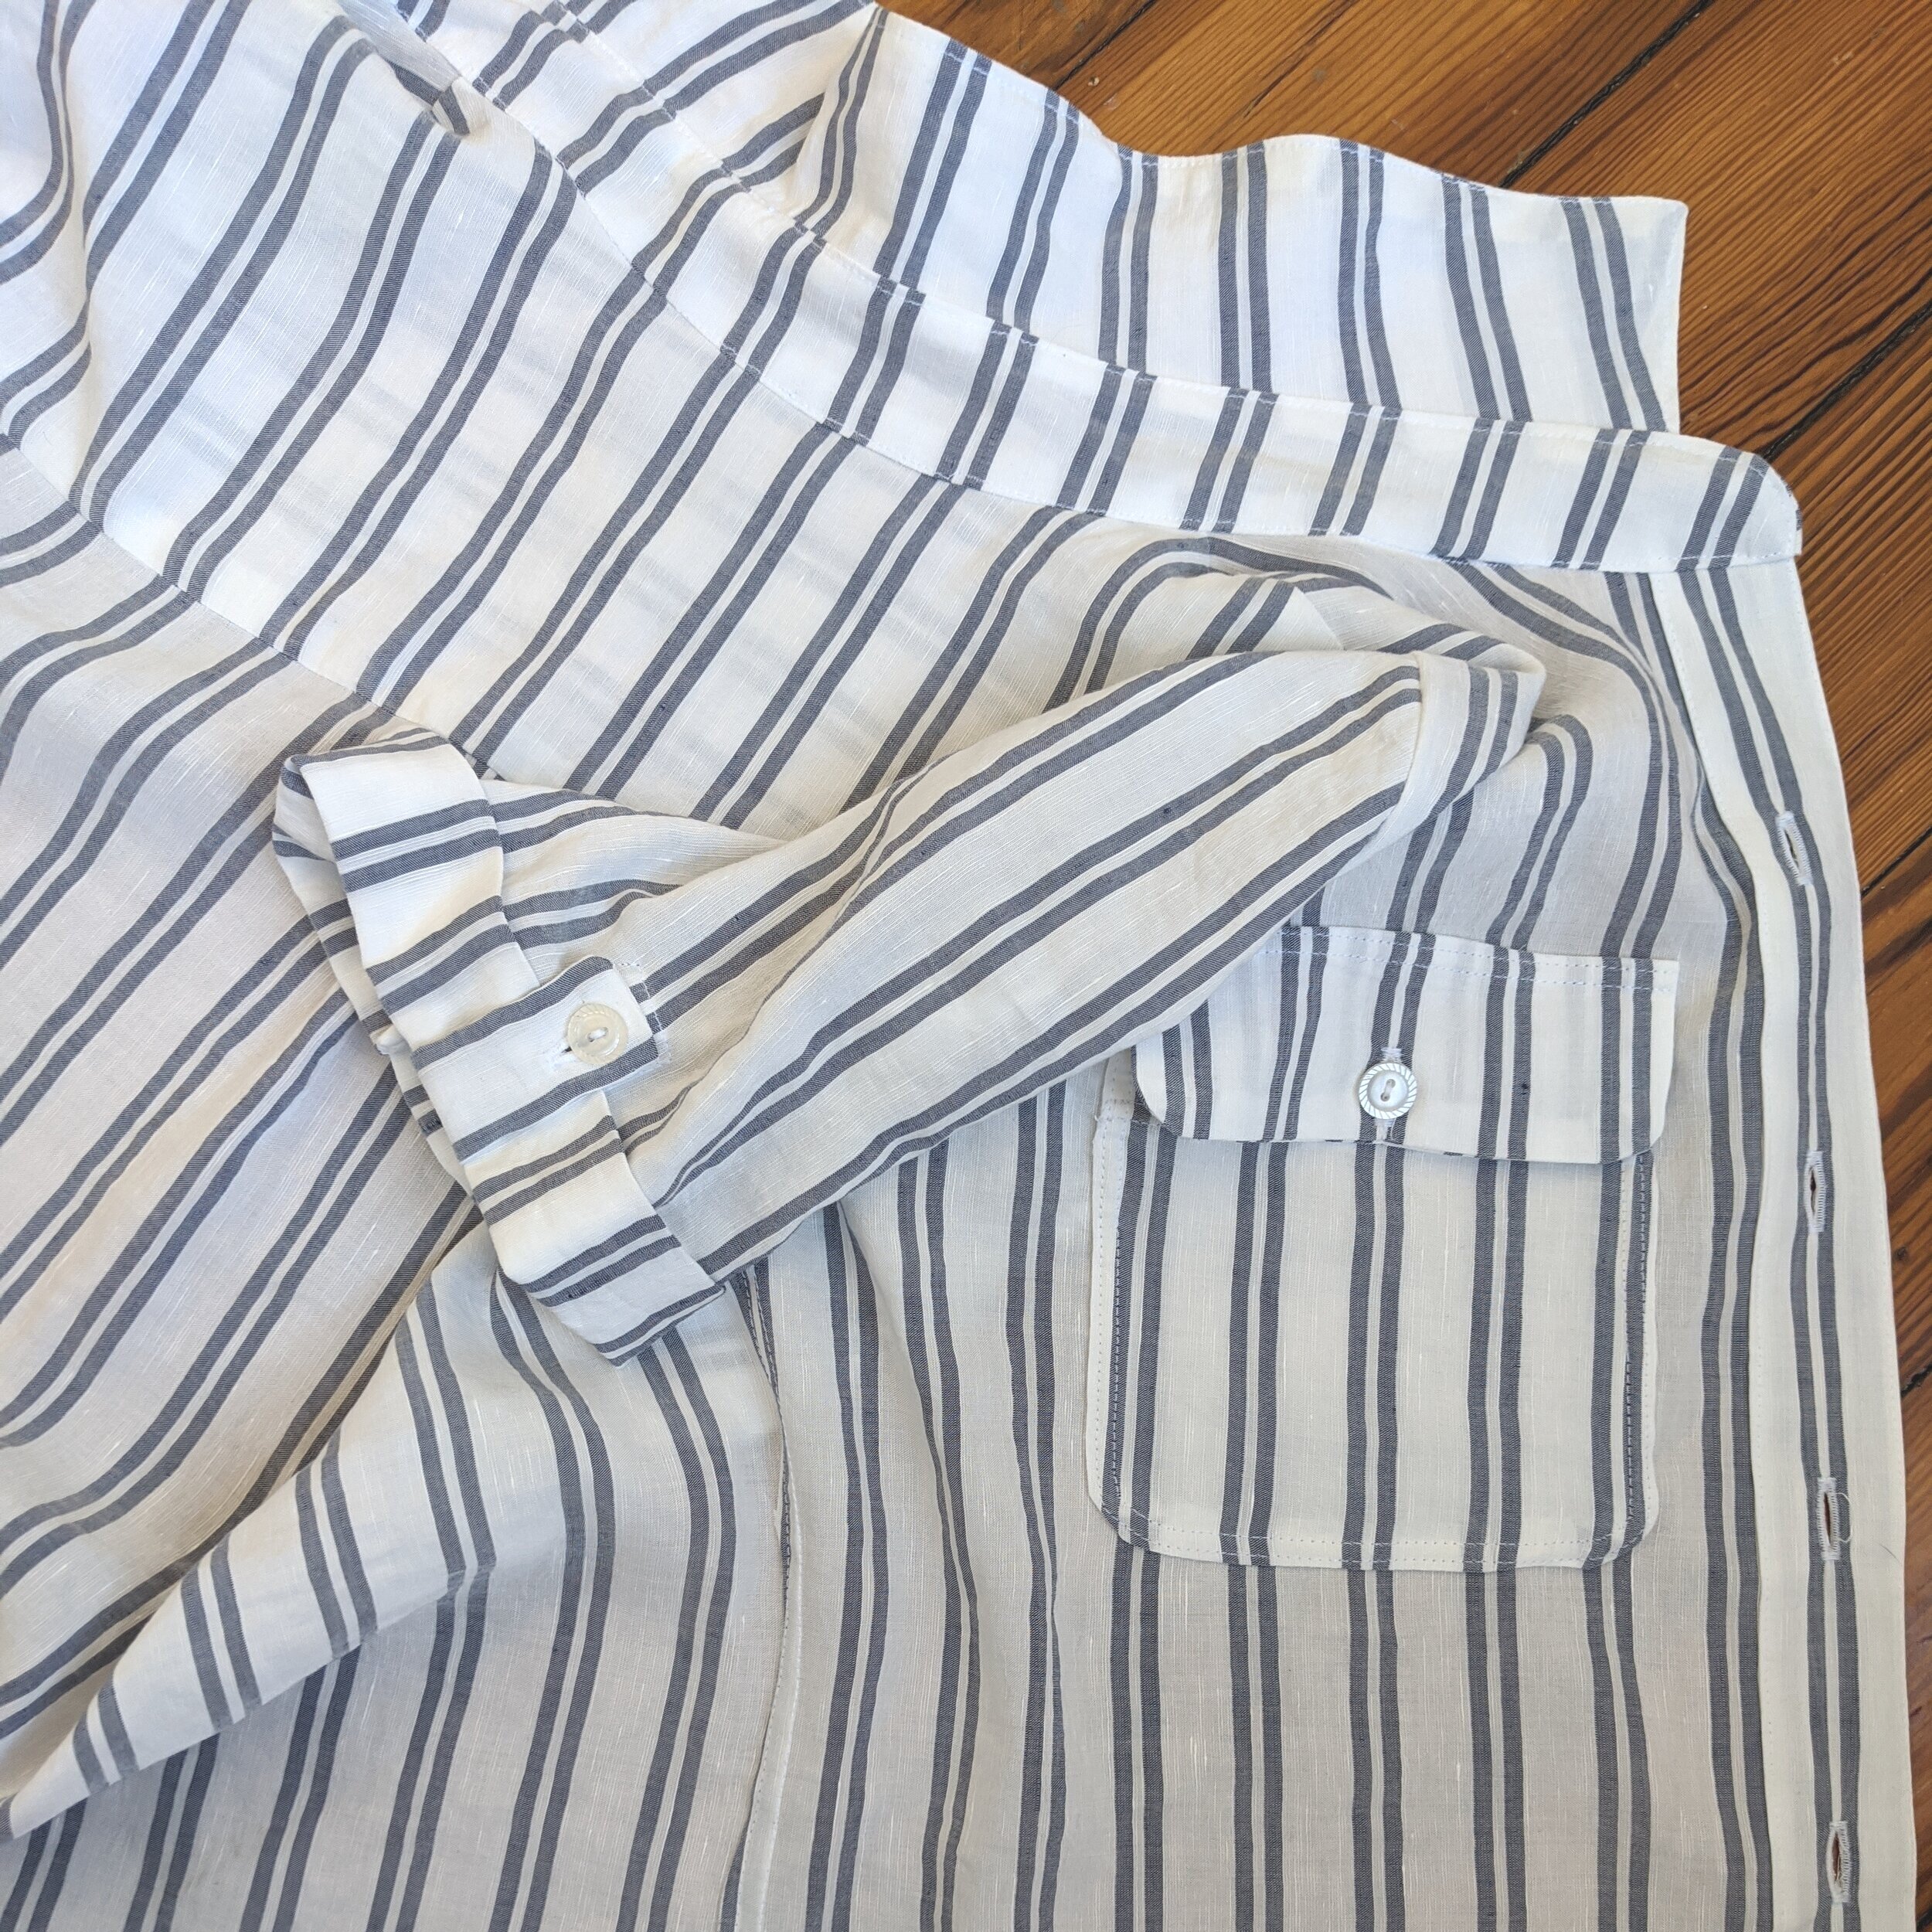
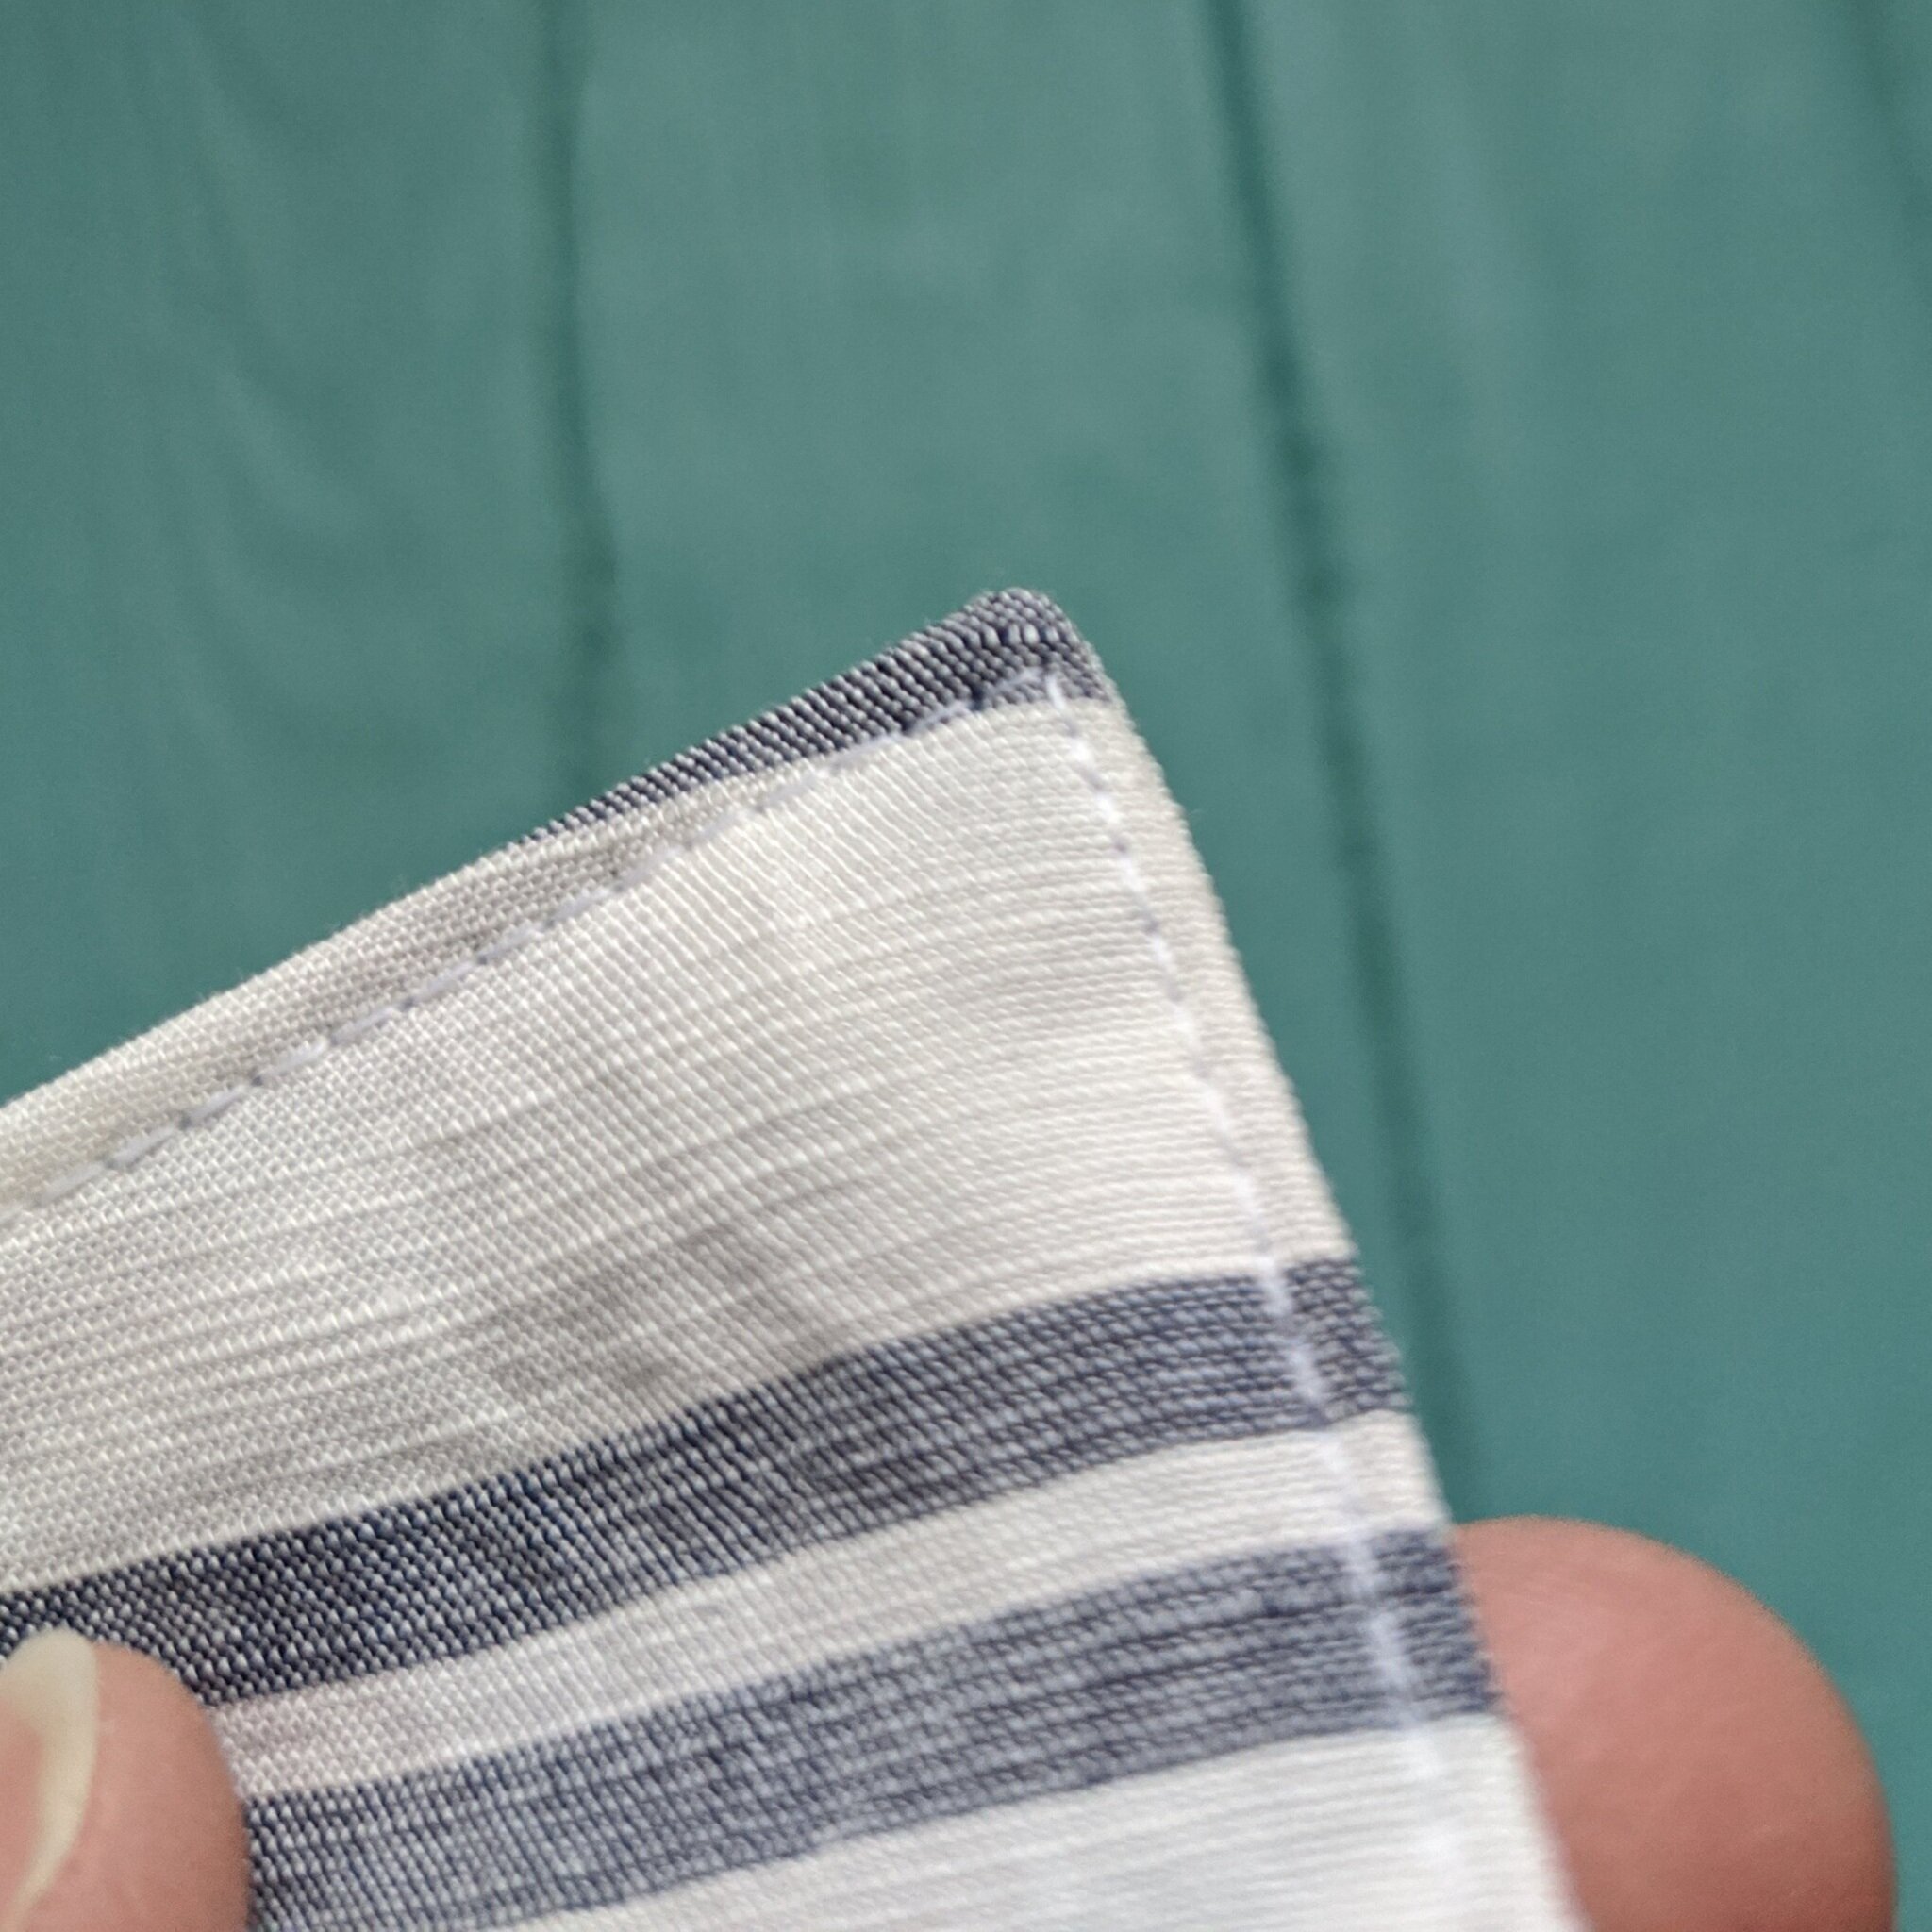
sleeve tab
I used spring snaps in antique brass here. (Amazon-sourced.)


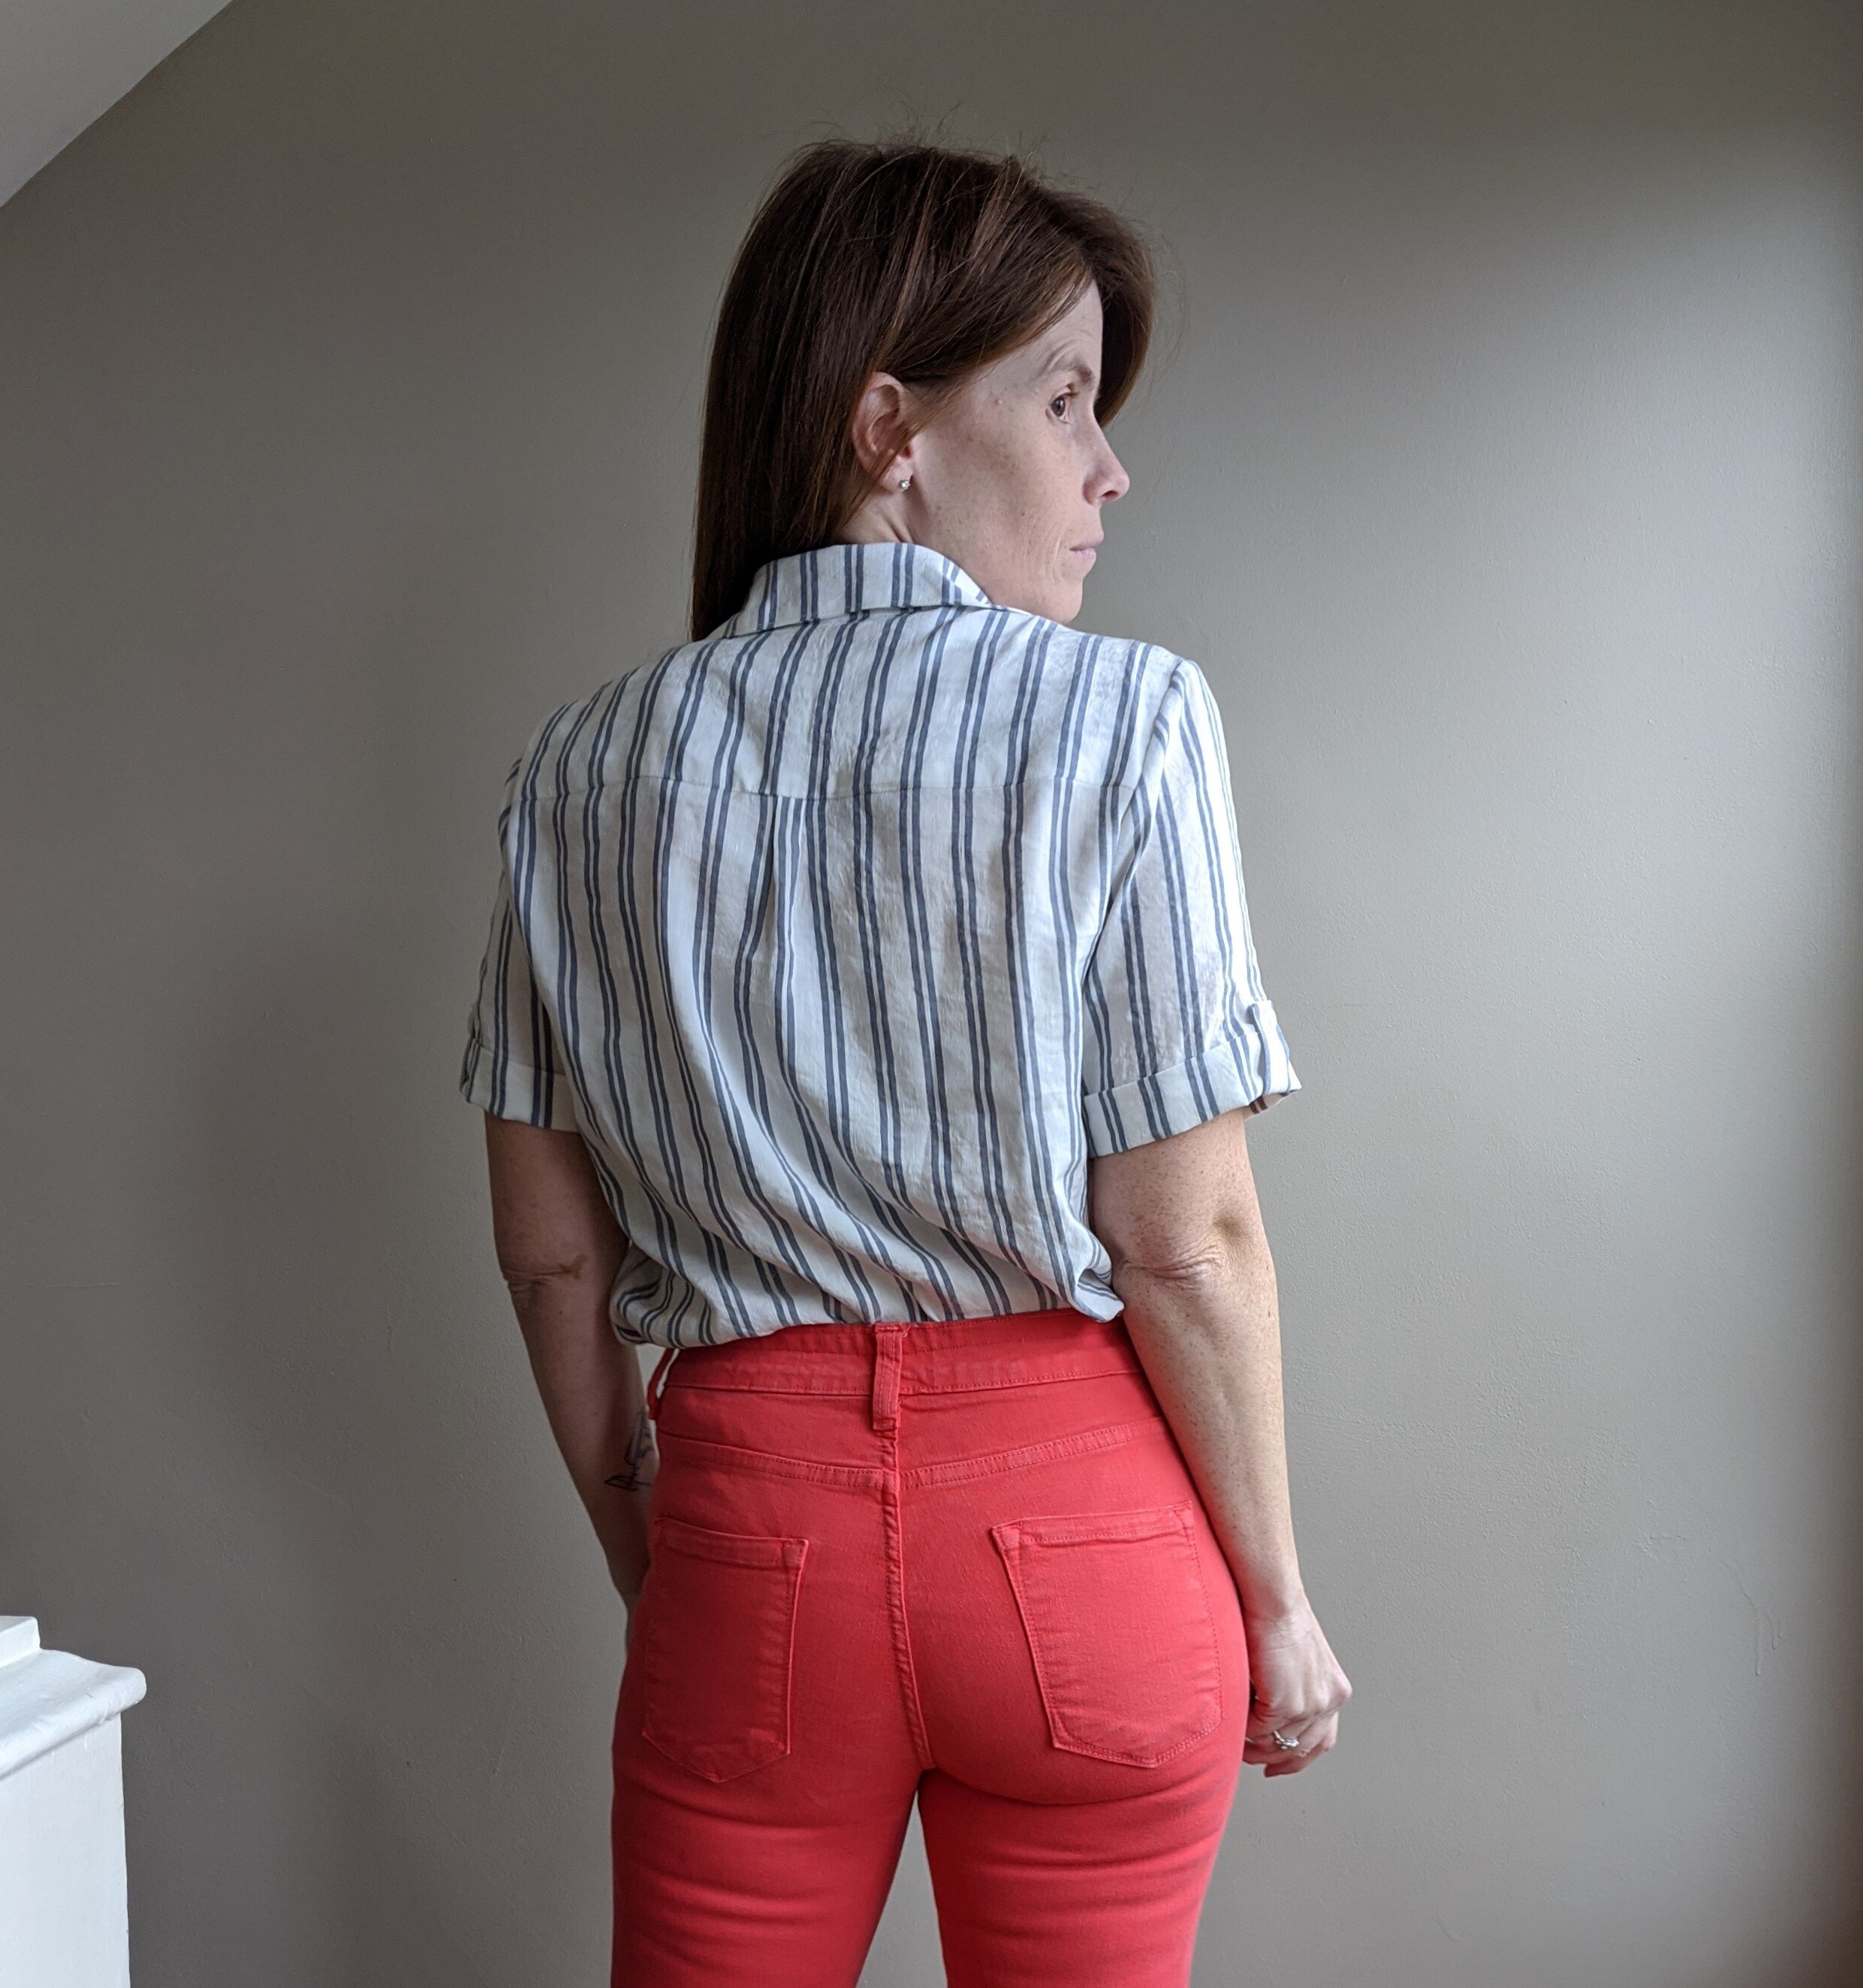
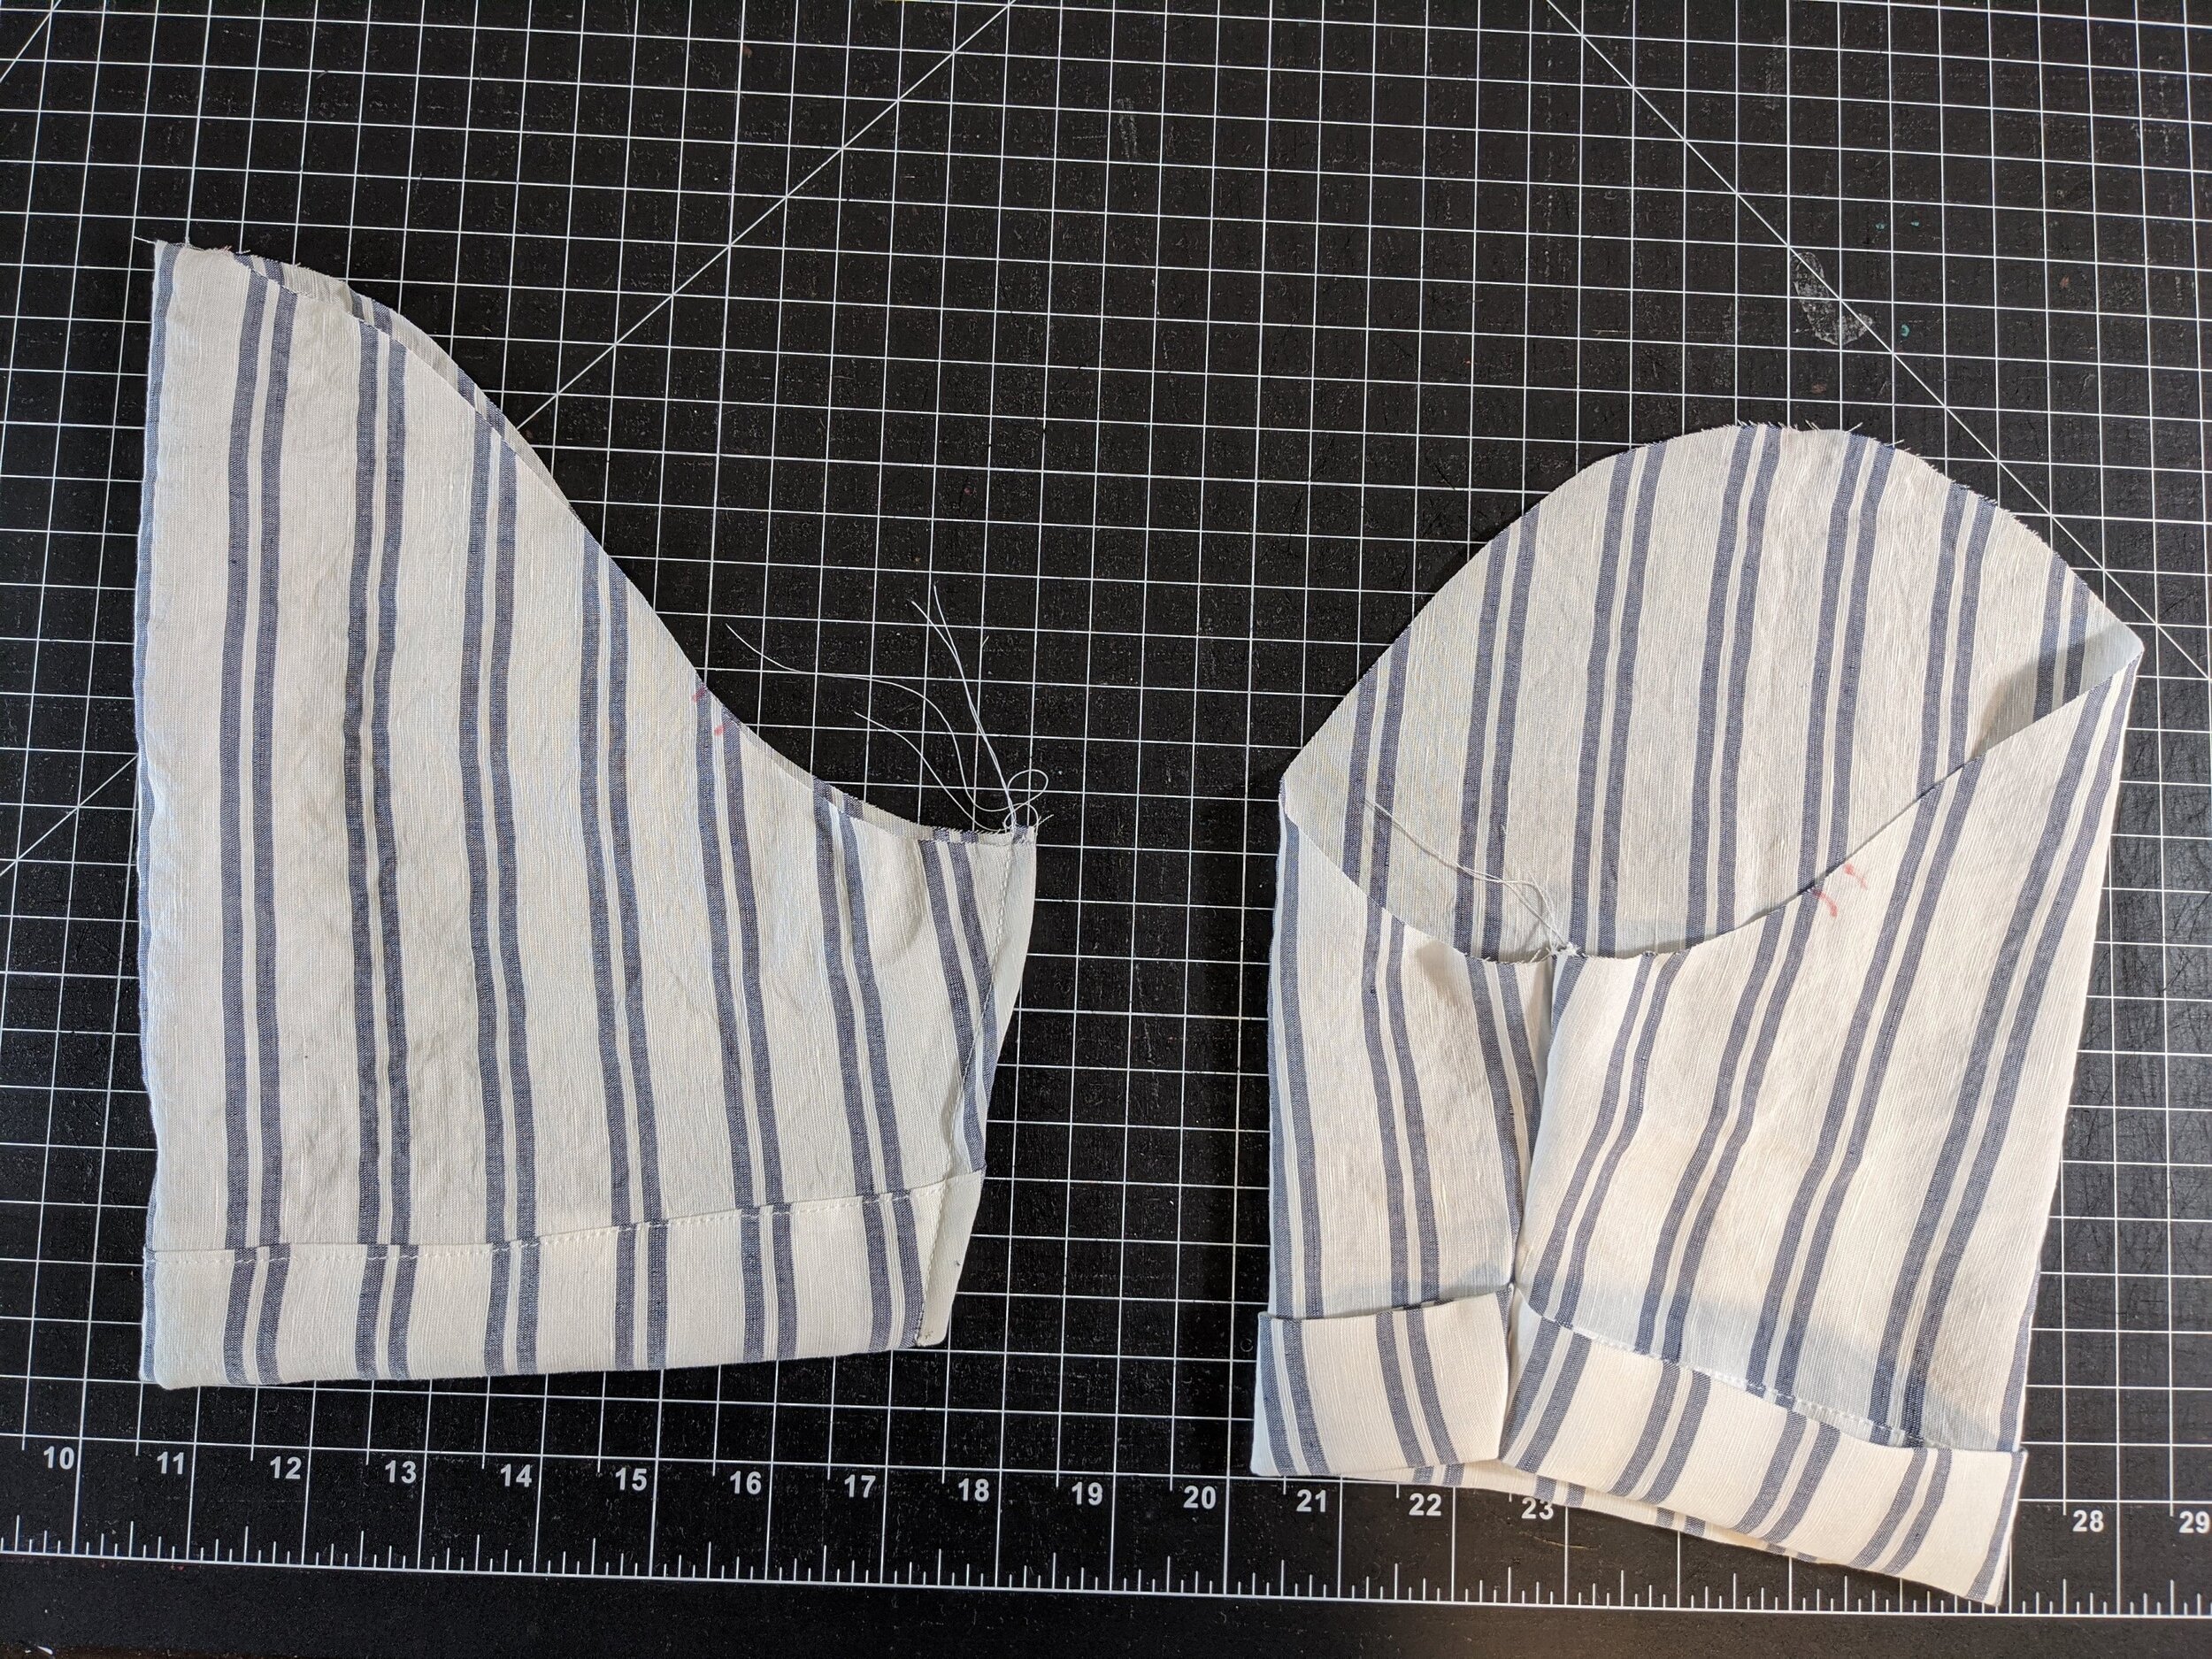
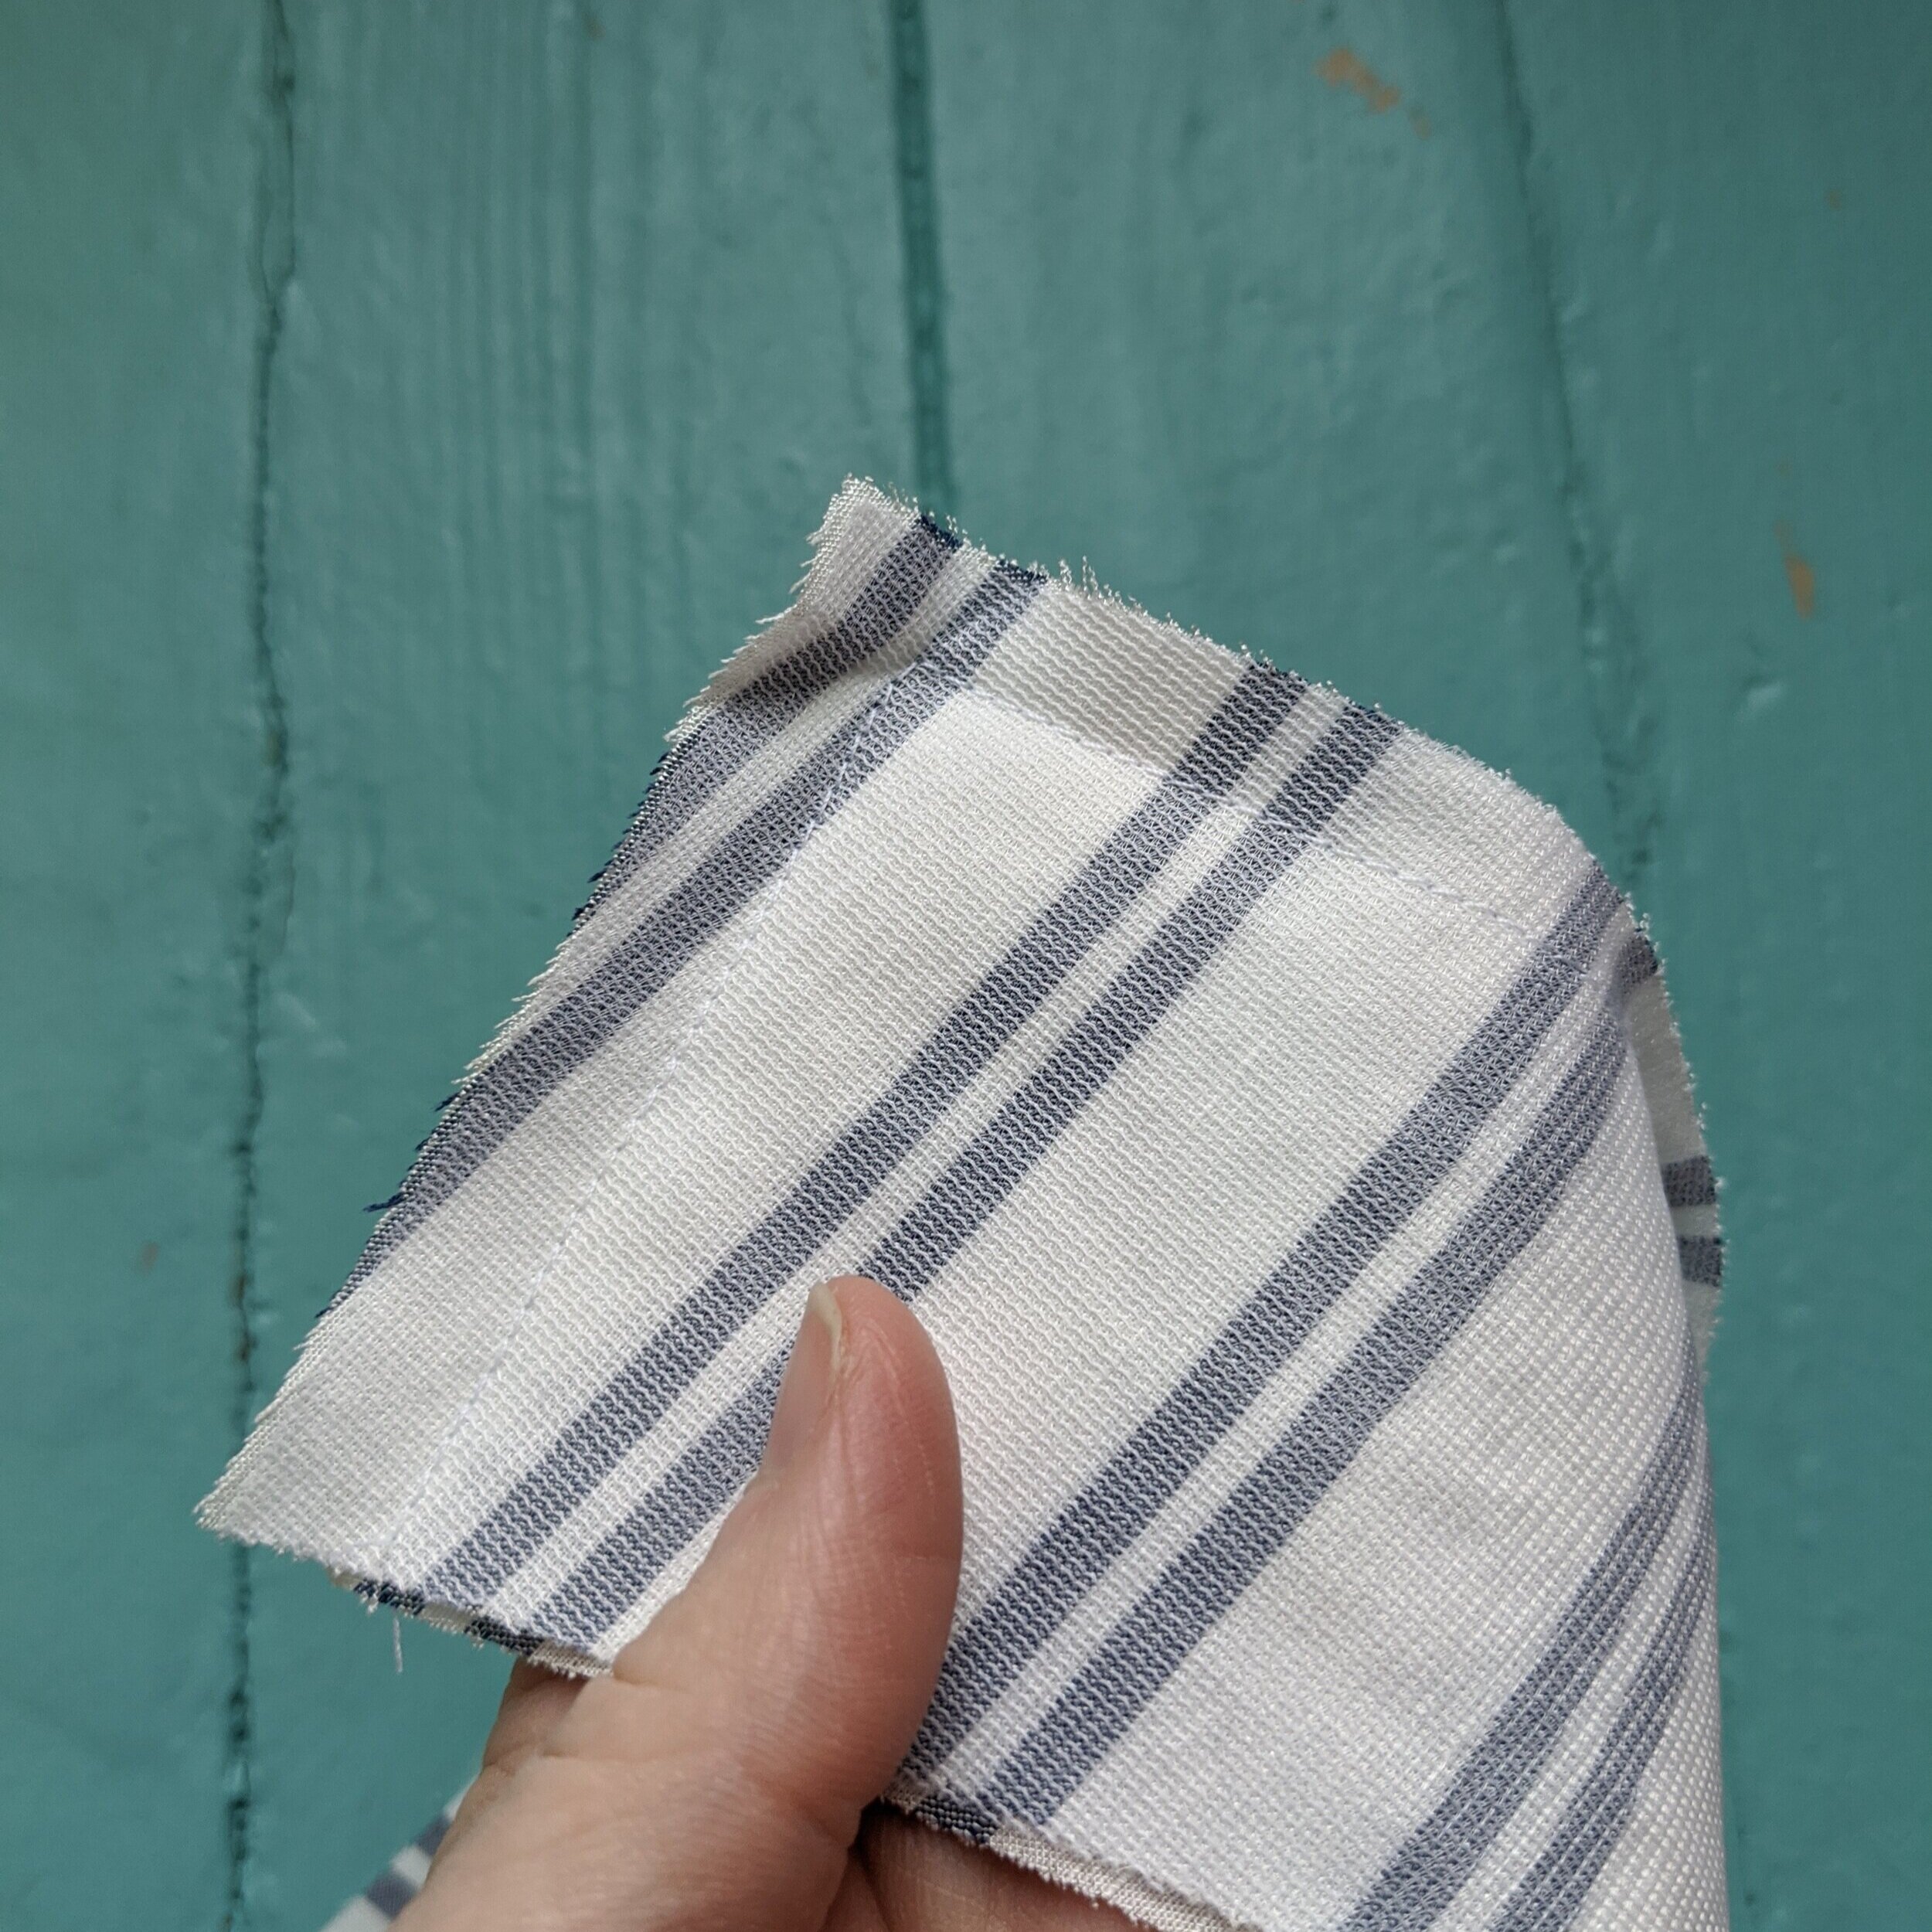
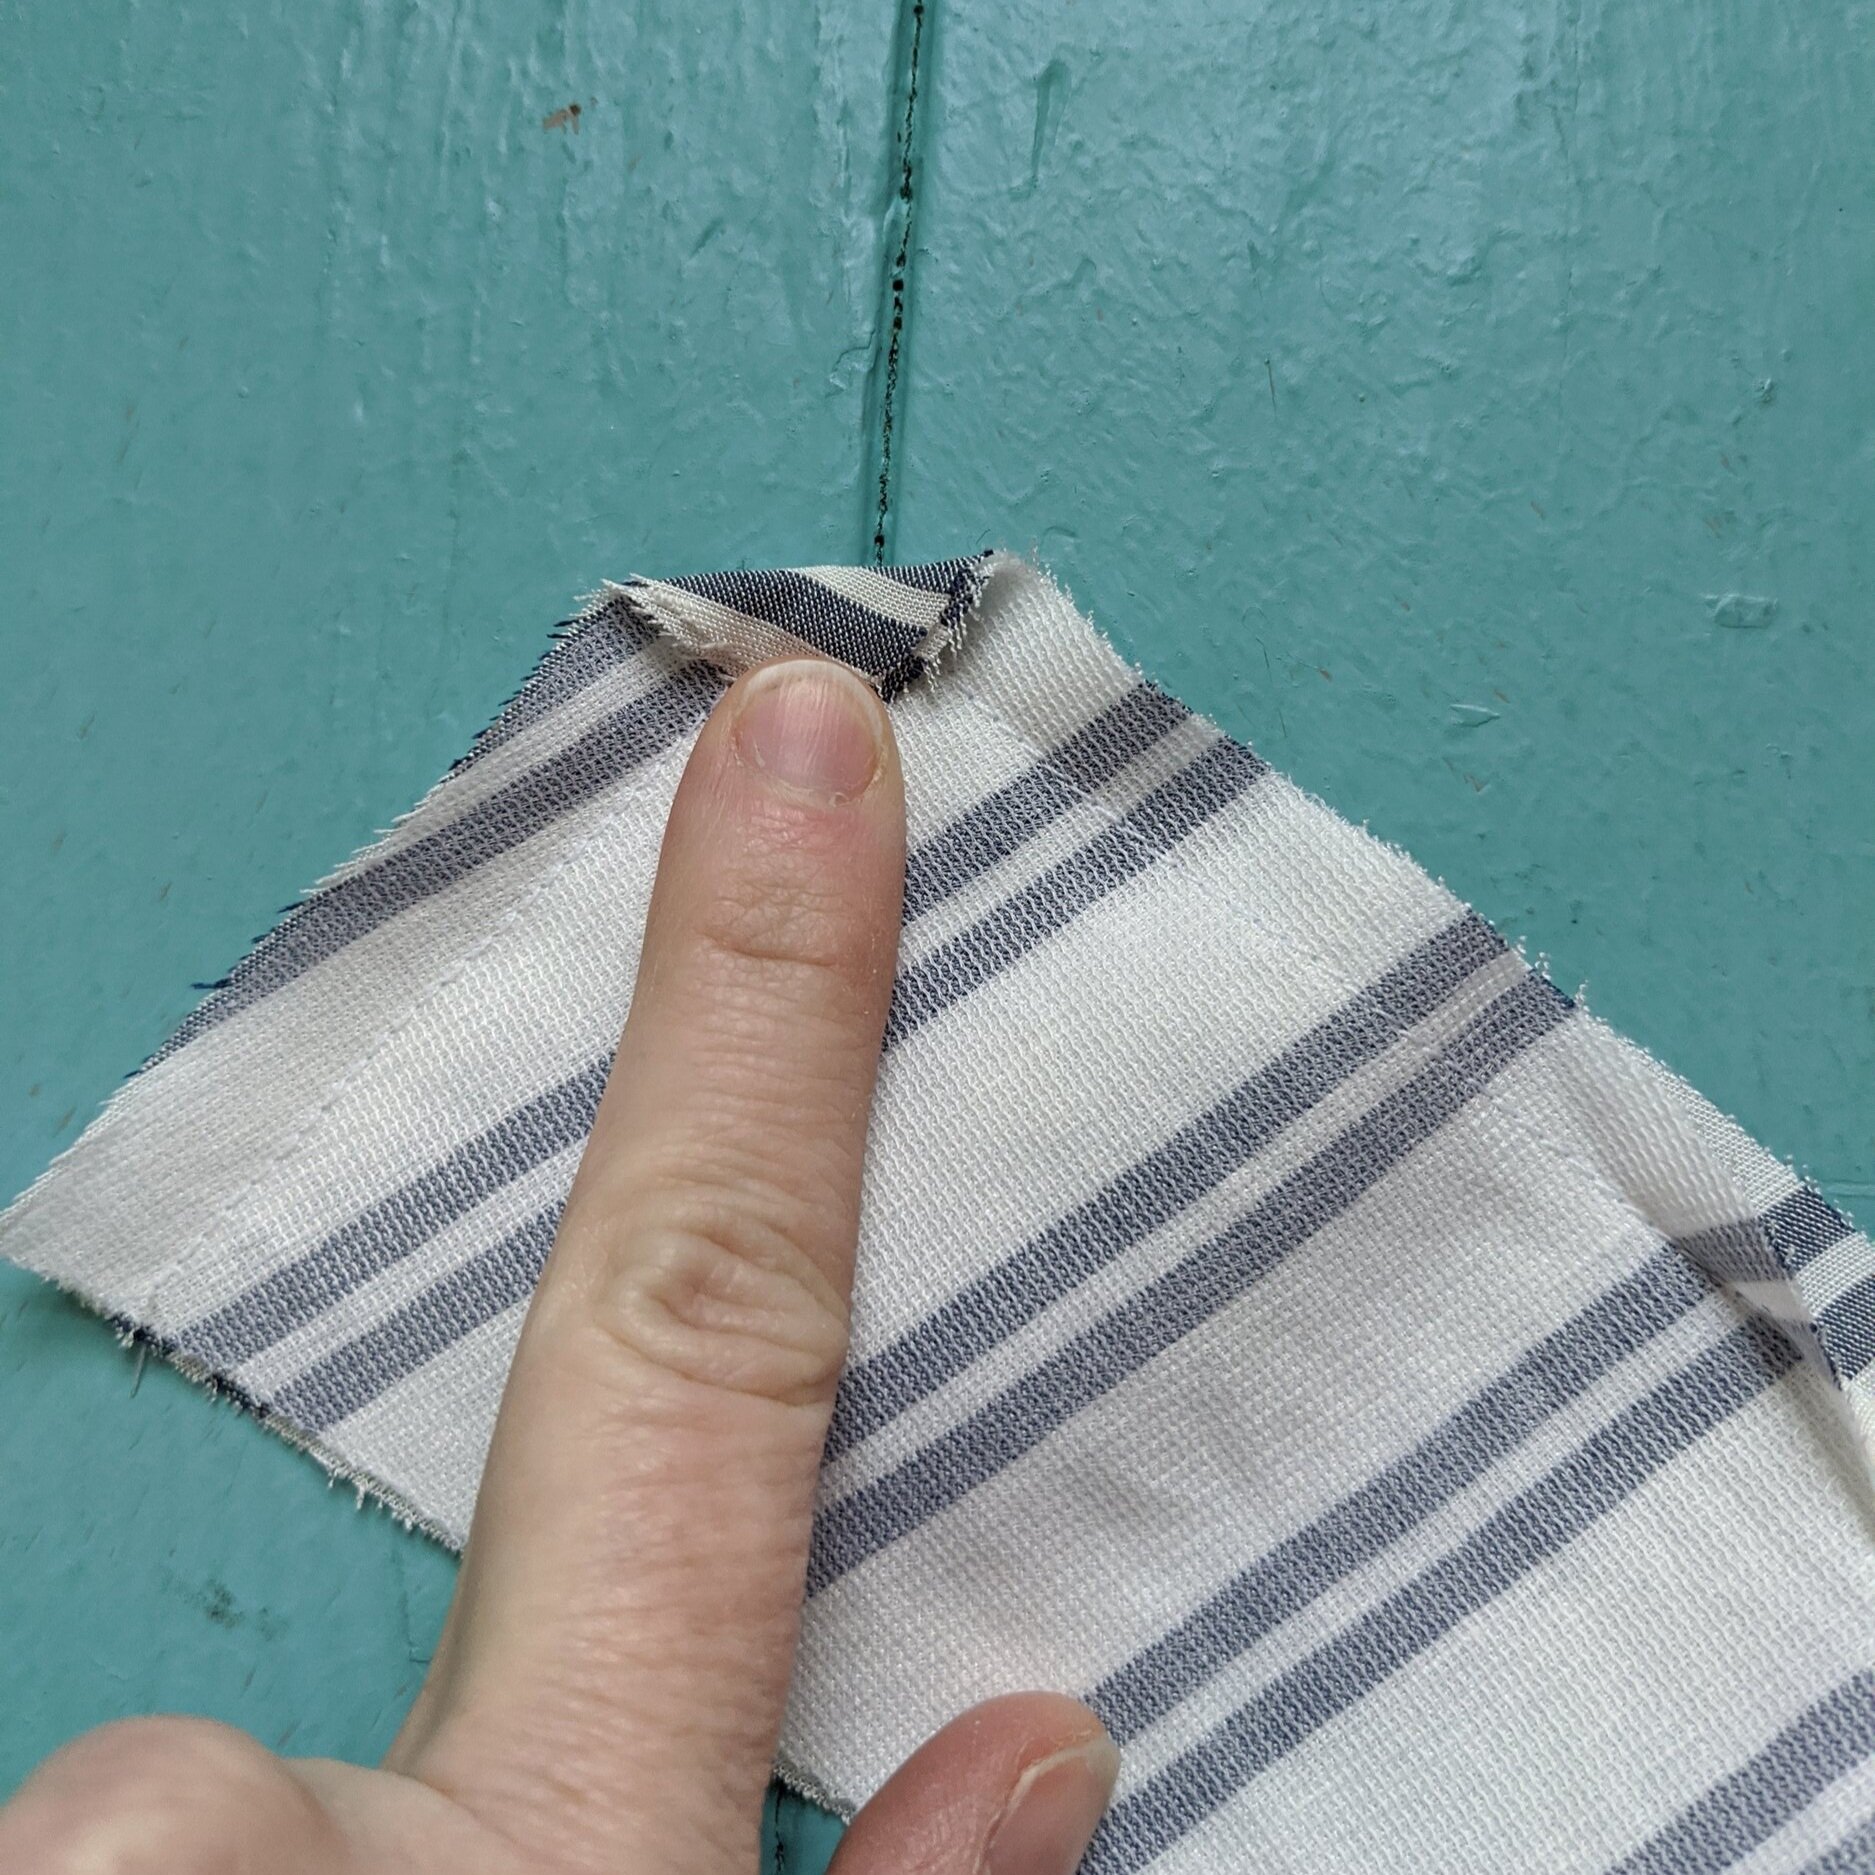
My second sample was made using a striped rayon linen provided by Harts Fabric. I’m rather smitten with the fabric. It’s lighter and more fluid than Robert Kaufman Brussels Washer linen (60% rayon vs 55%). It’s ever so slightly sheer. Basically the holy grail of summer linen.
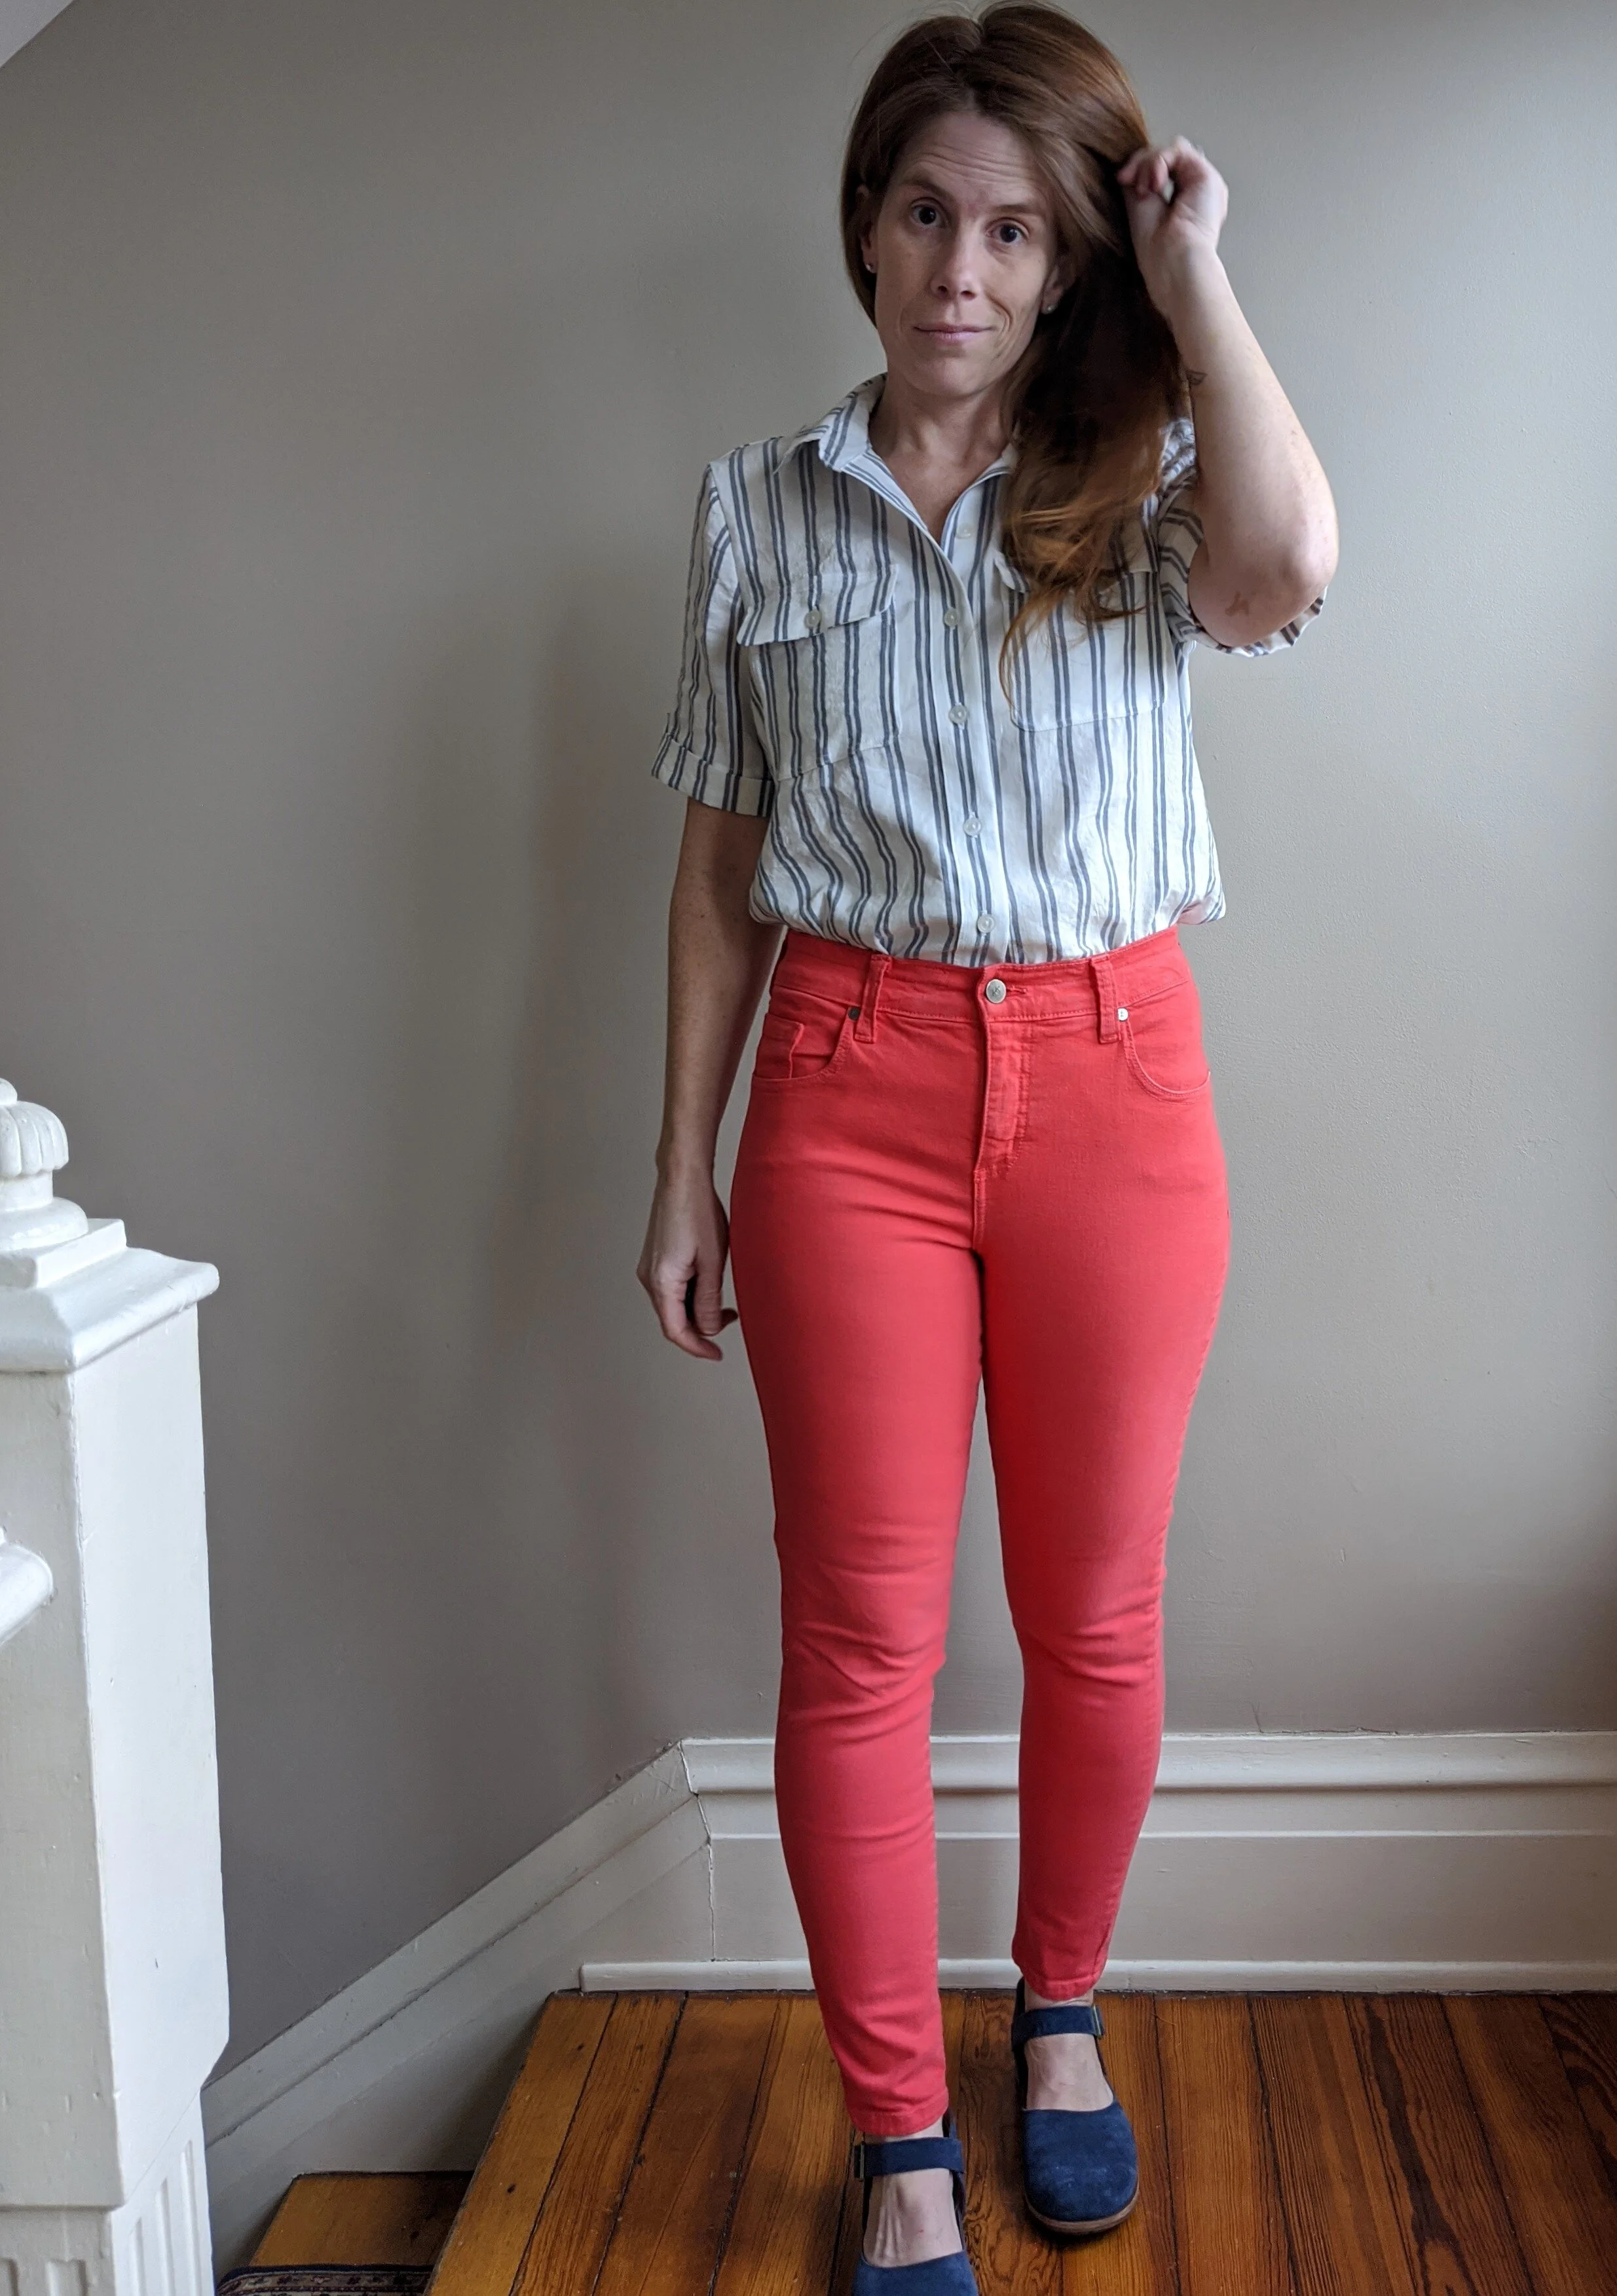
I made a straight size 8 per my body measurements (for all 3 samples) and made no fit adjustments. (I’m boring like that, sorry.)

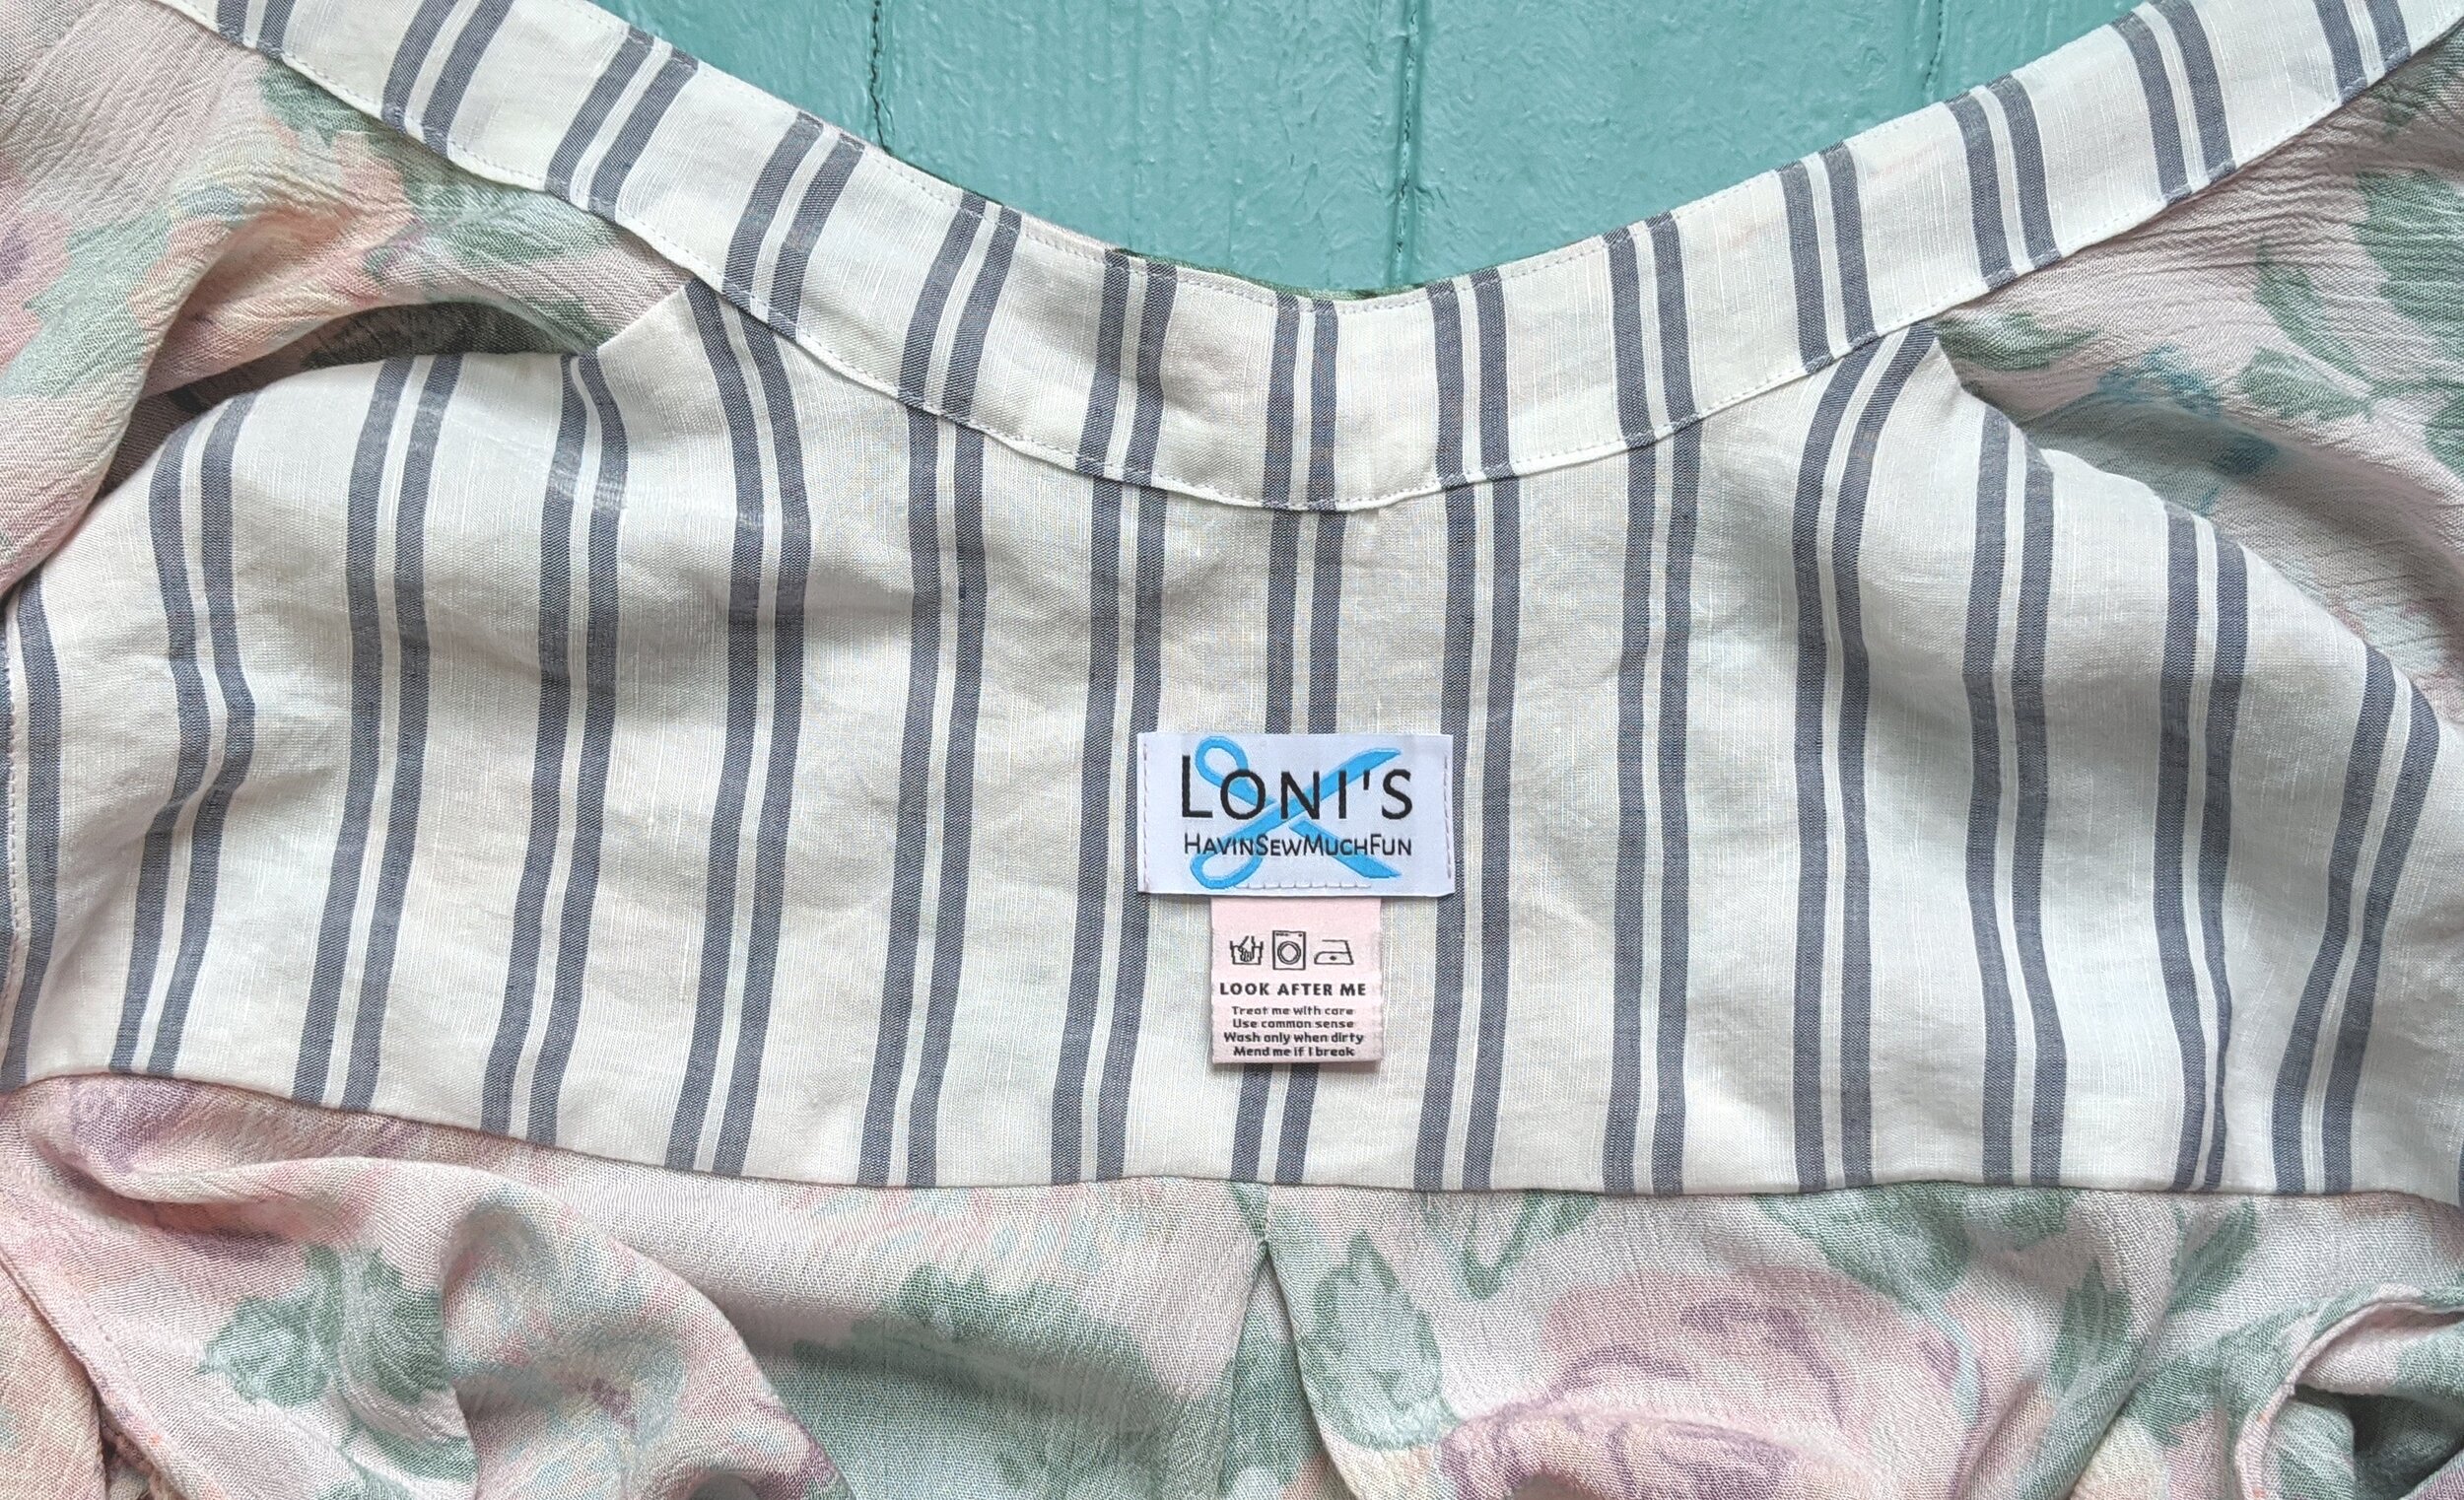
Personal label by Dutch Label Shop and size label by Stitch Collective (frequently sold out, try Fancy Tiger Crafts)
I did real buttons and holes on this version. I’d pat myself on the back, but, let’s be honest, my machine does most of the work.

I know you’re going to be asking why you need Amherst. You might already own Cheyenne (also designed by Hey June), Archer, or another classic collared shirt pattern. I can only speak for Cheyenne as I own it and have made several versions. (You could say she’s my tried and true button up shirt and I haven’t needed to stray.) Cheyenne was drafted and graded in 7 sizes, XS (32” bust) to 2X (44” bust) while Amherst covers 13 sizes, 0 (33” full bust) to 24 (53” full bust) with a full bust adjusted front included. There’s likely some more specific drafting differences, but I’m not an expert on that by any means and therefore cannot comment. There are subtle, style differences one could modify another pattern to achieve (pockets, sleeve tab). Amherst has a more relaxed shape with an ever so slight drop to the shoulder. But, the most significant, in my mind, AND FUN (my mo, remember?) difference is the sleeve. Amherst has a unique, grown-on sleeve cuff which completely blew my mind and is rather cool to construct. As a process sewer, I live for trying new techniques and styles.
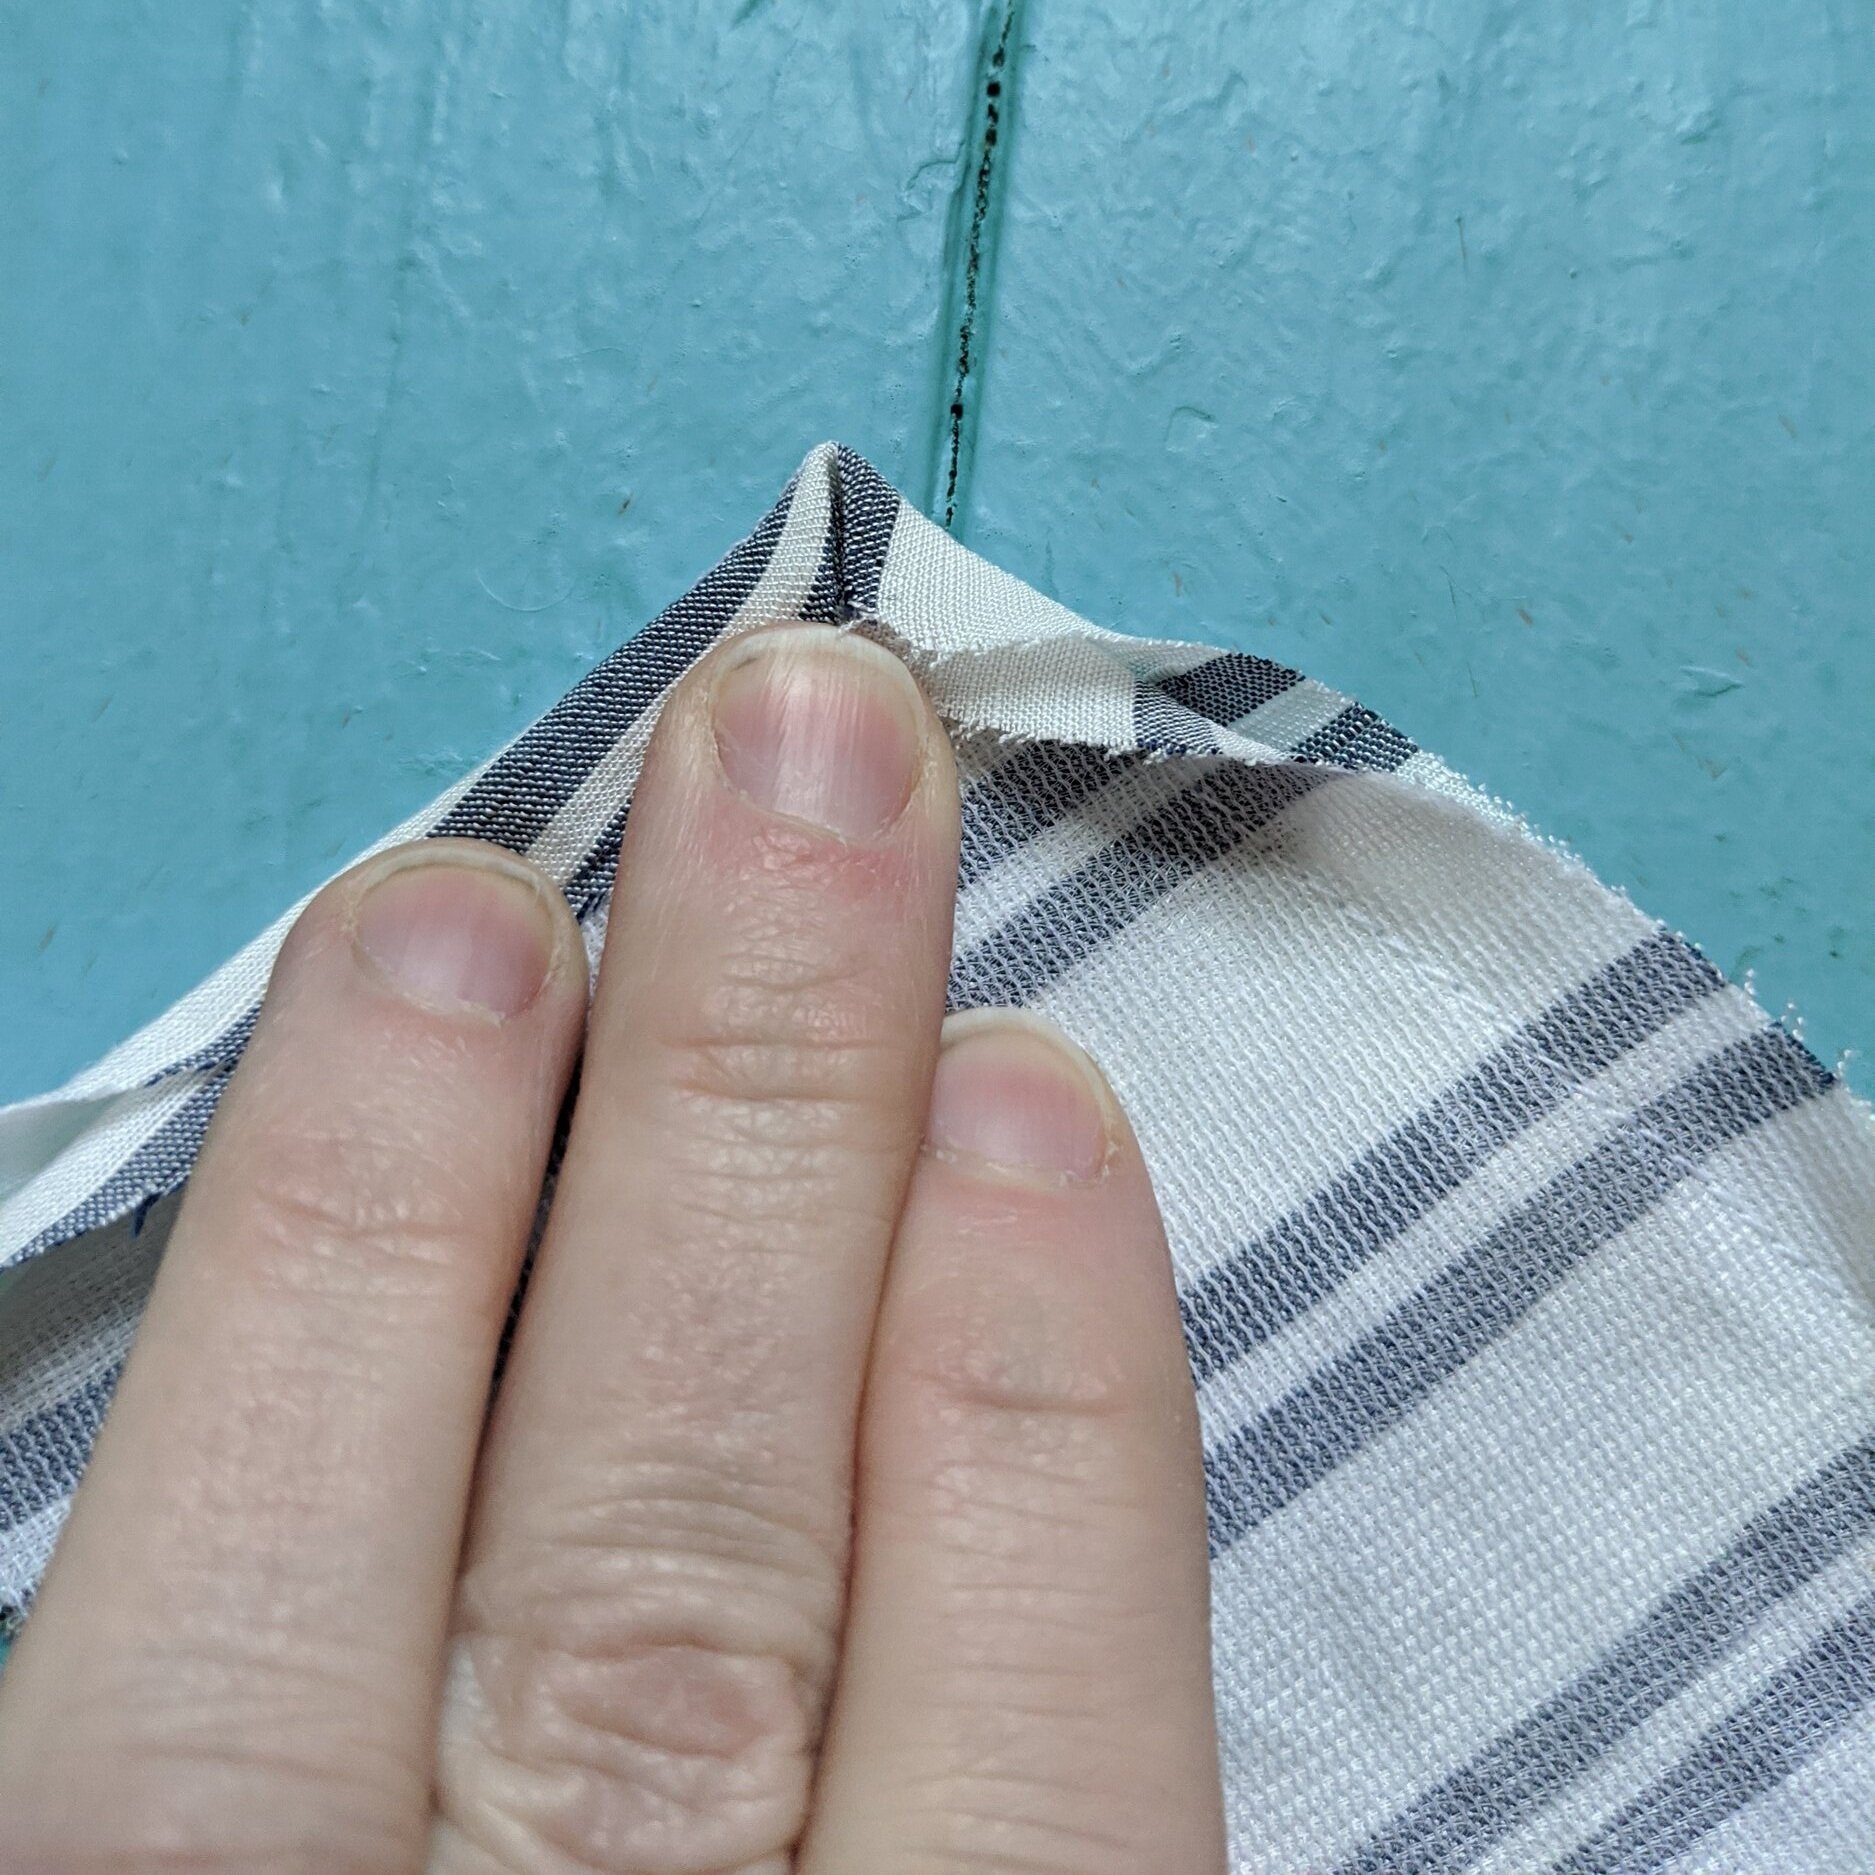
Let’s look closer at the sleeve. IT’S SO COOL. The perfectly finished cuff is part of the sleeve; it’s not a separate piece that is sewn on. And that sexy little tab. Icing on the Amherst cake.

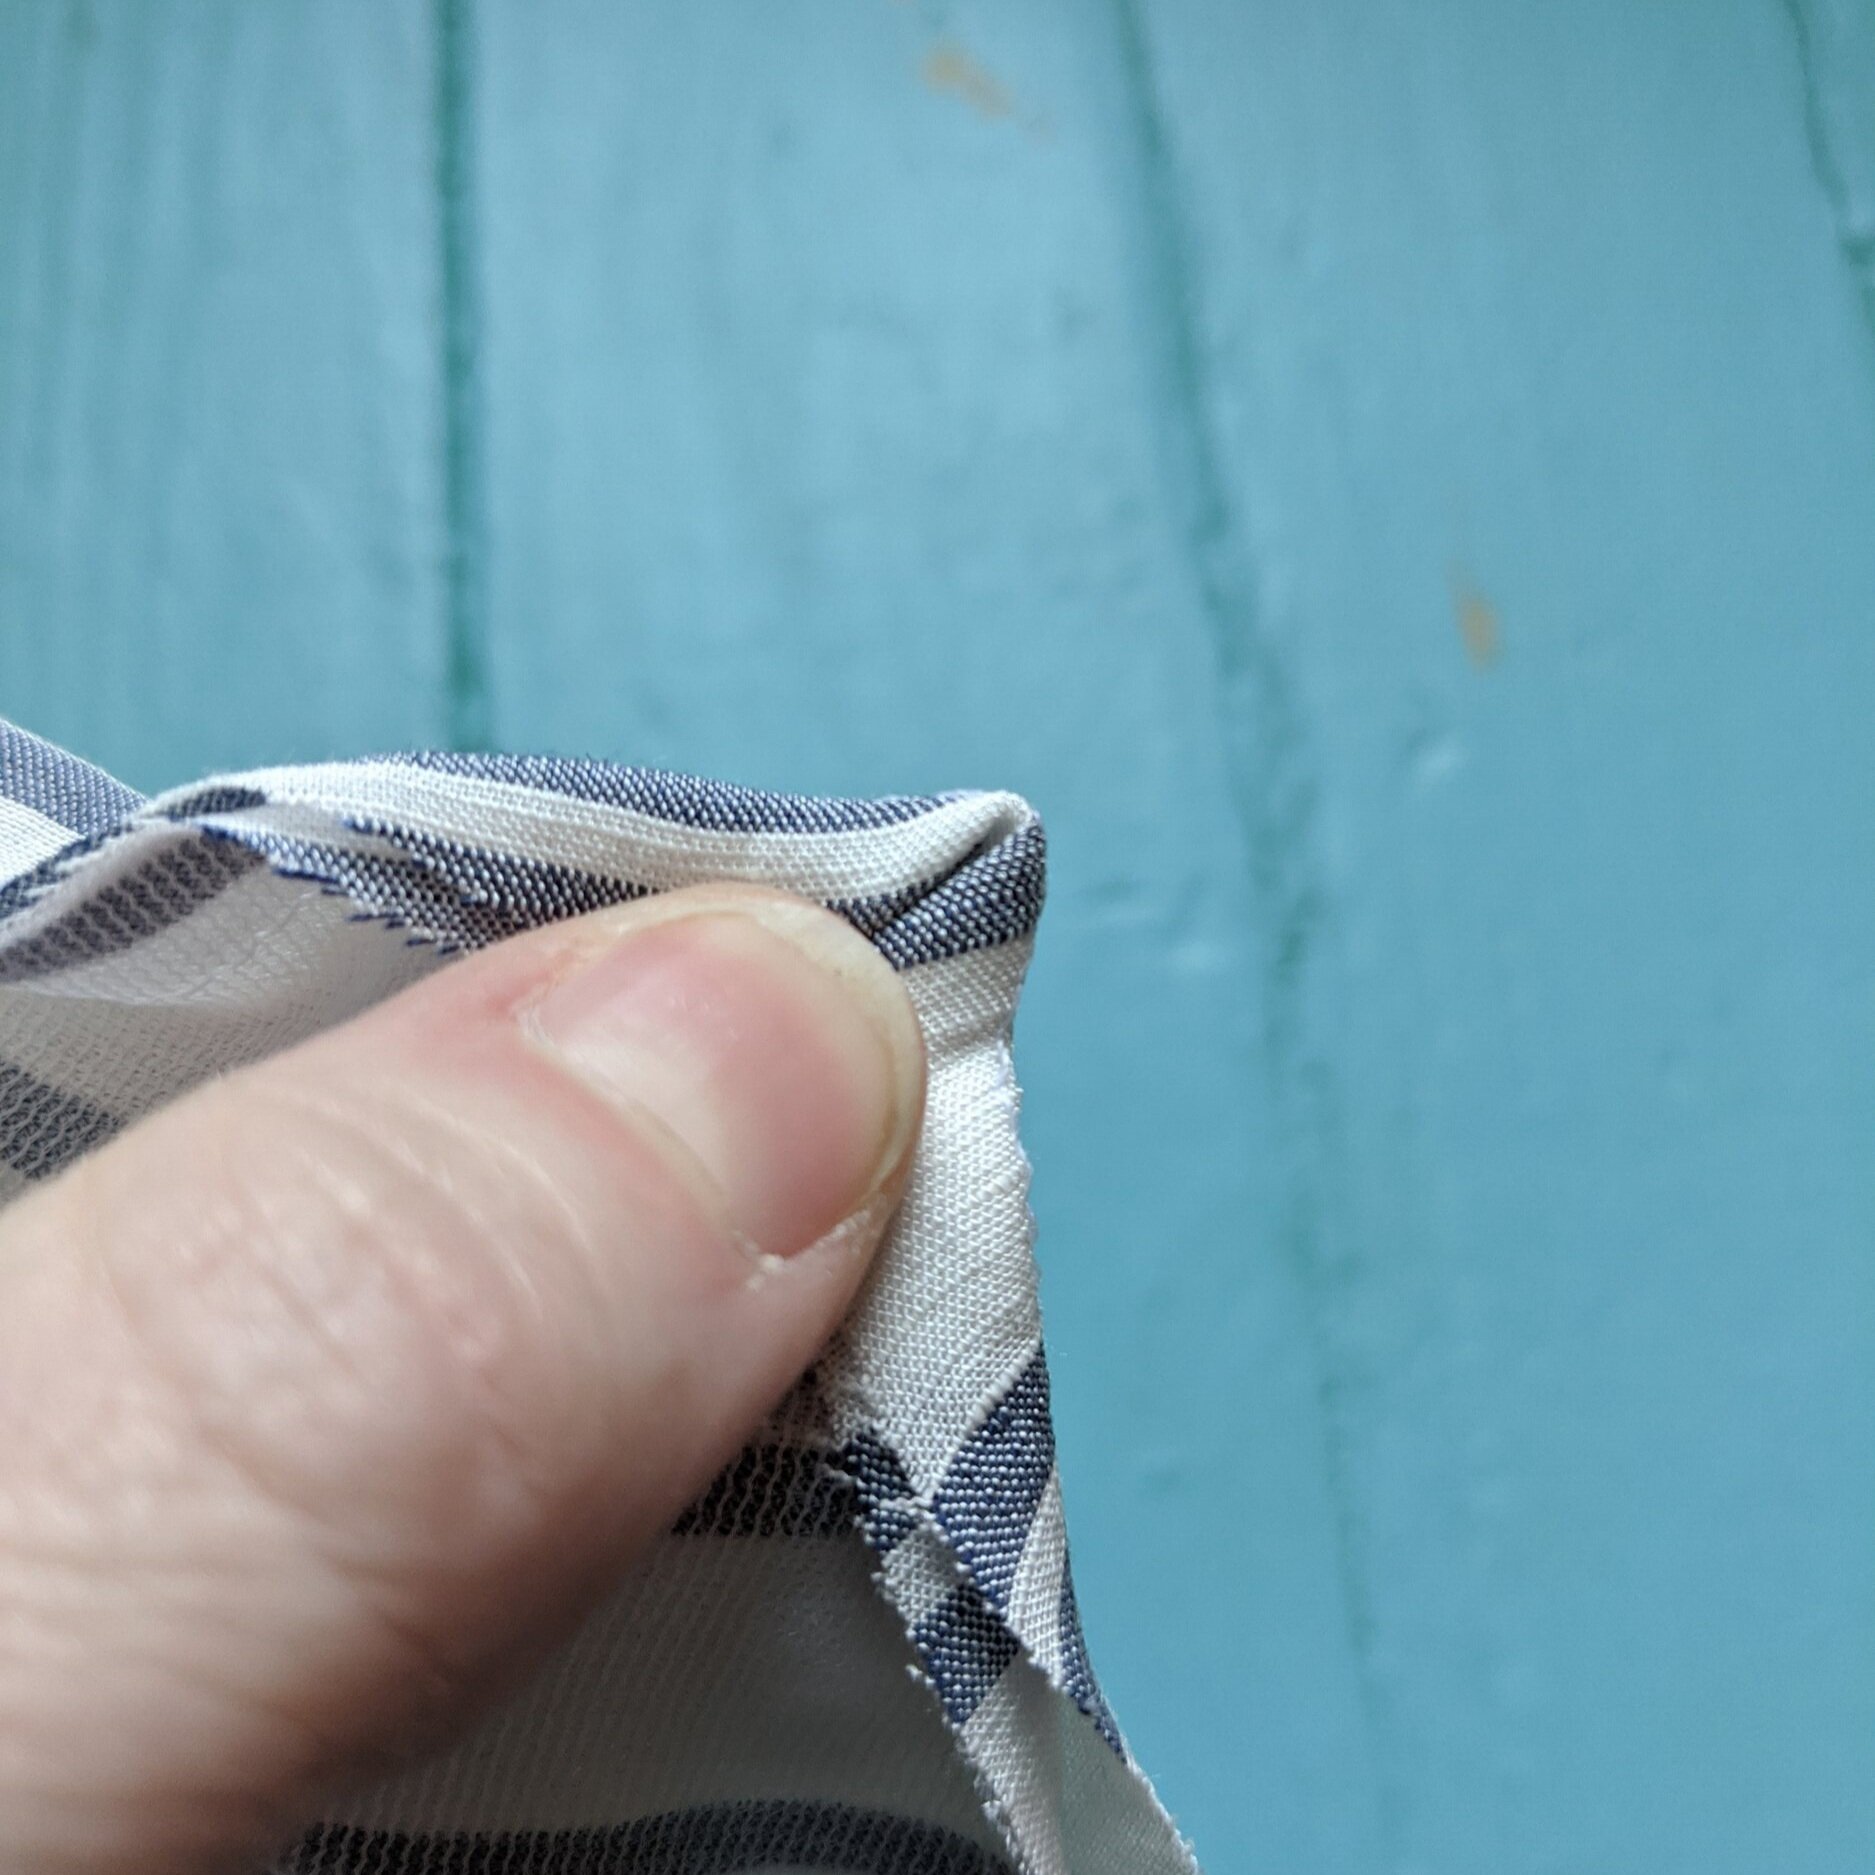
The instructions use a different method for creating and attaching the sleeve. If you’re interested in a French seam on the sleeve, here’s what I did-
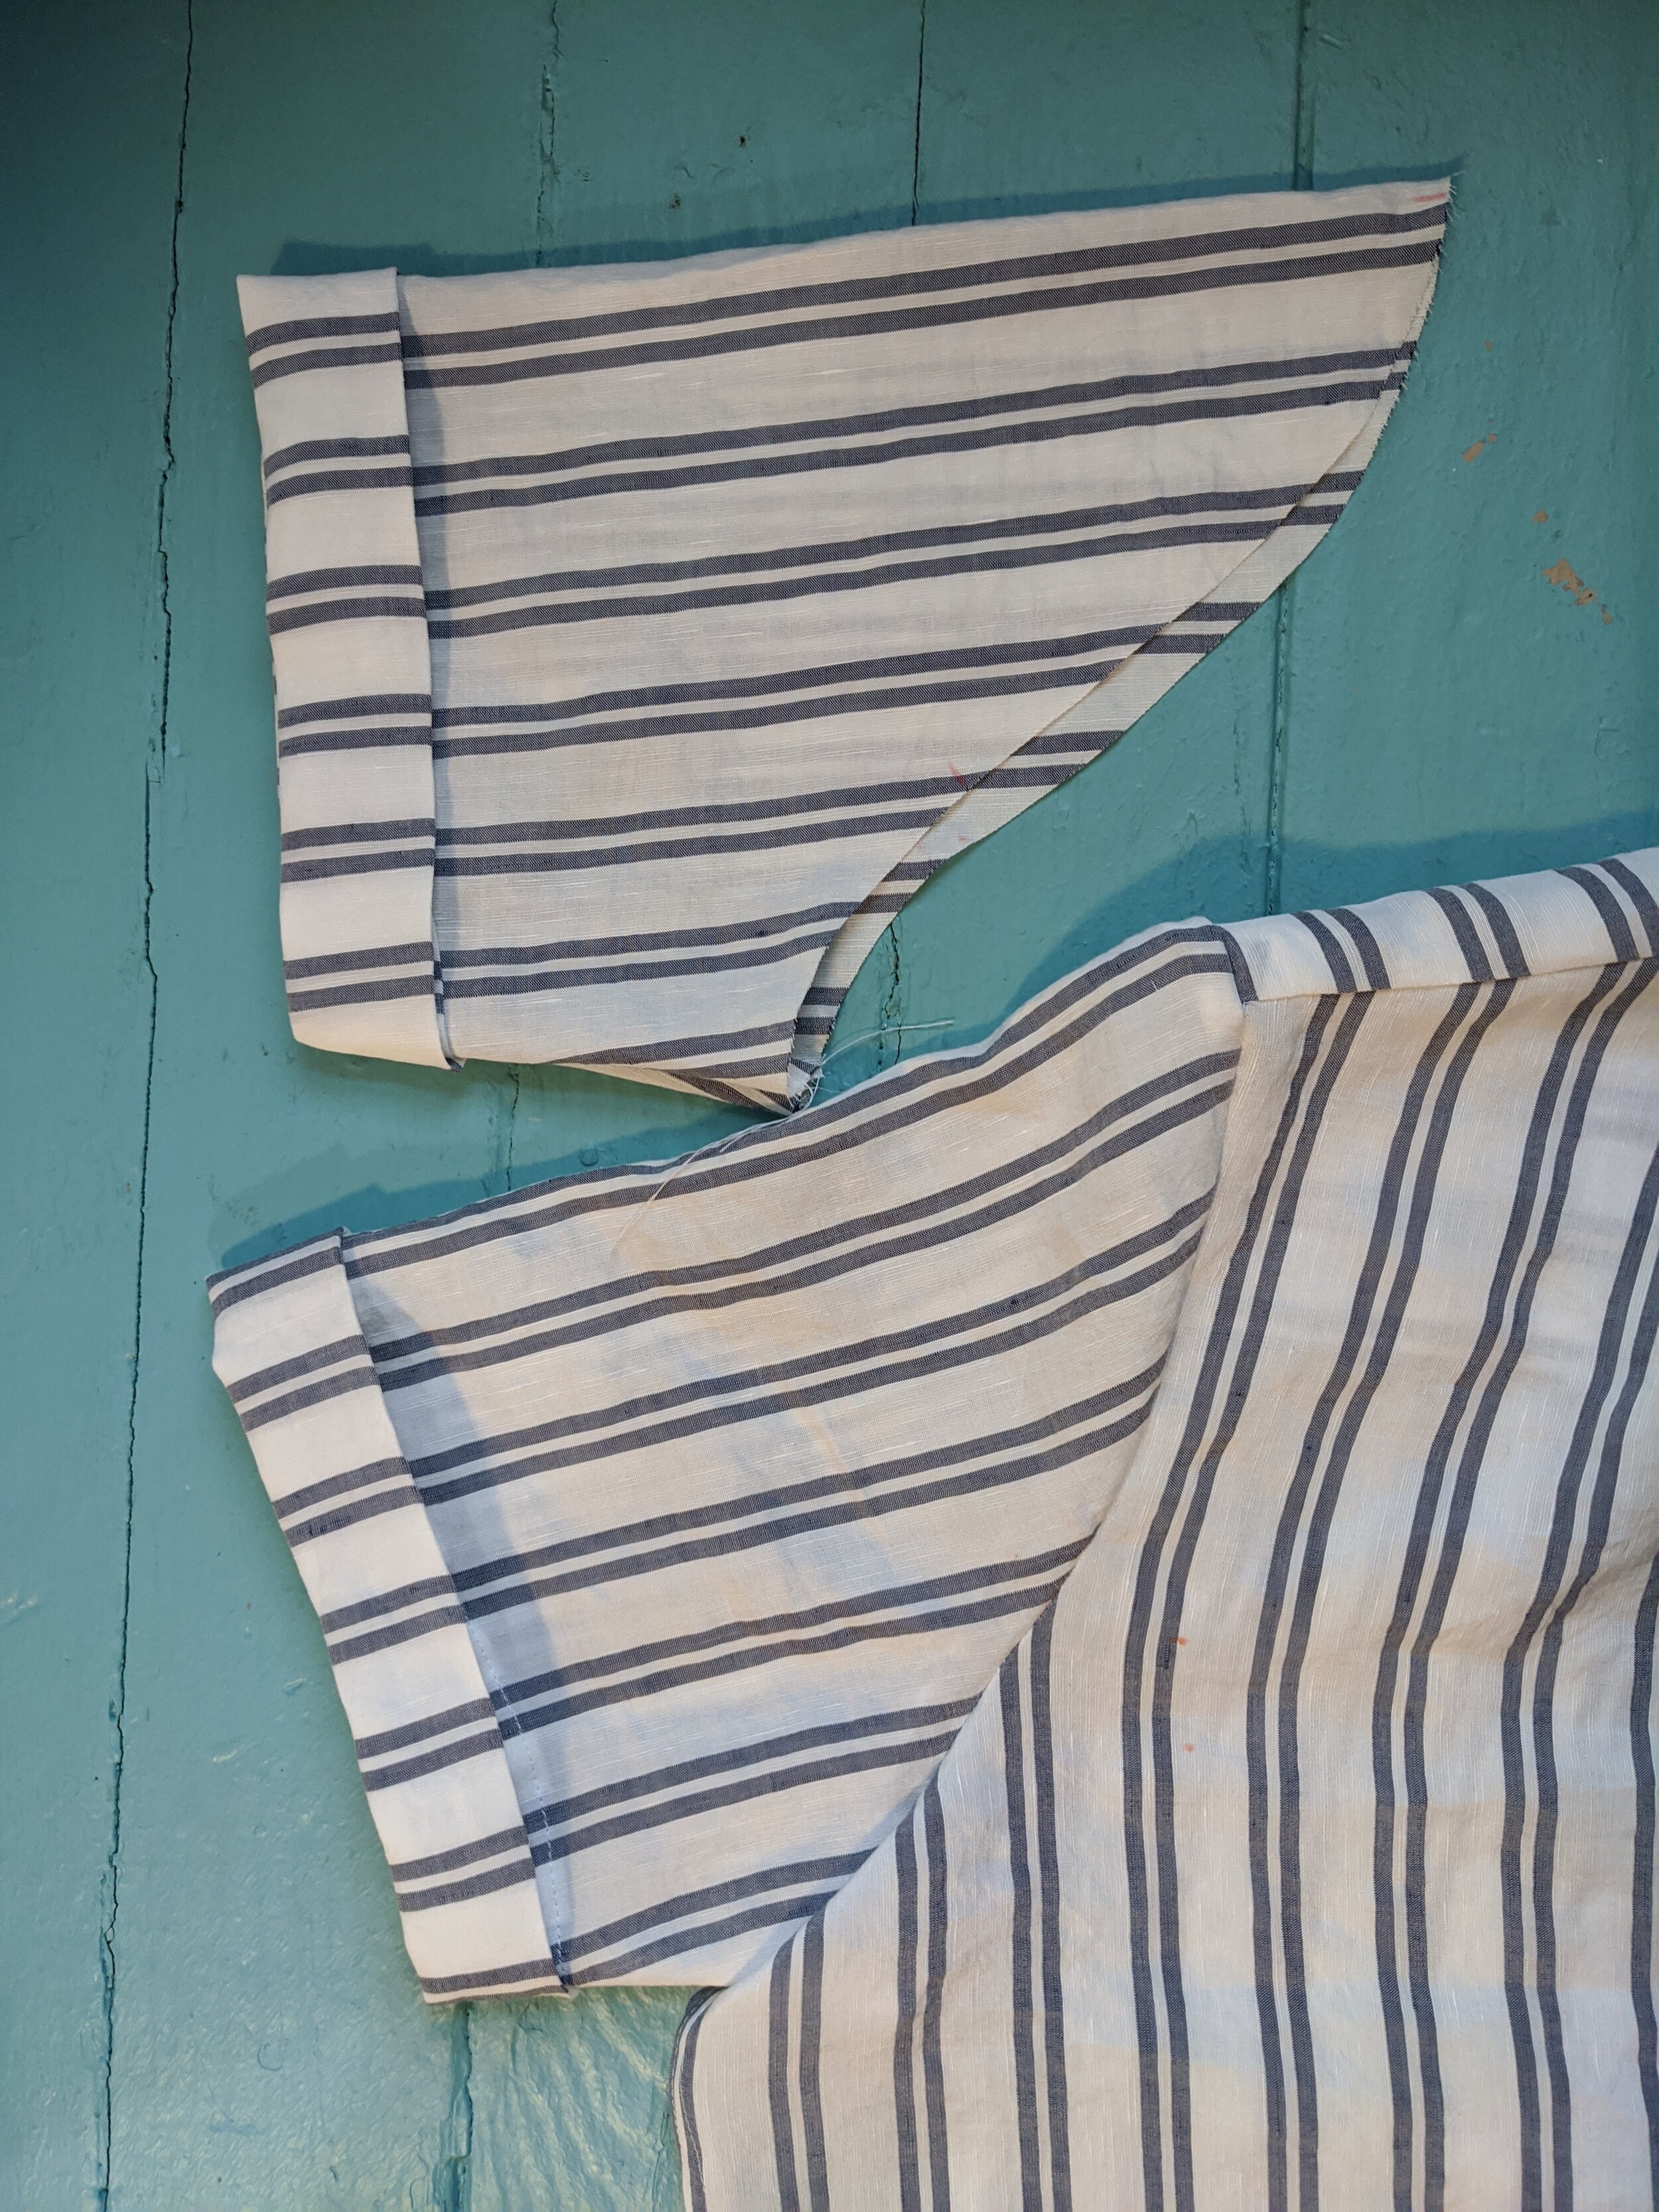
Fold the cuff to the inside as above and top stitch. Then, do the first step of the French seam (wrong sides together, 1/4” seam allowance). Clip the seam allowance and complete the cuff fold. Finish the French seam with right sides together. In this way the cuff is tacked into the seam while also having a perfect finish. The sleeve is then attached in the round.
If you’re early in your sewing journey you may be wondering if you have the skills to make a button-down, collared shirt. I’m going to tell you if you can follow directions and sew straight lines, you’re ready! You don’t have to tackle buttons and buttonholes if those aren’t in your repertoire (yet). Snaps are great for Amherst’s style.
One thing that can be confusing when you dive into structured shirts is interfacing. There are soooo many options. The post here, reviewing tricot fusible interfacing is really great. I almost always use tricot, especially with light fabrics that I want to keep their drape. As well as tricot by the yard, I like to have rolls of 2” wide tricot (in both black and white, wawak sourced) on hand as it makes stabilizing plackets and other small bits (ie sleeve tabs) painless.

If collars with stands are daunting, read on for my tips and preferences.
For a nice collar point, I prefer my no-trim method! With the interfaced collar on top, fold the corner down across the point (most people cut along this line). Then fold the short and long sides in toward each other. It now looks like a tiny mitered corner. Grasp the miter firmly and turn out by bringing the collar without interfacing over the tidy folded point. Don’t force the corner out with a tool from inside; this seems to stretch and distort the point. Repeat for the other collar point. Give your collar a nice press and then top-stitch.
I like to assemble the collar and stand as shown below before attaching the unit to the shirt. It’s just how I’ve had the greatest success. I like to sandwich the collar between the stands, with the the outer/under collar stand facing the undercollar. The inner stand (seam allowance pressed to the wrong side) faces the upper/outer collar. I know. It reads like gibberish. [Insert shruggie lady.] I attach the outer stand to the outside neckline of the shirt (right sides together). The whole assembly then flips open and I stitch the inner stand closed from the top. (There’s a more detailed tutorial here which is the most akin to how I’ve become accustomed to approaching collars with stands.)


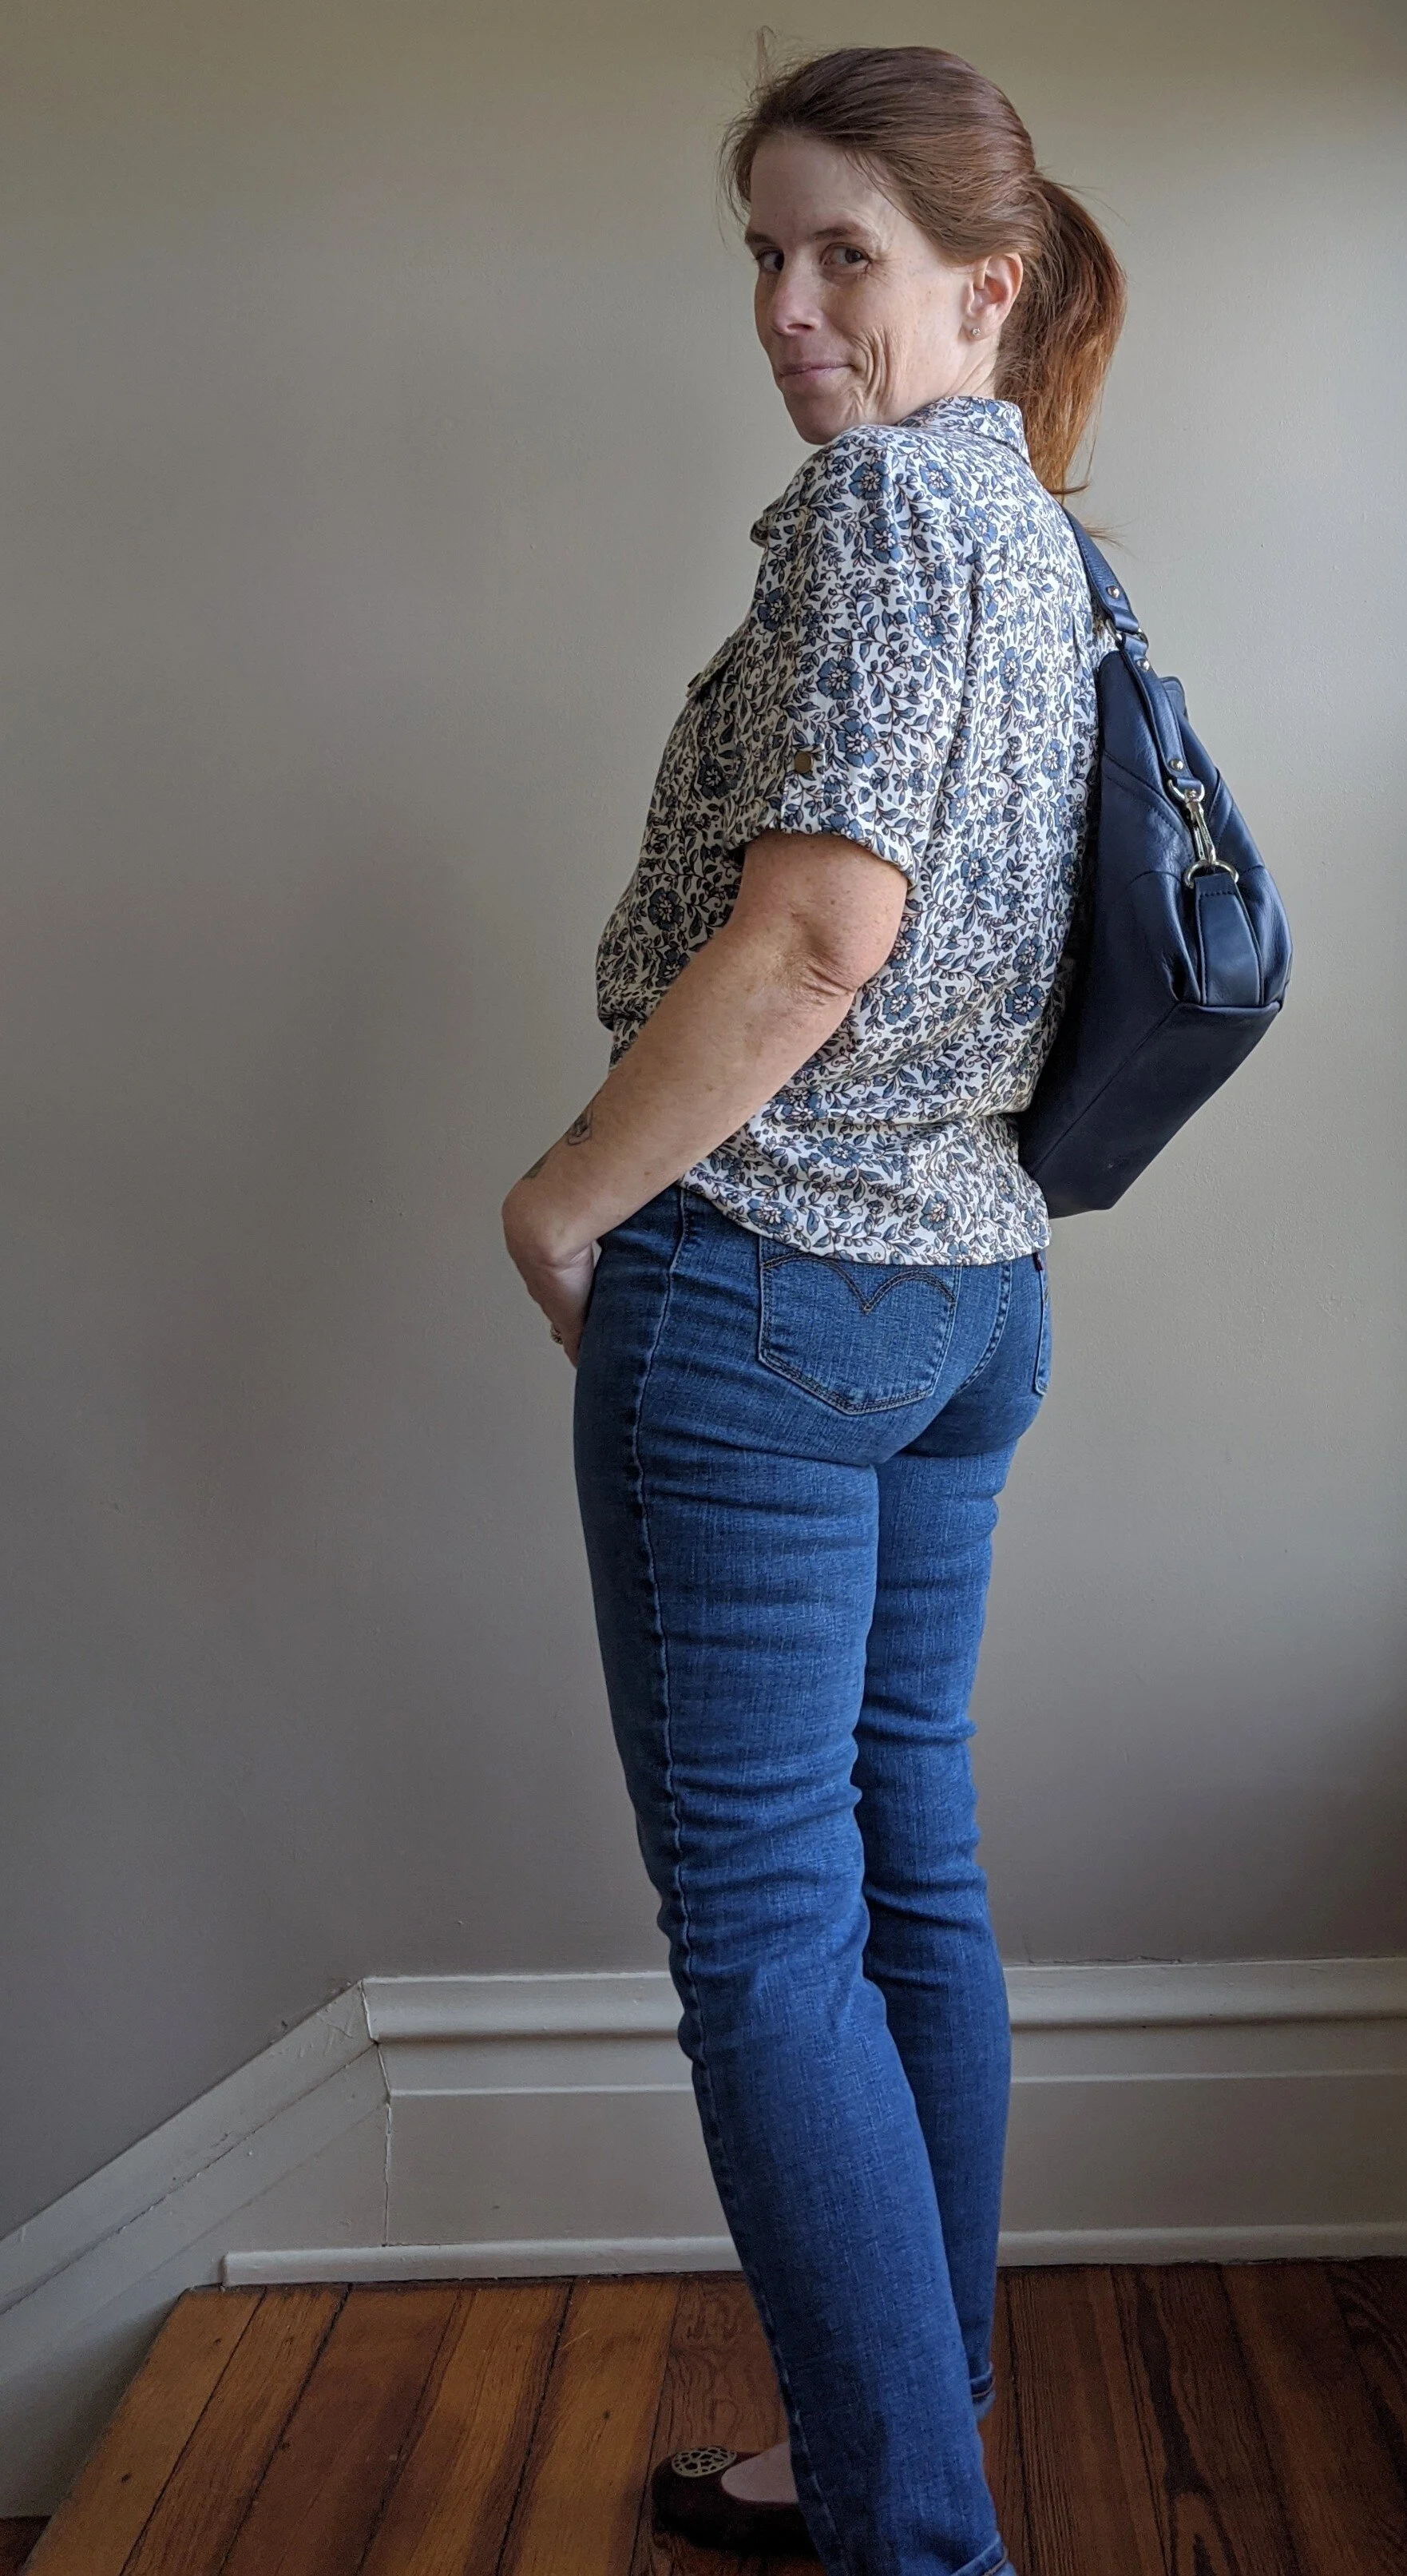
sweet little leather waist bag, eh? Free pattern by Love You Sew
My last sample was made with a stashed rayon crepe, purchased from indiesew, back in the day when they sold fabric. (You know, like 2019.)
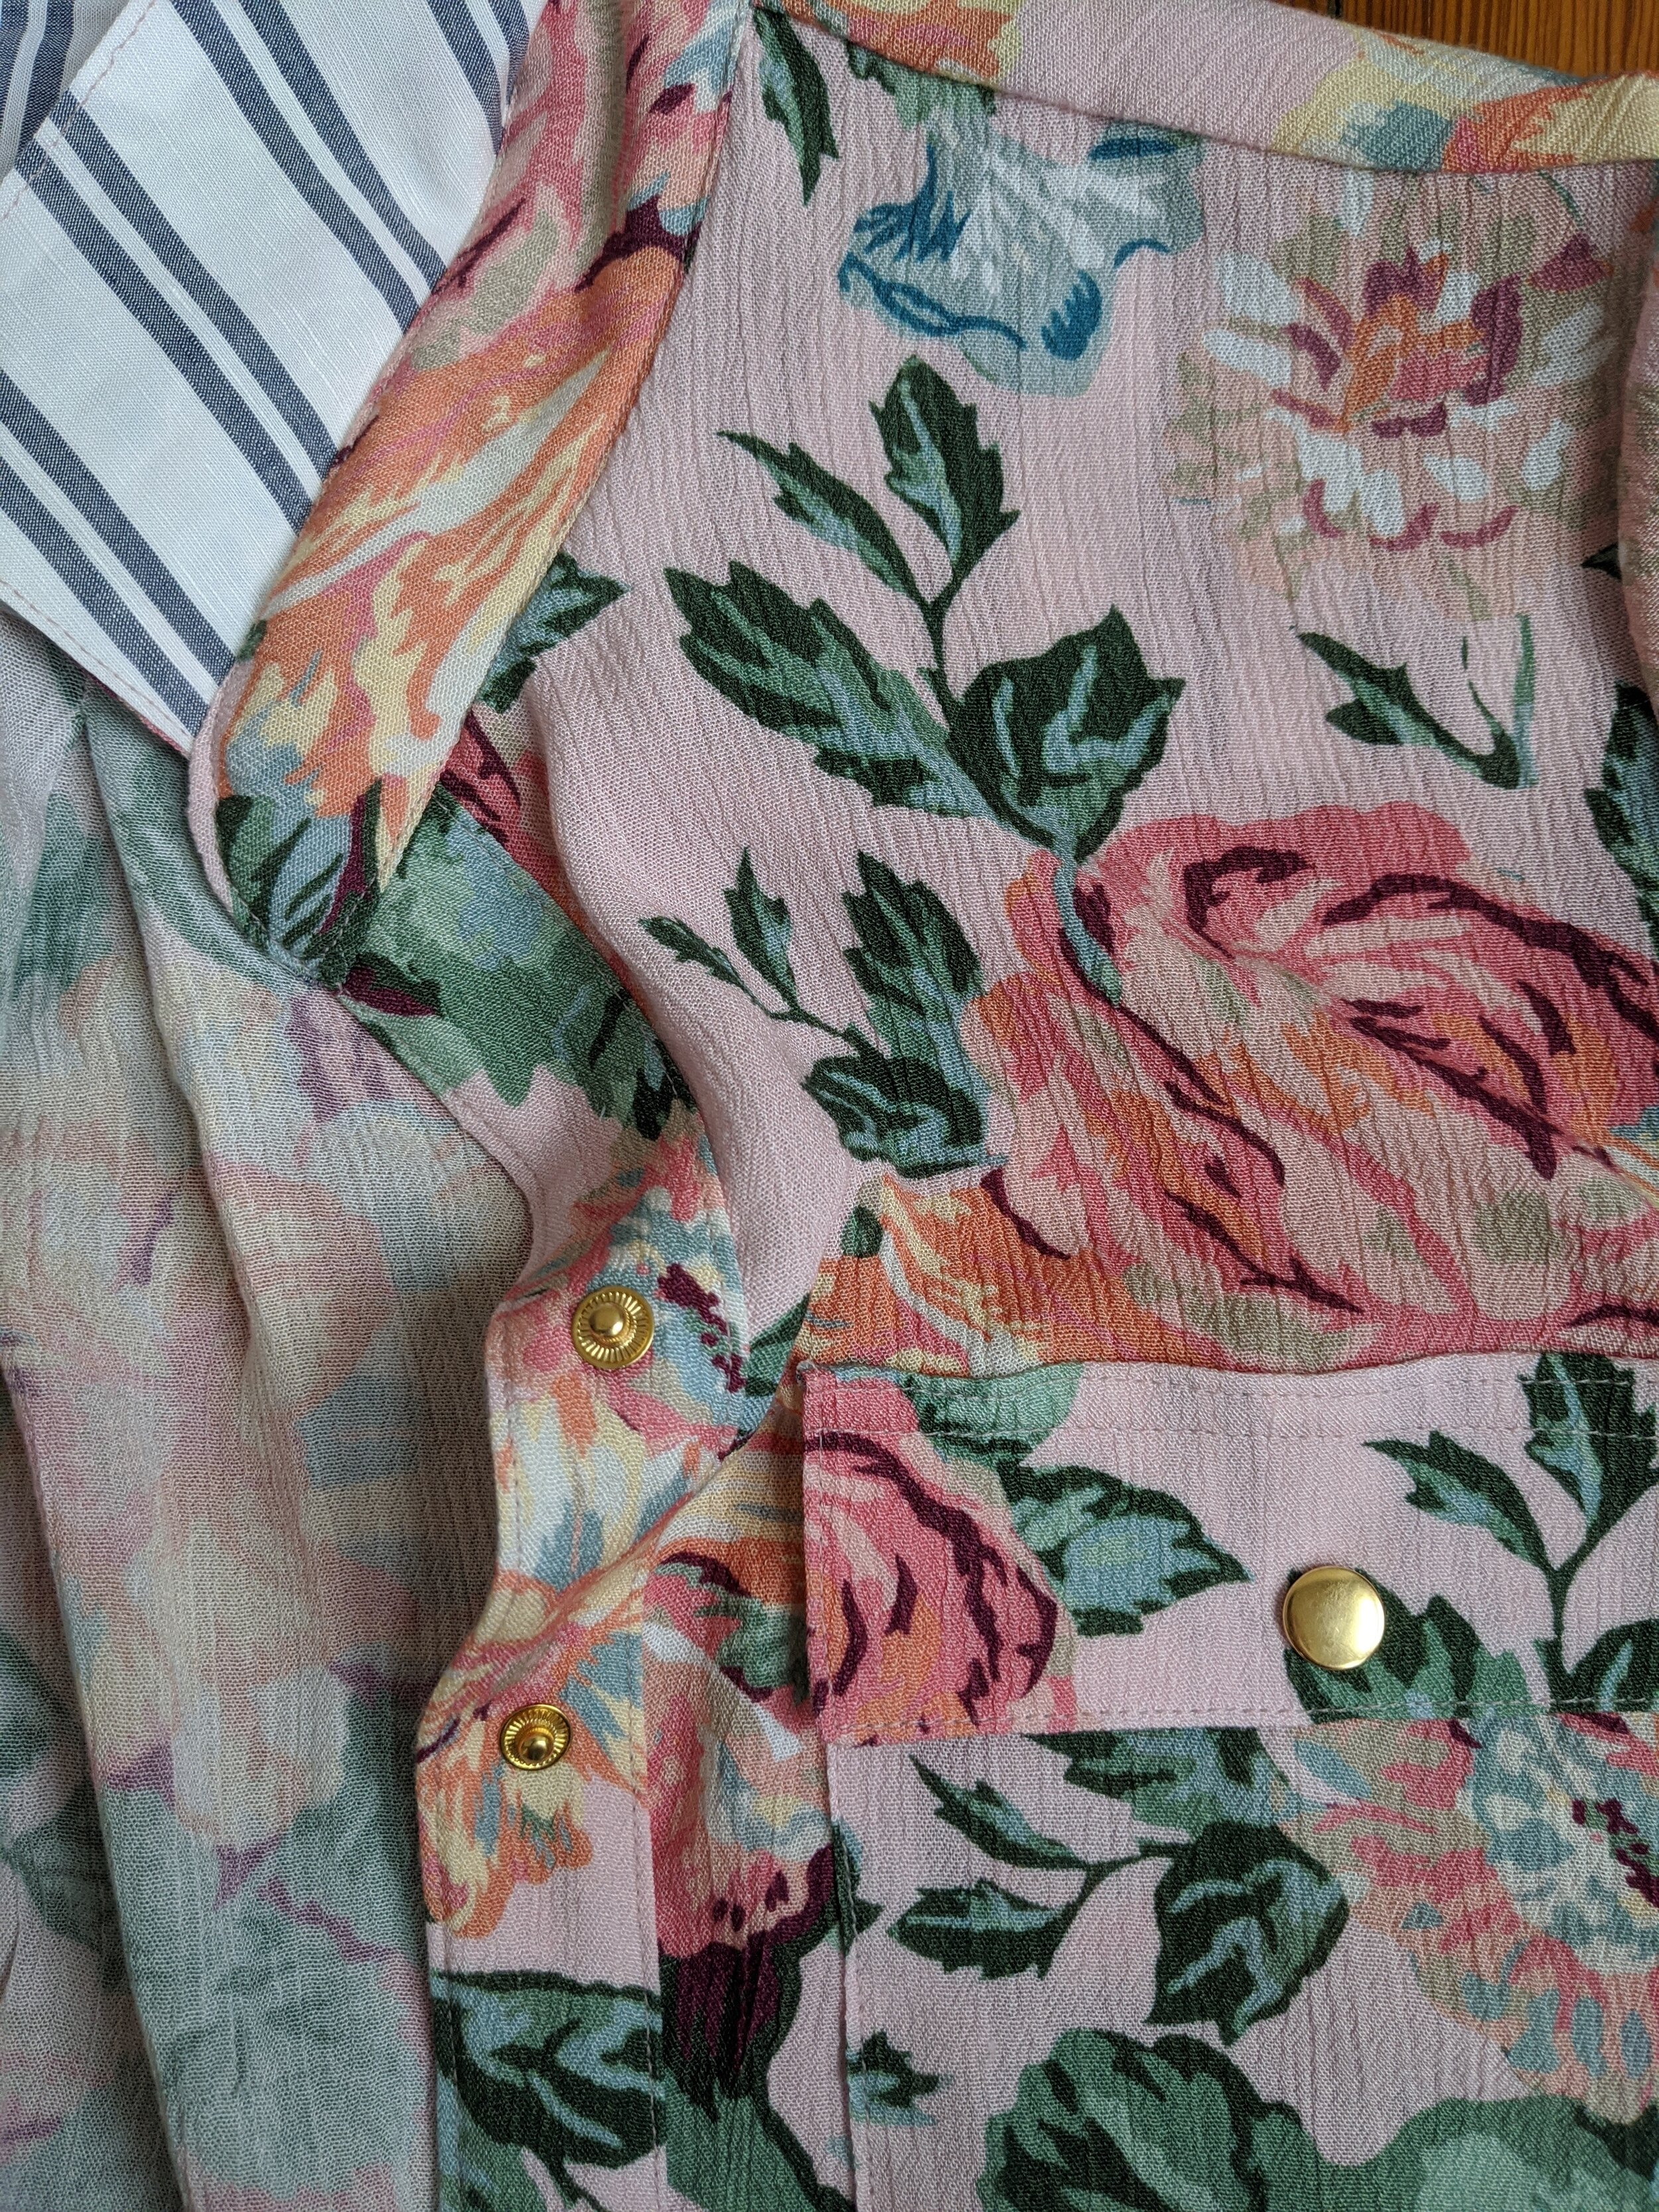
LOVE the texture!

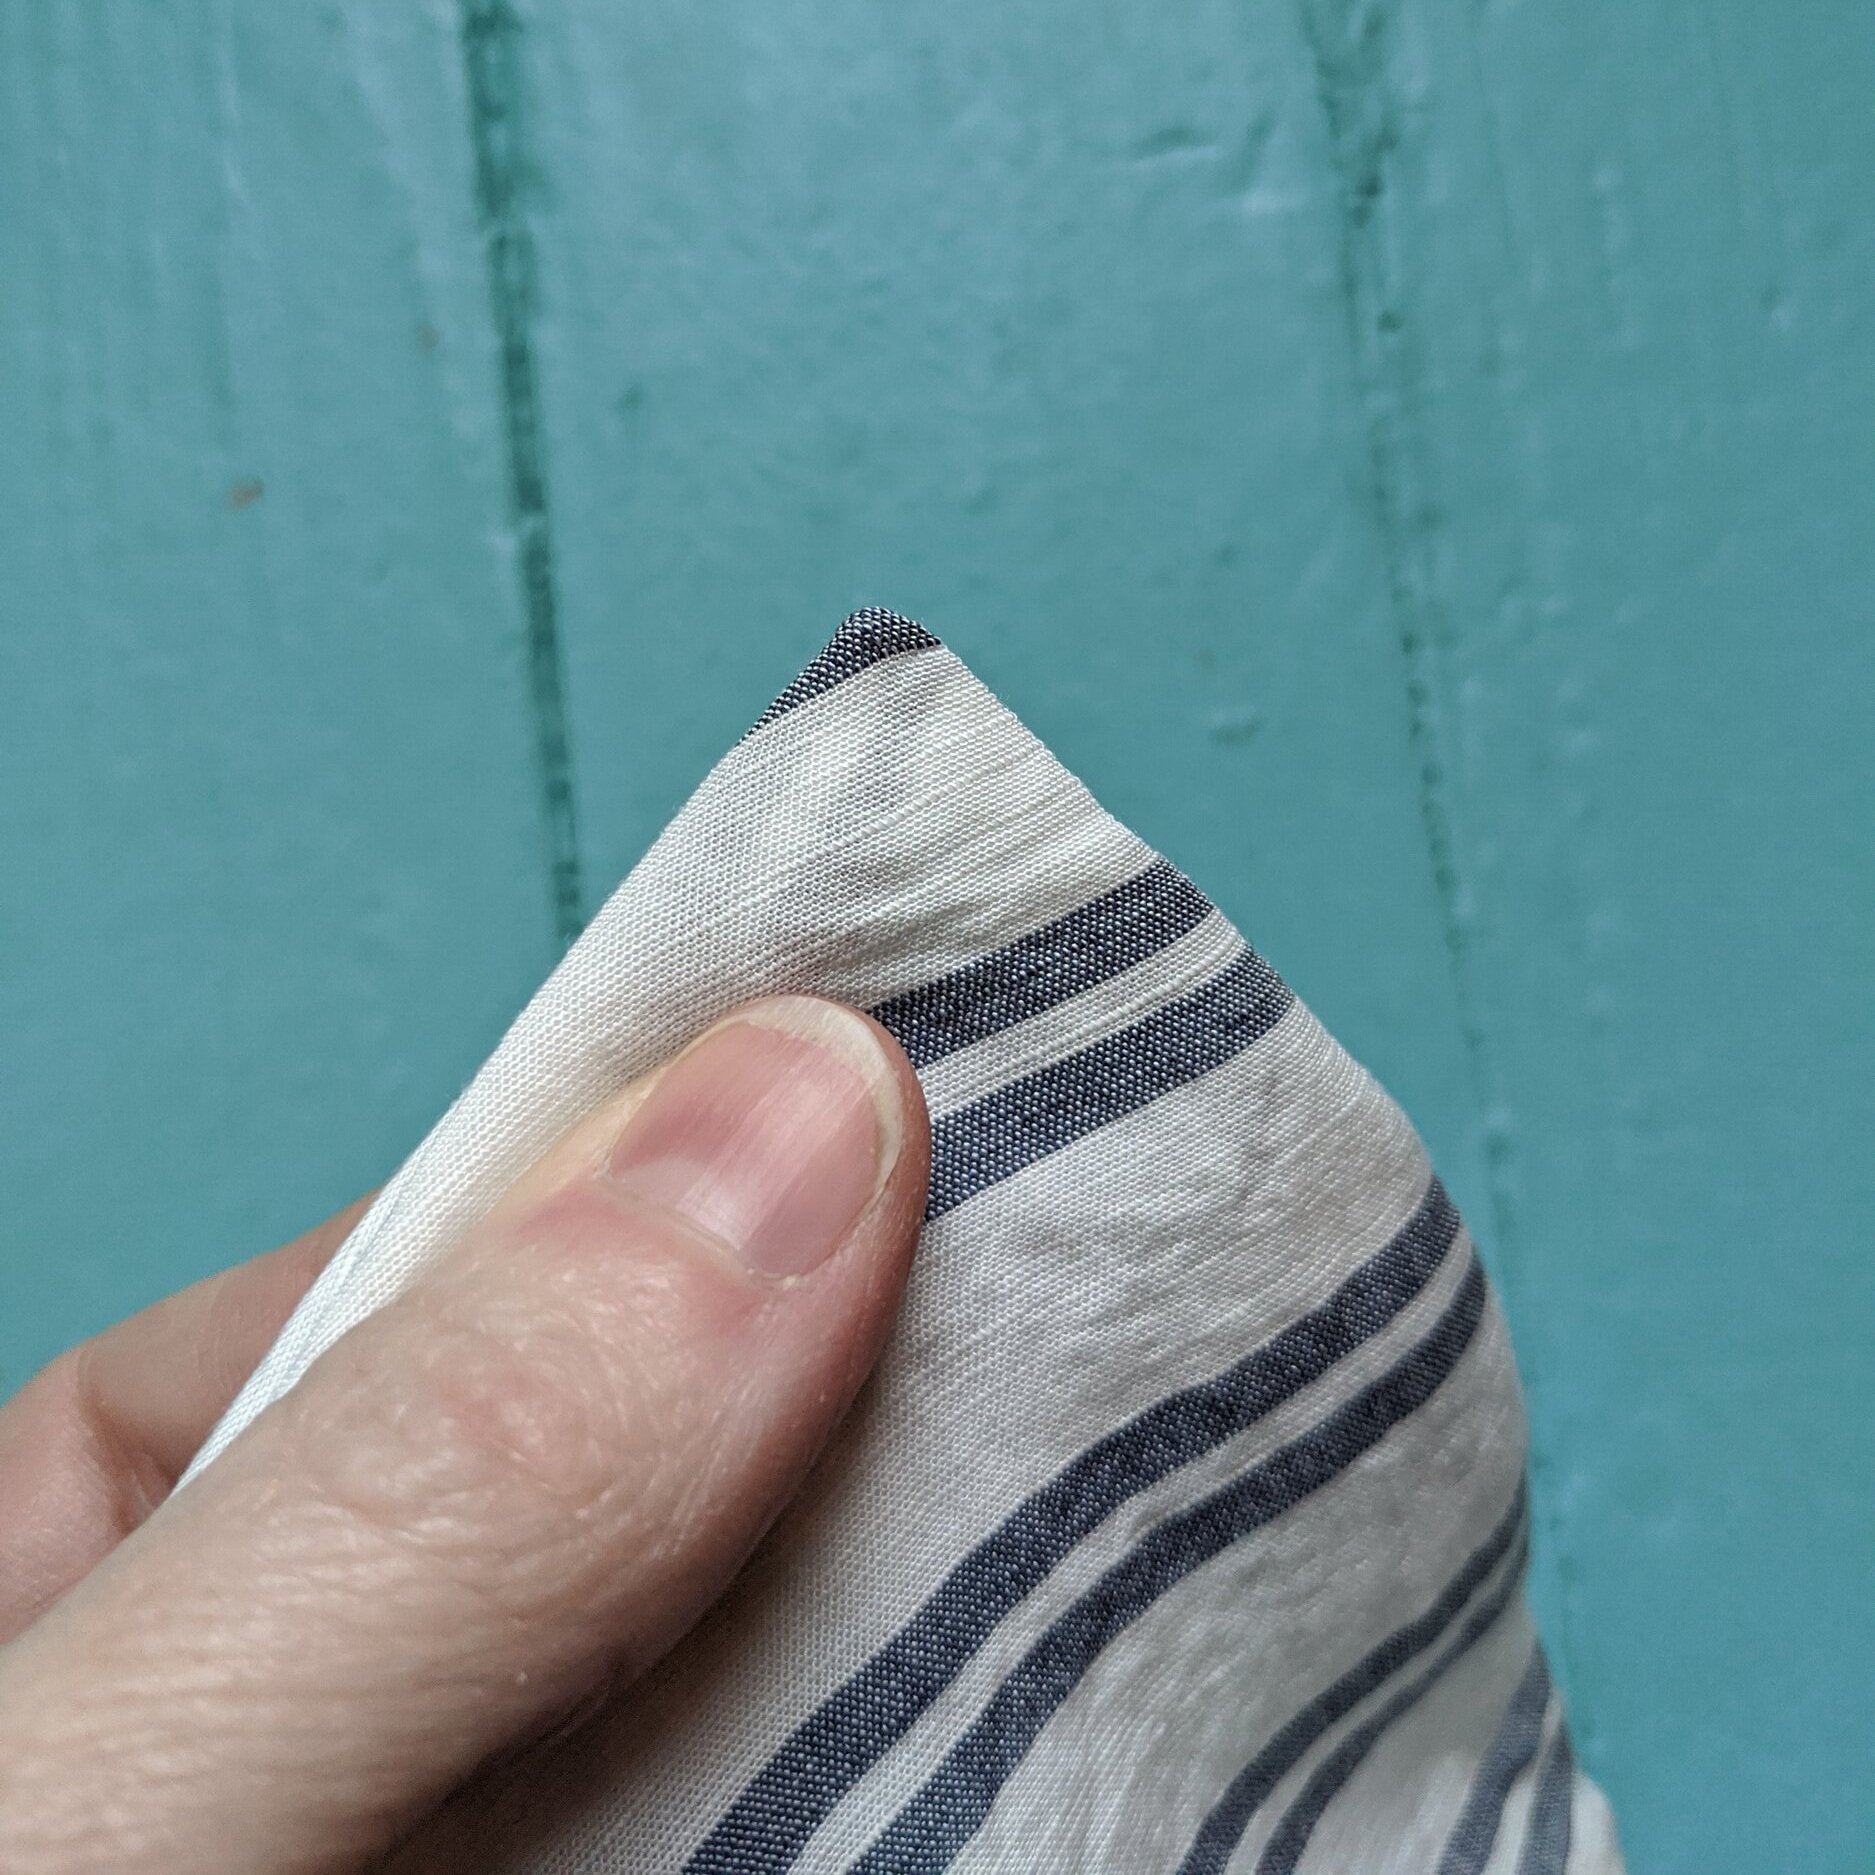
This sample shows the back pleat with the final width.


Bottomline- I’ve been having fun sewing Amherst. It’s a good pattern to try for a first collared shirt and a fun one to make if you’re already a seasoned shirt-maker. It’s stylish, of course. (and priced too low #whatisadriannathinking).
Check out Adrianna’s release post (I need to copy her plain white version ASAP) for more information and styling options and then hop over to #amherstshirt on Instagram for even more samples!
I’m always happy to answer questions or talk shop! Thanks for popping by.

Harts Fabric supplied the main fabric for one of my samples, LINEN DOUBLE STRIPE BLUE AND WHITE and buttons.
The PDF pattern was provided by the designer, Hey June Handmade, for review, sample sewing, and feedback.
Body measurements- high bust 35”, full bust 36”, waist 29”, high hip 35”, full hip 39”; 5’5” tall.
Bonus content!
If your chicks and geese and ducks need to scurry for the surrey, Amherst layers nicely with bibs.
